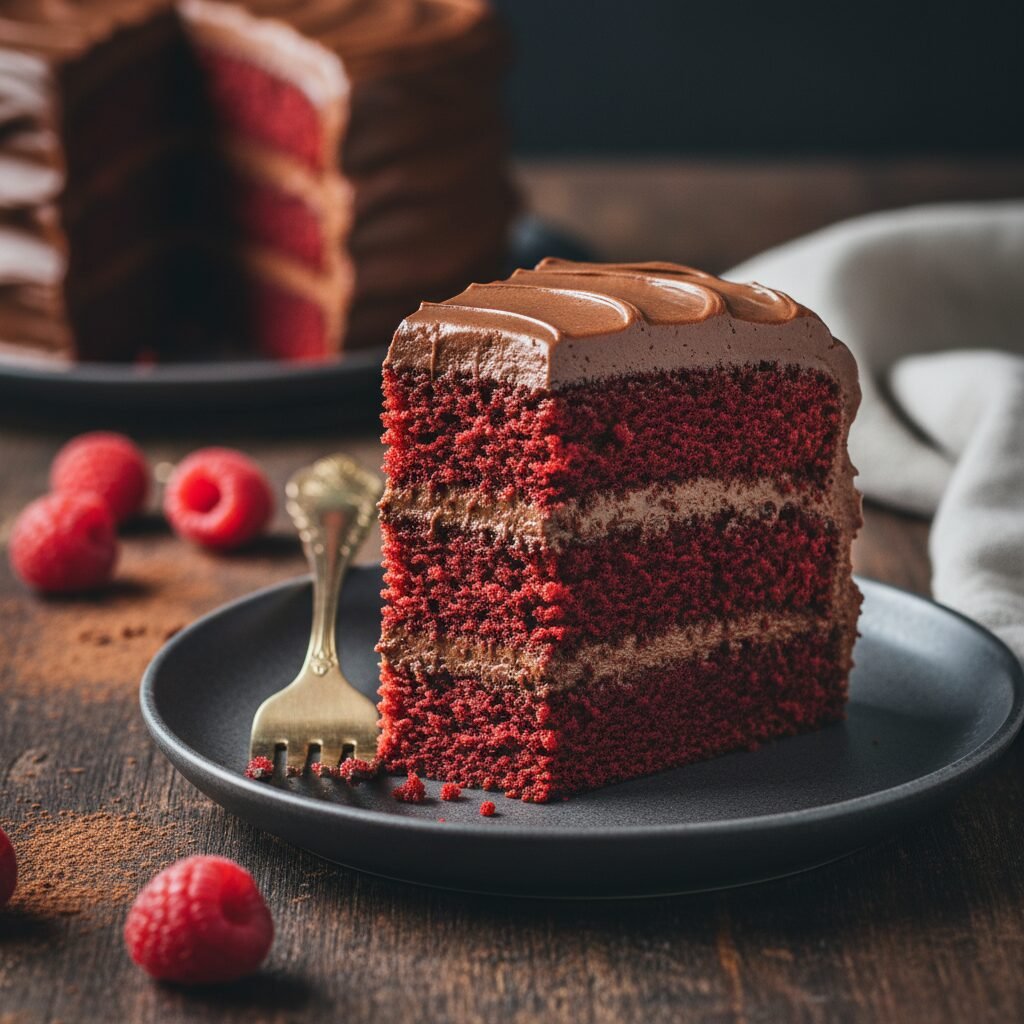
The Ultimate Moist Vegan Red Velvet Cake With Decadent Chocolate Frosting
Moist Vegan Red Velvet Cake With Vegan Chocolate Frosting Recipe
Discover the secret to the most tender, velvety vegan red velvet cake you’ll ever taste. Paired with a rich, glossy vegan chocolate buttercream, this dairy-free dessert is a showstopper that defies expectations with its incredibly moist crumb and deep flavor profile.
30 minutes
35 minutes
1 hour 5 minutes
12 servings (2-layer 8-inch cake)
Dessert
Baking
American
Vegan
When it comes to iconic desserts, few cakes command attention quite like Red Velvet. Its striking crimson hue and subtle cocoa flavor have made it a staple for celebrations, from Valentine’s Day to birthdays. However, a common misconception persists in the baking world: that vegan cakes somehow lack the tenderness or richness of their dairy-laden counterparts. This recipe is here to completely shatter that myth. We are talking about a cake so incredibly moist, so plush and velvety, that no one will believe it is entirely plant-based. The secret lies in the chemistry of the ingredients—specifically the interaction between the acidic components and the cocoa—which creates that signature texture that literally melts in your mouth.
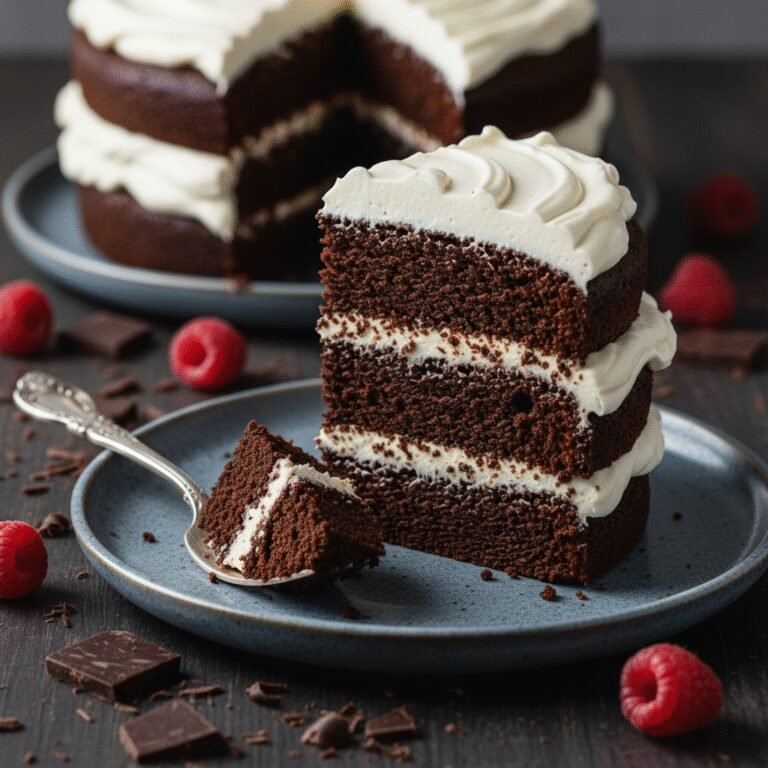
While traditional red velvet is often paired with cream cheese frosting, we are taking a luxurious detour with a vegan chocolate fudge frosting. The deep, earthy notes of the chocolate buttercream perfectly complement the slight tang of the cake, creating a sophisticated flavor profile that is less cloying than the traditional pairing but twice as decadent. This cake isn’t just a substitute for the ‘real thing’; it stands on its own as a masterpiece of vegan baking. Whether you are a lifelong vegan or just looking to cut down on dairy without sacrificing indulgence, this recipe delivers on every front. Prepare your senses for a dessert experience that combines the nostalgia of a classic southern cake with the modern ethical benefits of plant-based eating.
History & Origins
The history of Red Velvet cake is as rich and layered as the cake itself, often shrouded in culinary legend and debate. The concept of a ‘velvet’ cake dates back to the Victorian era, where the term was used to distinguish cakes with a soft, fine crumb from the coarser, denser sponge cakes of the time. In the early 20th century, devil’s food cake appeared, and it is believed that Red Velvet is a close cousin. The original reddish hue was not the result of artificial coloring but rather a chemical reaction. Traditional recipes used unprocessed cocoa powder, which contains anthocyanins. When this raw cocoa mixed with acidic ingredients like buttermilk and vinegar, it revealed a rusty, reddish-brown tint.
The vibrant red color we know today became popularized during the Great Depression. As families struggled to afford expensive ingredients, the Adams Extract company in Texas sought to boost sales of their red food dye and vanilla extract. They published a recipe for Red Velvet cake that utilized their products, forever cementing the cake’s association with brilliant red food coloring. Another famous origin story ties the cake to the Waldorf Astoria Hotel in New York City, which claims to have created the original recipe in the 1930s. Regardless of its exact birthplace, the cake saw a massive resurgence in popularity after appearing in the 1989 film ‘Steel Magnolias’ in the form of an armadillo. Today, it remains a symbol of Southern hospitality and celebration, having evolved to embrace modern dietary needs without losing its historical charm.
Why This Recipe Works
This recipe succeeds where many vegan cakes fail because it relies on a precise balance of chemistry to achieve lift and moisture. In traditional baking, eggs provide structure and richness, while butter adds flavor. To replicate this without animal products, we utilize a ‘vegan buttermilk’ created by curdling soy or almond milk with apple cider vinegar. This acid is crucial; it not only tenderizes the gluten strands in the flour to ensure a soft crumb but also reacts vigorously with the baking soda. This reaction creates carbon dioxide bubbles, giving the cake a tremendous lift and an airy, open texture that mimics the effect of eggs.
Furthermore, we use neutral oil instead of vegan butter for the cake batter. While butter contains water and can lead to a drier texture once the cake cools, oil remains liquid at room temperature. This ensures that the cake stays incredibly moist for days. The addition of cornstarch to the dry ingredients lowers the overall protein content of the all-purpose flour, effectively creating a DIY cake flour that further guarantees tenderness. Finally, the use of boiling water (or hot coffee) at the end of the mixing process blooms the cocoa powder, intensifying the chocolate flavor and ensuring the batter is thin enough to bake into a level, uniform sponge.
Why You’ll Love This Recipe
- ✓100% Vegan and Dairy-Free with no compromise on texture.
- ✓Incredibly moist crumb that stays soft for days.
- ✓Rich, fudge-like vegan chocolate frosting adds a decadent twist.
- ✓No hard-to-find egg replacers; uses simple pantry staples.
- ✓Perfect for birthdays, holidays, or romantic occasions.
Equipment You’ll Need
- ✓Two 8-inch round cake pans
- ✓Parchment paper
- ✓Large mixing bowl
- ✓Medium mixing bowl
- ✓Whisk
- ✓Electric hand mixer or stand mixer
- ✓Wire cooling rack
- ✓Offset spatula
Ingredients
- ✓2 1/2 cups All-Purpose Flour
- ✓1 1/2 cups Granulated Sugar
- ✓1 tbsp Cocoa Powder (unsweetened)
- ✓1 tsp Baking Soda
- ✓1/2 tsp Salt
- ✓1 tbsp Cornstarch
- ✓1 1/2 cups Soy Milk (or Almond Milk)
- ✓1 tbsp Apple Cider Vinegar
- ✓1/2 cup Neutral Oil (Canola, Vegetable, or Grapeseed)
- ✓1 tbsp Vanilla Extract
- ✓1-2 tbsp Red Gel Food Coloring (ensure it is vegan)
- ✓1 cup Vegan Butter sticks, slightly softened (for frosting)
- ✓3 cups Powdered Sugar (sifted)
- ✓1/2 cup Cocoa Powder (for frosting)
- ✓2-3 tbsp Non-dairy Milk (for frosting adjustment)
Instructions
- Preheat your oven to 350°F (175°C). Grease two 8-inch round cake pans with a little oil and line the bottoms with parchment paper rounds to prevent sticking.
- In a liquid measuring cup or small bowl, combine the 1 1/2 cups of soy milk with the 1 tablespoon of apple cider vinegar. Stir gently and let it sit for about 5-10 minutes to curdle into vegan buttermilk.
- In a large mixing bowl, sift together the flour, sugar, 1 tbsp cocoa powder, baking soda, salt, and cornstarch. Whisk well to ensure the dry ingredients are evenly distributed.
- Add the oil, vanilla extract, and red food coloring to the curdled soy milk mixture. Whisk the wet ingredients together until the color is fully incorporated.
- Pour the wet ingredients into the bowl of dry ingredients. Whisk gently until just combined. Do not overmix; a few small lumps are okay. Overmixing will develop gluten and make the cake tough.
- Divide the batter evenly between the two prepared cake pans. Tap the pans gently on the counter to release any large air bubbles.
- Bake in the center of the preheated oven for 30-35 minutes, or until a toothpick inserted into the center comes out clean or with just a few moist crumbs.
- Remove the cakes from the oven and let them cool in the pans for 10 minutes. Then, carefully invert them onto a wire rack to cool completely before frosting.
- To make the frosting: In a large bowl using a hand mixer or stand mixer, beat the softened vegan butter until creamy and pale (about 2-3 minutes).
- Gradually add the powdered sugar and 1/2 cup cocoa powder, mixing on low speed initially to avoid a mess. Once incorporated, increase speed to high and whip for 3-5 minutes until fluffy.
- If the frosting is too stiff, add non-dairy milk one tablespoon at a time until you reach the desired consistency. Beat in a splash of vanilla extract.
- Once the cakes are fully cool, place one layer on a serving plate. Spread a generous layer of frosting on top. Place the second layer on top and cover the top and sides with the remaining frosting.
Expert Cooking Tips
- ✓Ensure all ingredients are at room temperature before starting, especially the soy milk, to ensure proper emulsion.
- ✓Do not skip the parchment paper; vegan cakes can be slightly more delicate than egg-based cakes, and sticking can cause them to break.
- ✓Use a gel food coloring rather than liquid drops for a more vibrant red color without altering the liquid ratio of the batter.
- ✓Weigh your flour using a kitchen scale if possible (approx. 120g per cup) to avoid a dense cake caused by over-packing the measuring cup.
- ✓Let the cake cool completely—even chill it in the fridge for 30 minutes—before frosting to prevent the buttercream from melting.
- ✓For an extra flat top, use cake strips dampened with water around the outside of your cake pans while baking.
Substitutions and Variations
Baking is a science, but there is room for flexibility if you know the rules. If you don’t have apple cider vinegar, white distilled vinegar or fresh lemon juice works perfectly as a substitute for creating the buttermilk. For the milk, soy milk is preferred because of its high protein content which curdles best, but almond milk or oat milk will work adequately. If you want to make this gluten-free, substitute the all-purpose flour with a high-quality 1:1 Gluten-Free Baking Flour blend that contains xanthan gum. For the oil, melted coconut oil can be used, but ensure all other ingredients are room temperature so the oil doesn’t solidify during mixing. If you prefer natural coloring, beet powder can be used, though it may impart a slight earthy flavor and result in a more brownish-red hue.
Common Mistakes to Avoid
The most common mistake with vegan baking is overmixing the batter. Since there are no eggs to provide structure, we rely on the gluten network and chemical leavening. However, overworking the flour makes the cake rubbery rather than tender. Stop mixing as soon as the flour streaks disappear. Another error is opening the oven door too early; the rush of cool air can cause the cake to collapse in the center. Wait until at least 25 minutes have passed before checking. Finally, using a spreadable tub margarine instead of vegan butter sticks for the frosting will result in a runny, unstable icing. Always use the stick form which has a lower water content.
Serving Suggestions
This cake is a visual stunner, so serve it on a white ceramic stand to let the colors pop. It pairs beautifully with a glass of cold oat milk or a hot cup of dark roast coffee to cut through the sweetness. For a festive touch, garnish the top with fresh raspberries, strawberries, or dark chocolate shavings. If serving for a dinner party, a dollop of coconut whipped cream on the side adds a lovely textural contrast.
Storage and Reheating Tips
Store the frosted cake in an airtight container or cake carrier at room temperature for up to 2 days. Because it is oil-based, it stays moist longer than butter cakes. For longer storage, keep it in the refrigerator for up to 5 days, but allow it to come to room temperature before eating for the best texture and flavor. You can also freeze individual slices wrapped tightly in plastic wrap and foil for up to 3 months. Thaw in the fridge overnight.
Nutrition Facts (Estimated)
| Serving Size | 1 slice |
| Calories | 450 |
| Fat | 22g |
| Saturated Fat | 6g |
| Unsaturated Fat | 14g |
| Trans Fat | 0g |
| Cholesterol | 0mg |
| Sodium | 280mg |
| Carbohydrates | 62g |
| Fiber | 3g |
| Sugar | 32g |
| Protein | 5g |
Frequently Asked Questions
Can I use beet juice instead of food coloring?
Yes, you can use beet juice or beet powder, but be aware that the color will likely turn out more brownish-red or purple due to oxidation during baking. It may also add a subtle earthy flavor.
Why did my cake sink in the middle?
Sinking usually happens if the oven door was opened too early, the leavening agents (baking soda) were expired, or the batter was overmixed. Ensure your oven temperature is accurate using an oven thermometer.
Can I make this into cupcakes?
Absolutely! This recipe will yield approximately 20-24 cupcakes. Bake them at 350°F for 18-22 minutes.
Is the vinegar taste noticeable?
Not at all. The vinegar reacts chemically with the baking soda and is neutralized during the baking process. You won’t taste it in the final product.
Can I use whole wheat flour?
It is not recommended for this specific recipe as whole wheat flour creates a denser, heavier texture. For the classic velvet texture, stick to all-purpose or cake flour.
Why do I need cornstarch?
Cornstarch ‘softens’ the flour by reducing the percentage of gluten-forming protein. It mimics the properties of cake flour, resulting in a more tender crumb.
My frosting is too runny, what do I do?
Add more powdered sugar, a quarter cup at a time. Also, ensure your vegan butter wasn’t melted; it should be cool room temperature. If the kitchen is hot, chill the frosting for 10 minutes.
Can I use coconut sugar instead of white sugar?
You can, but it will darken the color of the cake significantly, making the red less vibrant. It also adds a caramel flavor that differs from the traditional taste.
Conclusion
This Moist Vegan Red Velvet Cake with Chocolate Frosting is proof that you don’t need dairy or eggs to create a bakery-quality dessert. It captures everything we love about the classic—the dramatic color, the subtle tang, and the soft texture—while adding a rich chocolatey layer that elevates it to new heights. Whether you are baking for a special dietary requirement or simply exploring the world of plant-based sweets, this recipe is a reliable, crowd-pleasing winner. Happy baking!