The Ultimate Fluffy Vanilla Mug Cake for One: Ready in 2 Minutes
Quick Microwave Vanilla Mug Cake For One Person Recipe
Satisfy your sweet tooth instantly with this incredibly moist and fluffy vanilla mug cake. It is the perfect single-serving dessert that requires no eggs, minimal cleanup, and ingredients you already have in your pantry.
3 minutes
1 minute 30 seconds
4 minutes 30 seconds
1 serving
Dessert
Microwave
American
Vegetarian
We have all been there: it is 9:00 PM on a Tuesday, you are curled up on the couch, and suddenly, a craving hits. You do not just want a piece of chocolate or a stale cookie; you want cake. A warm, tender, freshly baked slice of vanilla cake. But the thought of preheating the oven, dragging out the stand mixer, and waiting an hour for a full cake to bake (and cool) is enough to make you ignore the craving entirely. Enter the magic of the vanilla mug cake. This isn’t just any quick fix; this is a carefully tested recipe designed to banish the rubbery, sponge-like texture that plagues so many microwave desserts.
For years, mug cakes have had a bit of a bad reputation in the culinary world. They are often criticized for being too dense, oddly textured, or lacking depth of flavor. However, when you understand the science of microwave baking, you can manipulate the ingredients to produce a crumb that rivals a standard oven-baked cupcake. This recipe focuses on the perfect ratio of fat to flour and omits the egg entirely—a crucial step for a single-serving microwave treat, as a whole egg is simply too much protein and binding power for this small amount of batter, often resulting in an omelet-like texture. Instead, we rely on baking powder and milk to create lift and tenderness. The result is a warm, aromatic, vanilla-flecked hug in a mug that comes together in less time than a commercial break. It is comfort food distilled down to its most efficient form.
History & Origins
While the concept of baking small cakes in cups dates back to the late 18th century—originally termed ‘cup cakes’ because ingredients were measured in cups or baked in small pottery cups—the modern microwave mug cake is a much more recent phenomenon. The microwave oven itself was invented accidentally in 1945 by Percy Spencer, but it wasn’t until the late 1960s and 70s that countertop units became affordable for the average American household. Initially, microwaves were marketed primarily for reheating leftovers or defrosting meat, with actual ‘cooking’ being a secondary, often experimental feature.
The true explosion of the mug cake occurred with the rise of the internet and food blogging in the late 2000s and early 2010s. As Pinterest and Instagram began to dominate the food media landscape, the visual appeal of a cute, single-serving cake in a novelty mug became irresistible. It catered to a growing demographic of single professionals, students in dorms, and busy parents looking for quick treats. The trend was further fueled by the desire for portion control and the ‘instant gratification’ culture of the digital age. Unlike traditional baking, which is steeped in patience and precision, the mug cake represented a democratization of dessert—accessible to anyone with a microwave and a spoon, regardless of their baking skill level. Over the last decade, the recipe has evolved from a novelty hack into a legitimate dessert category, with dedicated cookbooks and gourmet variations appearing worldwide.
Why This Recipe Works
The primary reason this specific recipe triumphs over others is the deliberate omission of the egg. In traditional baking, eggs provide structure and stability. However, in a microwave, heat is generated by exciting water molecules, cooking food from the inside out very rapidly. When you add a whole egg to a tiny amount of flour and zap it for 60 seconds, the proteins in the egg coagulate aggressively, turning the cake tough and rubbery. By removing the egg, we rely on the interaction between the baking powder, milk, and oil to provide a soft, tender crumb that remains moist.
Furthermore, we use oil instead of butter. While butter offers great flavor, it contains water and milk solids. In the intense environment of a microwave, butter can sometimes lead to a drier texture once the cake cools even slightly. Vegetable or canola oil remains liquid at room temperature, ensuring the cake stays moist from the first hot bite to the last crumb. We also increase the vanilla extract slightly more than a standard ratio would suggest; microwave cooking doesn’t develop the same caramelized flavors (Maillard reaction) that oven baking does, so boosting the aromatic vanilla profile compensates for the lack of browning, ensuring a rich and satisfying flavor profile.
Why You’ll Love This Recipe
- ✓Ready in under 5 minutes from start to finish.
- ✓Egg-free recipe ensures a fluffy, not rubbery, texture.
- ✓Uses standard pantry staples you likely have right now.
- ✓Perfect portion control for a single serving.
- ✓Highly customizable with mix-ins like sprinkles or chocolate chips.
- ✓Minimal cleanup—mix and bake in the same mug.
Equipment You’ll Need
- ✓Microwave-safe mug (10-12 oz capacity)
- ✓Measuring spoons
- ✓Small whisk or fork
- ✓Microwave
Ingredients
- ✓1/4 cup All-Purpose Flour
- ✓2 tablespoons Granulated White Sugar
- ✓1/2 teaspoon Baking Powder
- ✓Pinch of Salt
- ✓3 tablespoons Whole Milk (or dairy-free alternative)
- ✓1 tablespoon Vegetable Oil (or melted butter)
- ✓1/2 teaspoon Pure Vanilla Extract
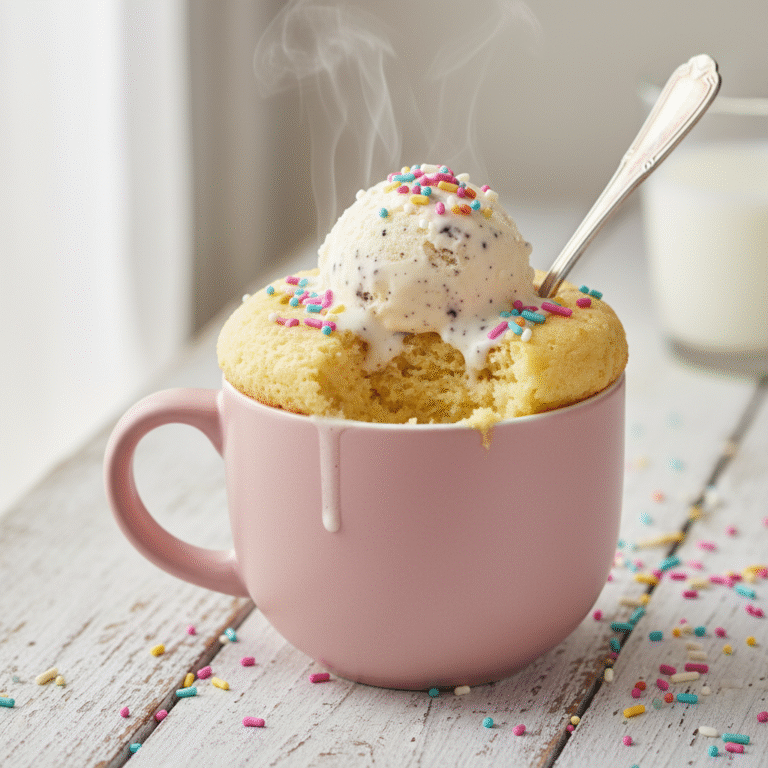
- ✓1 teaspoon Sprinkles (optional, for ‘Funfetti’ style)
Instructions
- Select a microwave-safe mug that holds at least 10-12 ounces to prevent overflow.
- Add the dry ingredients (flour, sugar, baking powder, and salt) directly into the mug.
- Use a fork or small whisk to mix the dry ingredients thoroughly, ensuring there are no clumps of flour or baking powder.
- Add the wet ingredients (milk, vegetable oil, and vanilla extract) to the mug.
- Stir vigorously with your fork, making sure to scrape the bottom edges of the mug where flour tends to get stuck. Mix until the batter is smooth.
- If using sprinkles or other mix-ins, gently fold them in now.
- Place the mug in the center of the microwave.
- Cook on high power for 60 to 90 seconds. Start with 60 seconds; the cake should look set and spring back when touched. If it looks wet, add 10-second intervals.
- Carefully remove the mug from the microwave (the handle may be hot).
- Let the cake sit for 1-2 minutes to cool slightly and finish setting before eating.
Expert Cooking Tips
- ✓Use a wide mug rather than a tall, skinny one to ensure even cooking.
- ✓Do not overfill the mug; the batter should only fill it halfway to allow for rising.
- ✓Mix the dry ingredients first to avoid pockets of baking powder.
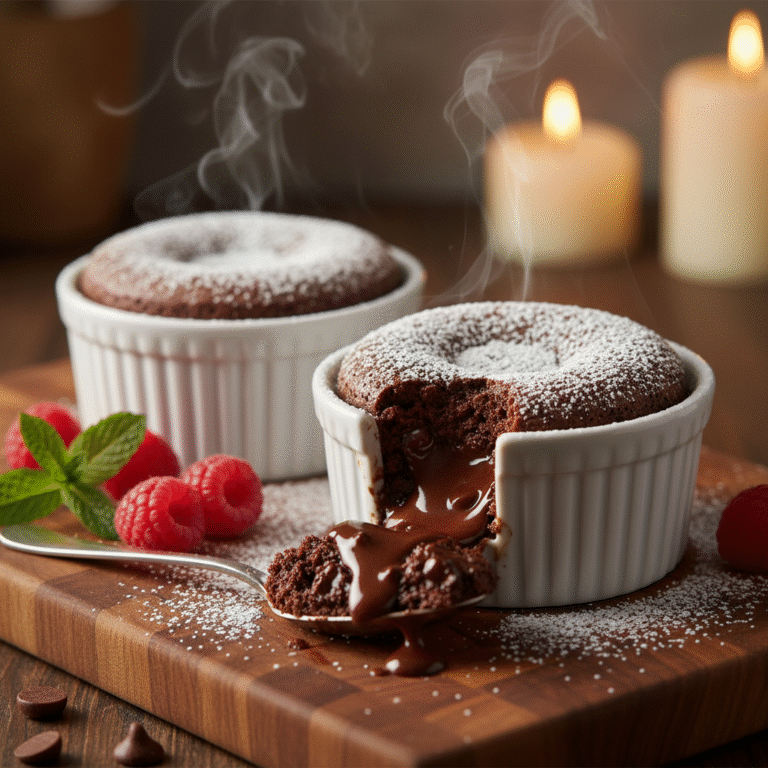
- ✓If you want a molten center, place a piece of chocolate in the middle before cooking.
- ✓Microwave wattages vary; know your machine. If yours is high wattage (1000W+), check at 60 seconds.
- ✓Eat while warm for the absolute best texture.
- ✓Place a paper towel under the mug in the microwave just in case of spills.
Substitutions and Variations
This recipe is incredibly forgiving and adaptable to various dietary needs. For a gluten-free version, simply swap the all-purpose flour for a high-quality 1:1 gluten-free baking flour blend; avoid almond flour or coconut flour as 1:1 subs, as they absorb liquid differently and will require recipe adjustments. If you are vegan or dairy-free, any plant-based milk works beautifully—almond milk, oat milk, and soy milk are excellent choices. The vegetable oil can be replaced with melted coconut oil for a slight tropical hint, or melted butter if you prefer a richer, more savory undertone, though oil yields the moistest texture. For sweeteners, you can use brown sugar instead of white sugar for a deeper, caramel-like flavor, though it will darken the color of the cake. Liquid sweeteners like maple syrup or honey can be used, but you may need to add an extra teaspoon of flour to balance the moisture.
Common Mistakes to Avoid
The most common mistake with mug cakes is overcooking. Because microwaves cook unevenly and rapidly, leaving the cake in for even 15 seconds too long can turn a fluffy delight into a hard, rubbery puck. Always err on the side of undercooking; you can always zap it for another 10 seconds, but you cannot un-cook it. Another frequent error is not mixing the batter at the bottom of the mug. It is easy to leave a pocket of dry flour in the ‘corners’ of the mug base, which results in an unpleasant powdery bite. Finally, using old baking powder is a recipe for disaster. Since this recipe relies entirely on chemical leavening for its rise, if your baking powder is expired, you will end up with a dense, heavy paste rather than a cake.
Serving Suggestions
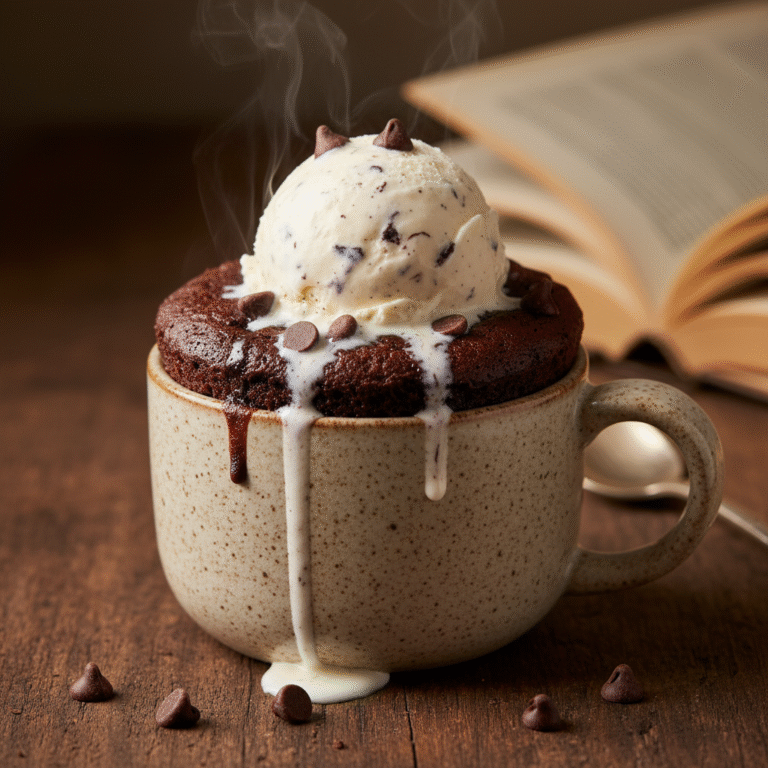
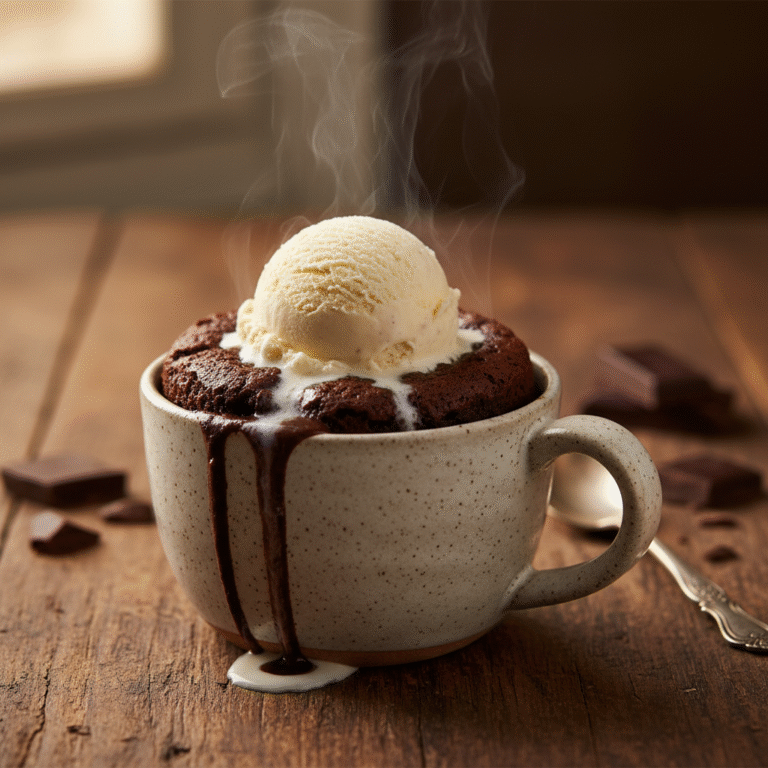
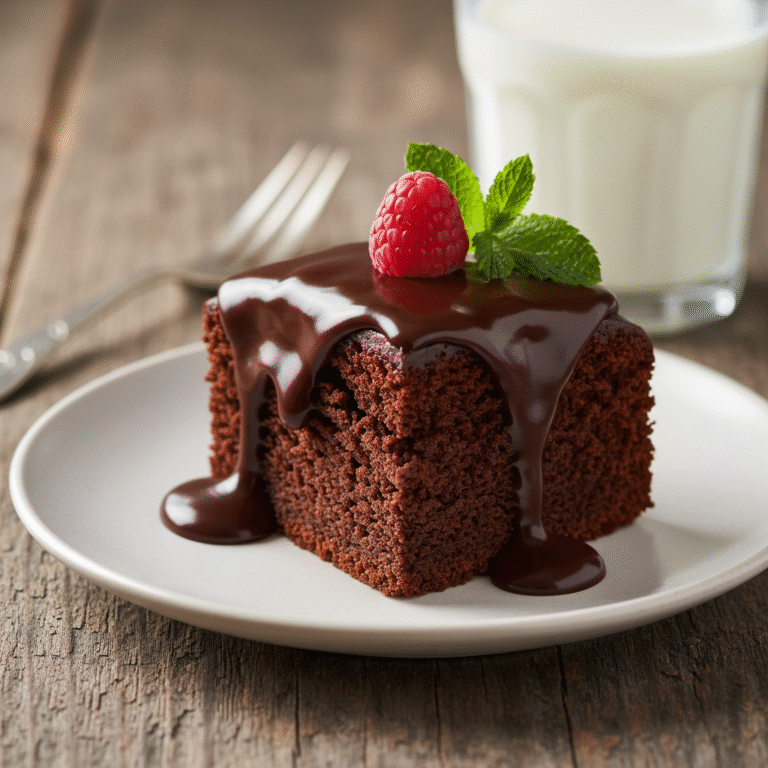
While delicious on its own, this vanilla mug cake serves as a perfect blank canvas for toppings. A dollop of freshly whipped cream or a scoop of vanilla bean ice cream creates a delightful hot-cold contrast that elevates the dessert. Fresh berries, such as raspberries or sliced strawberries, add a tart freshness that cuts through the sweetness. for chocolate lovers, a drizzle of hot fudge or Nutella over the top is non-negotiable. You can also dust the top with powdered sugar or cocoa powder for a simple, elegant finish. If you are eating this for breakfast (no judgment here!), a spoonful of Greek yogurt and some granola can make it feel slightly more substantial.
Storage and Reheating Tips
Mug cakes are truly designed to be eaten immediately. The texture is at its peak within 10 minutes of cooking. As they cool completely, they can tend to dry out or become slightly chewy due to the microwave cooking process. However, if you simply cannot finish it, you can cover the mug tightly with plastic wrap and store it in the refrigerator for up to 24 hours. To reheat, do not eat it cold; sprinkle a few drops of water over the top and microwave it for 10-15 seconds to revive the texture. Freezing is not recommended for this type of quick-bread recipe.
Nutrition Facts (Estimated)
| Serving Size | 1 mug cake |
| Calories | 340 |
| Fat | 14g |
| Saturated Fat | 2g |
| Unsaturated Fat | 11g |
| Trans Fat | 0g |
| Cholesterol | 2mg |
| Sodium | 200mg |
| Carbohydrates | 48g |
| Fiber | 1g |
| Sugar | 22g |
| Protein | 4g |
Frequently Asked Questions
Why is my mug cake rubbery?
A rubbery texture usually comes from two things: overmixing the batter (which develops too much gluten) or overcooking the cake. Mix just until combined, and stop microwaving as soon as the cake looks set.
Can I use water instead of milk?
Technically yes, but your cake will be less rich and flavorful. Milk adds fat and sugar which tenderizes the crumb. If you use water, consider adding a splash of melted butter or extra vanilla.
Can I make this in a bowl instead of a mug?
Absolutely. Any microwave-safe small bowl or ramekin works. Just ensure it has enough volume to contain the rise.
Do I need to grease the mug?
It is not strictly necessary since you are eating it out of the mug, but a quick spray of non-stick cooking spray can make cleaning up easier later.
Can I double the recipe?
Yes, but do not cook it in the same mug unless it is a massive soup mug. It is better to make two separate mugs and cook them one at a time for even heating.
Why did my mug cake sink?
Mug cakes often deflate slightly when removed from the heat—this is normal. However, if it collapses completely, it might be undercooked or have too much liquid.
Is this recipe safe for kids to make?
Yes! Since there are no raw eggs and no open flames, it is a fantastic starter recipe for kids. Just be careful removing the hot mug from the microwave.
Can I add cocoa powder to make it chocolate?
Yes, replace about 1 tablespoon of flour with unsweetened cocoa powder and add an extra teaspoon of sugar for a chocolate version.
Conclusion
There you have it—the secret to satisfying your dessert cravings in mere minutes. This Quick Microwave Vanilla Mug Cake proves that you do not need a special occasion, a fully stocked bakery, or hours of free time to enjoy a homemade treat. It is the ultimate hack for the modern sweet tooth, combining convenience with genuine comfort. Whether you are studying late, treating yourself after a long work day, or just need a quick sugar fix, this recipe is reliable, delicious, and infinitely adaptable. Keep these pantry staples on hand, and you are never more than five minutes away from a warm, fluffy slice of cake.