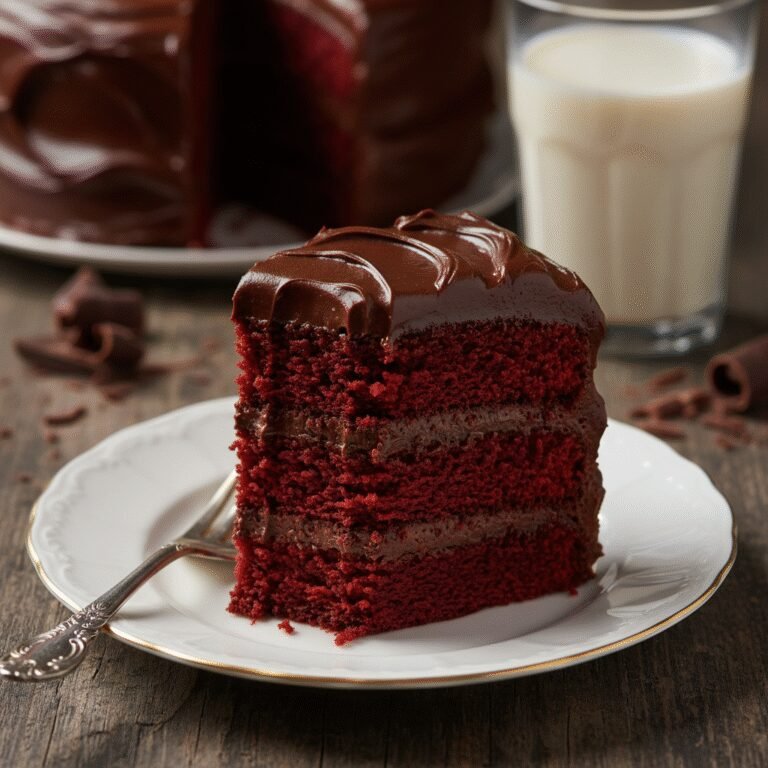
The Ultimate Moist Dairy-Free Chocolate Cake with Rich Fudge Frosting
Moist Dairy Free Chocolate Cake With Dairy Free Chocolate Frosting Recipe
Discover the secret to the most decadent chocolate cake that happens to be completely dairy-free. This recipe guarantees a moist, tender crumb and a silky, rich frosting that rivals any traditional bakery cake, making it the perfect centerpiece for birthdays and special occasions.
25 minutes
35 minutes
1 hour 15 minutes (plus cooling)
12-14 servings (2 layer 8-inch cake)
Dessert
Baking
American
Dairy-Free
For years, home bakers have labored under the misconception that removing dairy from a dessert compromises its texture and richness. We have all experienced the disappointment of a ‘healthy’ alternative that turns out dry, crumbly, or lacking that essential depth of flavor. However, this Moist Dairy-Free Chocolate Cake recipe is here to shatter those expectations completely. This is not just a ‘good for being dairy-free’ cake; it is, quite simply, one of the best chocolate cakes you will ever taste, period.
The magic lies in the balance of high-quality cocoa, the moisture-retaining properties of vegetable oil, and a specific mixing method that ensures a tender crumb every single time. Unlike butter-based cakes which can firm up and dry out as they sit, this oil-based masterpiece stays incredibly soft and moist for days. The flavor profile is deep, dark, and intensely chocolatey, enhanced by a splash of hot coffee that blooms the cocoa powder to its full potential.
Paired with a dairy-free chocolate buttercream that whips up fluffy and smooth, this cake offers a sensory experience that is pure indulgence. Whether you are baking for someone with a lactose intolerance, a milk allergy, or simply looking for a foolproof chocolate cake recipe, this dish delivers on all fronts. Prepare to be asked for the recipe after every single bite, and enjoy the look of surprise on your guests’ faces when you tell them it contains absolutely no dairy.
History & Origins
The history of chocolate cake is a journey through culinary innovation and necessity. While chocolate has been consumed as a beverage for millennia, starting with Mesoamerican civilizations, it wasn’t until the mid-18th century that Dr. James Baker discovered how to grind cocoa beans between millstones to produce cocoa powder, paving the way for chocolate baking. However, early ‘chocolate cakes’ were often just yellow cakes with chocolate frosting or cakes served with chocolate drinks.
The true ancestor of this dairy-free marvel gained prominence during the Great Depression and World War II. During these eras, ingredients like butter, milk, and eggs were strictly rationed or simply too expensive for the average family. Ingenious home cooks developed ‘Wacky Cake’ or ‘Depression Cake,’ which utilized vinegar and baking soda to provide lift in the absence of eggs and dairy fats. These cakes relied on oil for moisture, creating a distinctively tender texture that many grew to prefer over denser butter cakes.
In the modern era, the demand for dairy-free baking has shifted from economic necessity to health and lifestyle choices. With the rise of lactose intolerance awareness and plant-based diets, the culinary world has revisited these oil-based techniques, refining them with better quality cocoa powders and dairy-free milk alternatives like almond, oat, and soy. This specific recipe creates a bridge between the resourcefulness of the 1940s and the gourmet standards of the 21st century, proving that restriction often breeds the most delicious creativity.
Why This Recipe Works
This recipe succeeds where others fail due to the fundamental chemistry of baking fats and flavor enhancers. First and foremost is the choice of fat: oil versus butter. Butter is roughly 80% fat and 20% water, and it is solid at room temperature. While it offers a specific flavor, butter-based cakes tend to dry out faster and have a tighter crumb. Vegetable oil, being 100% fat and liquid at room temperature, coats the flour proteins more effectively, inhibiting gluten formation. This results in a cake that is structurally tender and remains sensationally moist on the palate, even days after baking.
Secondly, the inclusion of boiling hot liquid (coffee or water) is a non-negotiable technique for chocolate intensity. Pouring boiling liquid over the batter does two things: it ‘blooms’ the cocoa powder, dissolving the cocoa solids to release deep, complex flavor notes that cold mixing simply cannot achieve, and it reacts immediately with the baking soda to create an airy lift.
Finally, the use of a high-quality dairy-free milk (like almond or oat milk) combined with vinegar (or using buttermilk if not dairy-free, but here we create a ‘vegan buttermilk’) adds acidity. This acidity tenderizes the gluten strands in the flour, ensuring the cake is soft rather than chewy. The result is a foolproof batter that yields a professional-bakery-quality texture without the need for specialized equipment.
Why You’ll Love This Recipe
- ✓Incredibly moist texture that lasts for days
- ✓Rich, deep chocolate flavor enhanced by hot coffee
- ✓Completely dairy-free without sacrificing taste
- ✓Simple one-bowl mixing method for the batter
- ✓Versatile frosting that pipes beautifully
- ✓Perfect for birthdays, holidays, and allergy-friendly gatherings
Equipment You’ll Need
- ✓Two 8-inch round cake pans
- ✓Large mixing bowl
- ✓Medium mixing bowl
- ✓Electric hand mixer or stand mixer
- ✓Whisk
- ✓Sifter or fine-mesh sieve
- ✓Parchment paper
- ✓Wire cooling rack
- ✓Offset spatula
Ingredients
- ✓2 cups all-purpose flour
- ✓2 cups granulated sugar
- ✓3/4 cup unsweetened cocoa powder (Dutch-processed preferred)
- ✓2 teaspoons baking powder
- ✓1 1/2 teaspoons baking soda
- ✓1 teaspoon salt
- ✓1 cup unsweetened almond milk (or oat/soy milk)
- ✓1/2 cup vegetable oil (or melted coconut oil)
- ✓2 large eggs, room temperature
- ✓2 teaspoons pure vanilla extract
- ✓1 cup boiling hot coffee (or boiling water)
- ✓1 cup vegan butter sticks, slightly softened (for frosting)
- ✓3/4 cup unsweetened cocoa powder (for frosting)
- ✓4 cups powdered sugar (confectioners’ sugar)
- ✓2-4 tablespoons dairy-free milk (for frosting consistency)
- ✓1 teaspoon pure vanilla extract (for frosting)
- ✓Pinch of salt (for frosting)
Instructions
- Preheat your oven to 350°F (175°C). Grease two 8-inch round cake pans with oil and dust with cocoa powder, or line the bottoms with parchment paper for easy removal.
- In a large mixing bowl, sift together the flour, sugar, 3/4 cup cocoa powder, baking powder, baking soda, and salt. Whisk thoroughly to ensure the raising agents are evenly distributed.
- In a separate medium bowl, whisk together the almond milk, vegetable oil, eggs, and vanilla extract until well combined.
- Pour the wet ingredients into the dry ingredients. Using an electric mixer on low speed (or a whisk by hand), mix until just combined. Do not overmix.
- Carefully pour the boiling hot coffee into the batter. Mix on low speed until everything is combined. The batter will be very thin and liquidy—this is completely normal and ensures moisture.
- Divide the batter evenly between the two prepared cake pans.
- Bake in the preheated oven for 30-35 minutes. Test for doneness by inserting a wooden toothpick into the center of the cake; it should come out clean or with just a few moist crumbs attached.
- Remove the cakes from the oven and let them cool in the pans for about 10-15 minutes. Then, carefully run a knife around the edges and invert them onto a wire rack to cool completely before frosting.
- While the cakes cool, prepare the frosting. In a large bowl, beat the softened vegan butter until creamy and pale (about 2-3 minutes).
- Sift in the 3/4 cup cocoa powder and mix until combined.
- Gradually add the powdered sugar, one cup at a time, alternating with a tablespoon of dairy-free milk. Beat on medium-high speed until fluffy and smooth.
- Stir in the vanilla extract and a pinch of salt. If the frosting is too stiff, add more dairy-free milk, one teaspoon at a time. If too soft, add more powdered sugar.
- Once the cakes are completely cool, place one layer on your serving plate. Spread a thick layer of frosting over the top. Place the second cake layer on top and frost the top and sides of the entire cake.
- Slice and serve immediately, or store for later enjoyment.
Expert Cooking Tips
- ✓Always use room temperature eggs and dairy-free milk to ensure the batter emulsifies properly.
- ✓Do not skip the boiling water/coffee step; it is crucial for blooming the cocoa flavor.
- ✓Weigh your flour using a kitchen scale (approx. 120g per cup) to avoid a dense cake.
- ✓Use Dutch-processed cocoa powder for a darker color and smoother, less acidic chocolate flavor.
- ✓Let the cakes cool completely before frosting; even a slightly warm cake will melt the vegan butter frosting.
- ✓Tap the cake pans on the counter before baking to release any large air bubbles.
- ✓If using coconut oil, ensure all other ingredients are room temp so the oil doesn’t solidify upon contact.
Substitutions and Variations
This recipe is highly adaptable to various dietary needs. For the flour, you can substitute a high-quality 1:1 Gluten-Free All-Purpose Flour blend (containing xanthan gum) to make the cake gluten-free. If you have an egg allergy, you can replace the eggs with ‘flax eggs’ (2 tablespoons ground flaxseed meal mixed with 6 tablespoons warm water, let sit for 5 minutes) or a commercial egg replacer, though the rise may be slightly less dramatic. For the dairy-free milk, almond, soy, oat, or cashew milk all work wonderfully; soy milk tends to be the richest. You can use canola oil, vegetable oil, or melted coconut oil for the fat. For the frosting, if you cannot find vegan butter sticks, high-quality vegetable shortening can be used, though you may need to add a bit more vanilla or cocoa to boost the flavor.
Common Mistakes to Avoid
The most common mistake with this cake is overbaking. Because the batter is dark, it is hard to see visual browning cues. Rely on the toothpick test and start checking at the 30-minute mark. Another error is overmixing the batter after adding the flour; this develops gluten and leads to a tough, rubbery texture. Stop mixing as soon as the streaks of flour disappear. Using cold ingredients is another pitfall—cold eggs hitting melted coconut oil will cause the oil to seize into clumps. Finally, do not try to frost the cake while it is even slightly warm. Vegan butter has a lower melting point than dairy butter, and your frosting will slide right off the cake.
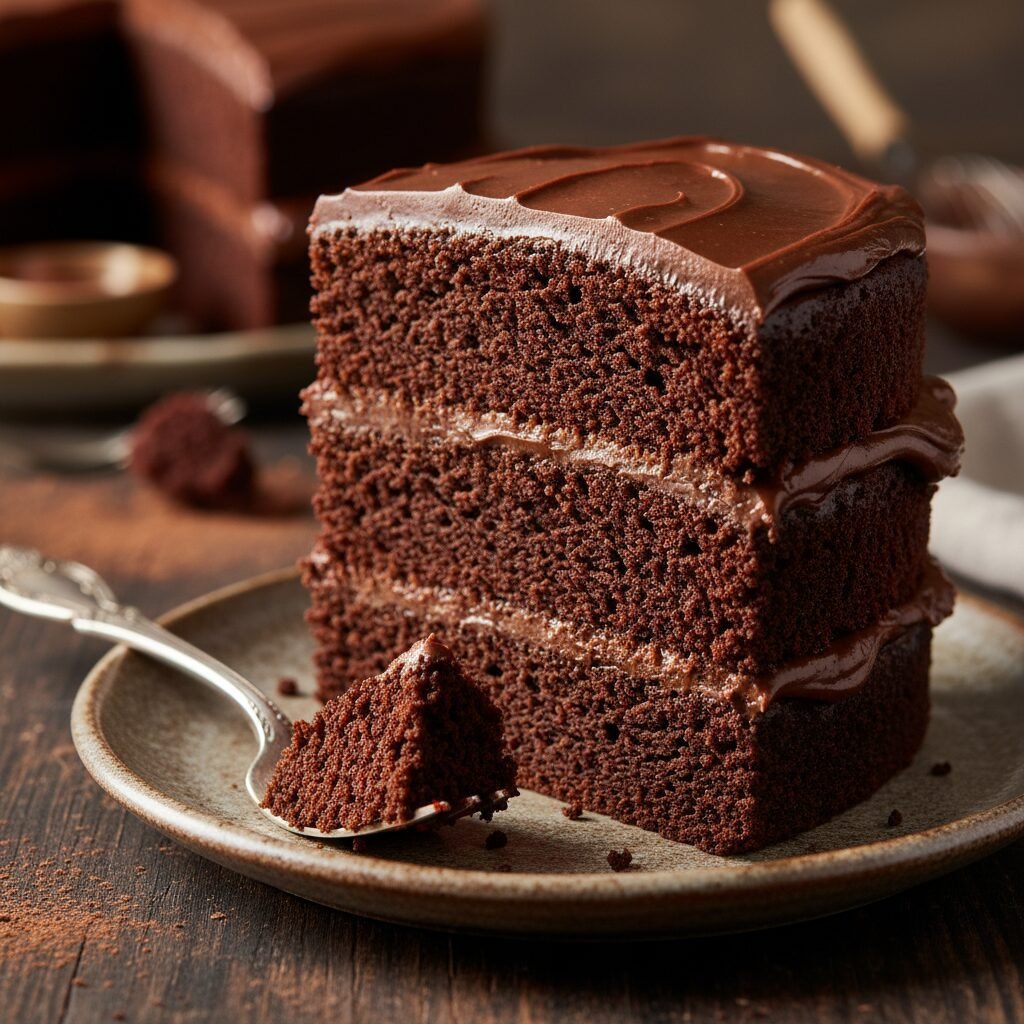
Serving Suggestions
This rich cake pairs beautifully with fresh berries—raspberries or strawberries provide a tart contrast to the deep chocolate. A dollop of coconut whipped cream or a scoop of dairy-free vanilla bean ice cream makes for an indulgent à la mode presentation. For a sophisticated touch, sprinkle flaky sea salt over the frosting or shave a block of dark chocolate (check the label to ensure it’s dairy-free) on top. Serve with a hot espresso or a cold glass of oat milk.
Storage and Reheating Tips
This cake stores exceptionally well due to its oil content. It can be kept at room temperature in an airtight cake carrier for up to 3 days. If you live in a very hot or humid climate, store it in the refrigerator for up to 5 days, but allow it to come to room temperature before serving for the best texture and flavor. The unfrosted cake layers can be wrapped tightly in plastic wrap and foil and frozen for up to 3 months. Thaw frozen layers in the refrigerator overnight before frosting.
Nutrition Facts (Estimated)
| Serving Size | 1 slice |
| Calories | 580 |
| Fat | 28g |
| Saturated Fat | 6g |
| Unsaturated Fat | 20g |
| Trans Fat | 0g |
| Cholesterol | 45mg |
| Sodium | 320mg |
| Carbohydrates | 78g |
| Fiber | 4g |
| Sugar | 45g |
| Protein | 6g |
Frequently Asked Questions
Can I make this cake vegan?
Yes! While this recipe is dairy-free, it uses eggs. To make it fully vegan, replace the 2 eggs with 2 flax eggs (2 tbsp flax meal + 6 tbsp water) or 1/2 cup of unsweetened applesauce. The texture will be slightly denser but still delicious.
Will the cake taste like coffee?
No, the cake will not taste like coffee. The hot coffee simply enhances the richness of the chocolate, making it taste more ‘chocolatey.’ If you are sensitive to caffeine, you can use decaf coffee or just boiling water.
Can I make cupcakes with this recipe?
Absolutely. This batter makes excellent cupcakes. Line a muffin tin with liners and fill them 2/3 full. Bake at 350°F for 18-22 minutes. This recipe yields approximately 24 cupcakes.
Why is my batter so runny?
Don’t panic! This batter is supposed to be very thin and liquidy compared to standard butter-cake batters. This high liquid content is what evaporates during baking to create steam and a moist crumb.
What is the best dairy-free butter for frosting?
Look for vegan butter sticks rather than tub margarine. Sticks have a lower water content and hold their shape better for frosting. Brands like Miyoko’s or Country Crock Plant Butter are popular choices.
Can I use a Bundt pan?
Yes, but be very thorough with greasing and dusting the pan with cocoa powder. Bake for 45-55 minutes, checking for doneness with a long skewer.
Why did my cake sink in the middle?
Sinking usually happens if the oven door was opened too early (letting cool air in), if there was too much leavening (baking soda/powder), or if the cake was underbaked. Ensure your oven temperature is accurate using an oven thermometer.
Can I use olive oil?
You can, but keep in mind that extra virgin olive oil has a strong flavor that might come through. If you use olive oil, choose a ‘light’ or ‘mild’ variety for a neutral taste.
Conclusion
In the world of baking, finding a recipe that accommodates dietary restrictions without compromising on the joy of eating is a true victory. This Moist Dairy-Free Chocolate Cake is a testament to that victory. It brings everyone to the table, regardless of their dietary needs, to enjoy a slice of pure, unadulterated chocolate bliss. Whether you are an experienced baker or a novice in the kitchen, this recipe promises a rewarding result that will likely become your go-to for years to come. So, brew that coffee, sift that cocoa, and get ready to bake a cake that is truly better than the rest.