Elegant Red Velvet Anniversary Cake With Naked Frosting Style Recipe
Elegant Red Velvet Anniversary Cake With Naked Frosting Style Recipe
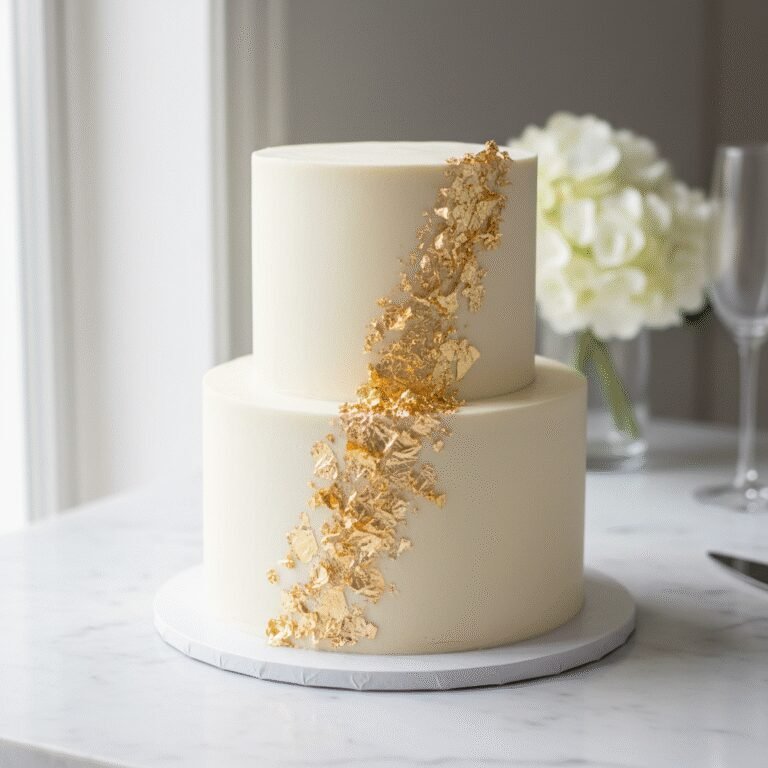
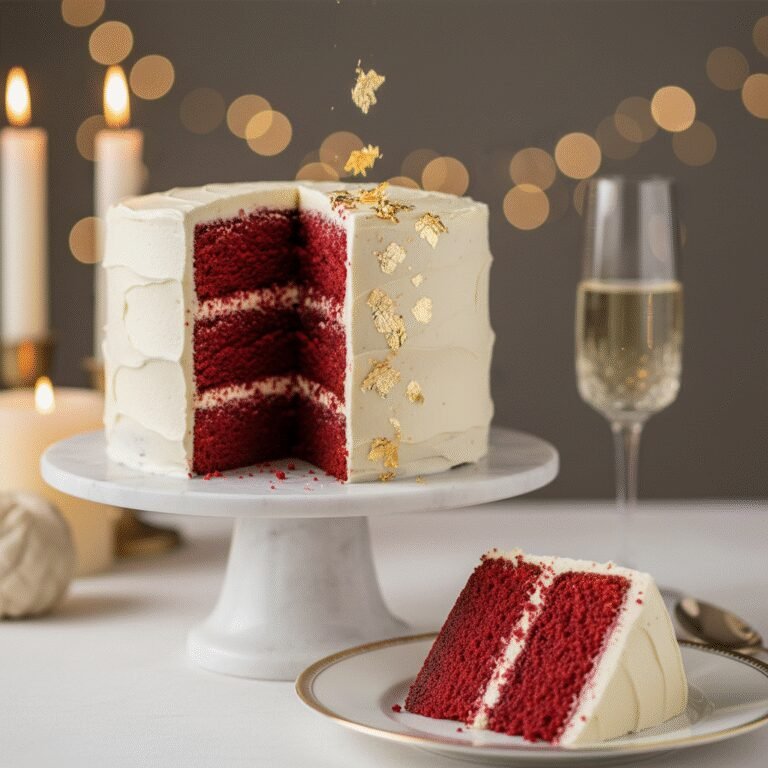
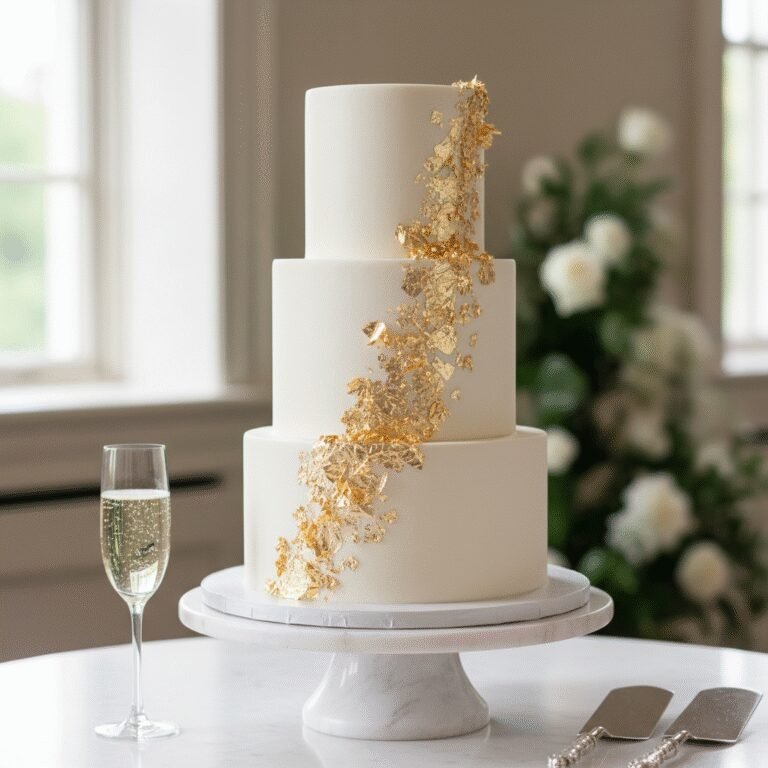
Celebrate love with this breathtaking Red Velvet Anniversary Cake, featuring tender, crimson-hued layers and a chic naked frosting finish. Perfectly balanced with tangy cream cheese icing, this rustic-yet-elegant dessert is the ultimate showstopper for your special romantic milestone.
45 minutes
30 minutes
2 hours 30 minutes
12-14 servings
Dessert
Baking
American
Vegetarian
There is something undeniably romantic about Red Velvet cake. Perhaps it is the deep, passionate crimson color, or the velvety, soft crumb that seems to melt in your mouth, or maybe it is the way the slight tang of buttermilk and cocoa perfectly cuts through the sweetness of a classic cream cheese frosting. Whatever the reason, this Elegant Red Velvet Anniversary Cake with a Naked Frosting Style is designed to be the centerpiece of a celebration of love. Unlike heavy, fondant-draped wedding cakes of the past, this recipe embraces the modern, sophisticated ‘naked’ cake trend. By applying a sparse layer of frosting—essentially a crumb coat that is smoothed to perfection—we allow the vibrant red layers to peek through the white icing, creating a stunning visual contrast that feels organic, rustic, and incredibly chic. This aesthetic is not only Pinterest-perfect but also practical; it strikes a better balance of flavor, ensuring that the frosting enhances rather than overpowers the delicate cocoa and vanilla notes of the sponge. This cake is moist, dense yet fluffy, and carries that signature hint of chocolate that defines a true red velvet. Whether you are celebrating your first anniversary or your fiftieth, the process of baking this cake is a labor of love that yields professional-bakery results right in your home kitchen. We use oil instead of butter for the sponge to ensure it stays moist for days, and a specific blend of vinegar and baking soda to give it that airy lift. Prepare to impress your partner and your guests with a dessert that tastes as beautiful as it looks.
History & Origins
The history of Red Velvet cake is as rich and layered as the dessert itself, often shrouded in culinary myth and marketing genius. While many believe the cake originated in the South, its roots likely trace back to the Victorian era’s ‘Velvet Cakes,’ which were so named for their smooth texture achieved by using almond flour or cornstarch to soften the protein in wheat flour. The ‘Red’ in the name originally didn’t come from a bottle of food coloring. In the early 20th century, unprocessed cocoa powder contained high levels of anthocyanins. When this cocoa reacted with the acidic ingredients in the batter—specifically buttermilk and vinegar—it created a reddish-brown hue. This natural chemical reaction is the true ancestor of the modern red velvet. During the Great Depression, as families struggled to afford ingredients, the Adams Extract company in Texas looked for a way to boost sales. They popularized the modern version of the cake by packaging it with red food coloring and tear-off recipe cards, effectively cementing the bright red aesthetic we know today. Another famous origin story involves the Waldorf Astoria Hotel in New York, which claims to have created the cake in the 1930s, originally calling it the ‘Waldorf-Astoria Cake.’ However, the cake’s popularity waned until it saw a massive resurgence in 1989 following the release of the movie ‘Steel Magnolias,’ which featured an armadillo-shaped red velvet groom’s cake. Today, it stands as an icon of American baking, evolving from a chemical curiosity to a symbol of celebration and romance.
Why This Recipe Works
This recipe succeeds where many others fail because it meticulously balances moisture, structure, and flavor. First, we utilize vegetable oil rather than butter for the fat component. While butter adds flavor, it contains water that evaporates during baking, often leading to a drier crumb. Oil is 100% fat and remains liquid at room temperature, guaranteeing a cake that stays incredibly moist and tender for days. Secondly, the combination of buttermilk, white vinegar, and baking soda is non-negotiable. This trio creates a robust leavening reaction that aerates the batter, counteracting the weight of the flour and sugar to produce that signature ‘velvety’ texture. The acidity also breaks down the gluten strands in the flour, preventing toughness. Flavor-wise, we use a modest amount of cocoa powder. Red velvet is not a chocolate cake; it is a vanilla cake with a hint of cocoa. Too much cocoa muddies the red color and overpowers the tang. Finally, the ‘naked’ frosting technique works technically because it reduces the structural weight on the cake layers. A heavy coat of buttercream can sometimes cause layers to slide or bulge, but the naked style locks in crumbs and provides just enough stability and sweetness without overwhelming the palate.
Why You’ll Love This Recipe
- ✓Stays moist for days thanks to the oil-based batter.
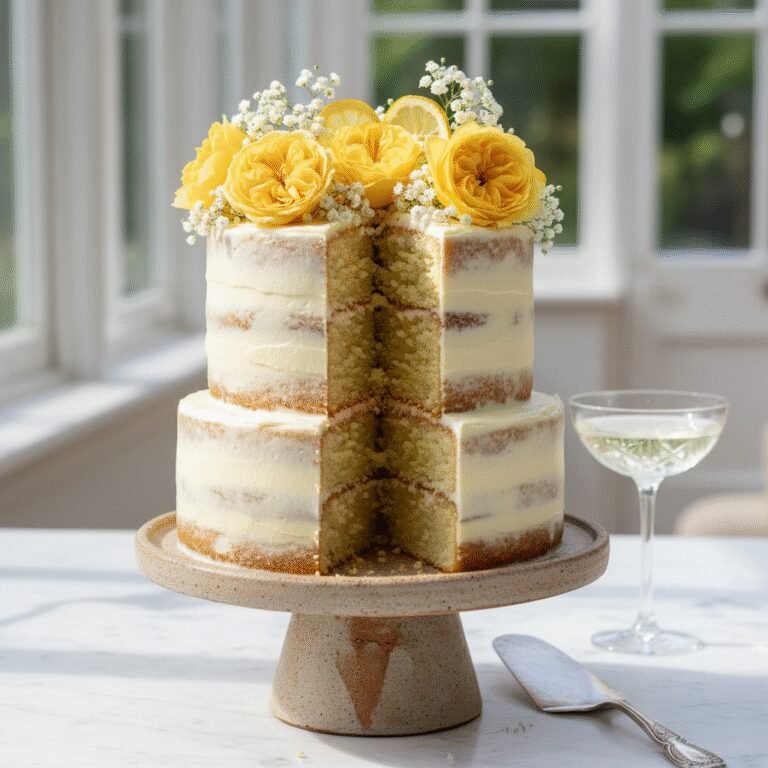
- ✓The naked frosting style creates a professional, rustic-chic look.
- ✓Perfect balance of sweet vanilla and tangy buttermilk flavors.
- ✓Vibrant red color makes for stunning photography and presentation.
- ✓Stable structure that is easy to stack and slice.
- ✓Cream cheese frosting is silky smooth and not overly sweet.
Equipment You’ll Need
- ✓Three 8-inch round cake pans
- ✓Stand mixer or electric hand mixer
- ✓Large mixing bowls
- ✓Whisk
- ✓Rubber spatula
- ✓Offset spatula
- ✓Cake turntable (optional but recommended)
- ✓Parchment paper
- ✓Wire cooling rack
- ✓Bench scraper
Ingredients
- ✓2 1/2 cups Cake flour (sifted)
- ✓2 tbsp Unsweetened cocoa powder
- ✓1 tsp Baking soda
- ✓1 tsp Salt
- ✓1 1/2 cups Granulated sugar
- ✓1 1/2 cups Vegetable oil (or canola oil)
- ✓2 large Eggs (room temperature)
- ✓1 tsp Vanilla extract
- ✓1 oz Red food coloring (liquid or gel paste)
- ✓1 tsp Distilled white vinegar
- ✓1 cup Buttermilk (room temperature)
- ✓16 oz Full-fat cream cheese (softened)
- ✓1/2 cup Unsalted butter (softened)
- ✓4 cups Powdered sugar (sifted)
- ✓1 tsp Vanilla extract (for frosting)
- ✓1-2 tbsp Heavy cream (if needed for consistency)
Instructions
- 1. Preheat your oven to 350°F (175°C). Grease three 8-inch round cake pans with butter or cooking spray, line the bottoms with parchment paper rounds, and grease the parchment. Dust lightly with flour or cocoa powder and tap out excess.
- 2. In a medium bowl, sift together the cake flour, cocoa powder, baking soda, and salt. Whisk to combine thoroughly and set aside.
- 3. In the bowl of a stand mixer fitted with the paddle attachment (or a large bowl with a hand mixer), combine the vegetable oil and granulated sugar. Mix on medium speed for about 2 minutes.
- 4. Add the eggs one at a time, mixing well after each addition. Scrape down the sides of the bowl. Add the vanilla extract, red food coloring, and white vinegar. Mix until the batter is a vibrant, uniform red color.
- 5. Reduce the mixer speed to low. Add the flour mixture in three parts, alternating with the buttermilk in two parts, starting and ending with the flour (Flour-Buttermilk-Flour-Buttermilk-Flour). Mix only until just combined to avoid overworking the gluten.
- 6. Divide the batter evenly among the three prepared cake pans. Tap the pans gently on the counter to release any large air bubbles.
- 7. Bake for 28-32 minutes, or until a toothpick inserted into the center comes out clean or with just a few moist crumbs. Do not overbake.
- 8. Remove cakes from the oven and let them cool in the pans for 10-15 minutes. Then, carefully invert them onto a wire rack to cool completely before frosting.
- 9. While cakes cool, make the frosting. Beat the softened cream cheese and butter together on medium-high speed until smooth and creamy (about 3 minutes).
- 10. Lower the speed and gradually add the powdered sugar, one cup at a time. Once incorporated, add the vanilla extract and beat on high for 2-3 minutes until fluffy. If too stiff, add heavy cream one teaspoon at a time.
- 11. To assemble, level the tops of the cooled cakes with a serrated knife if they are domed. Place a dab of frosting on a cake board or stand to secure the first layer.
- 12. Place the first cake layer down. Pipe or spread a generous even layer of frosting on top. Repeat with the second layer and more frosting. Top with the third layer, bottom side up (for a flat top).
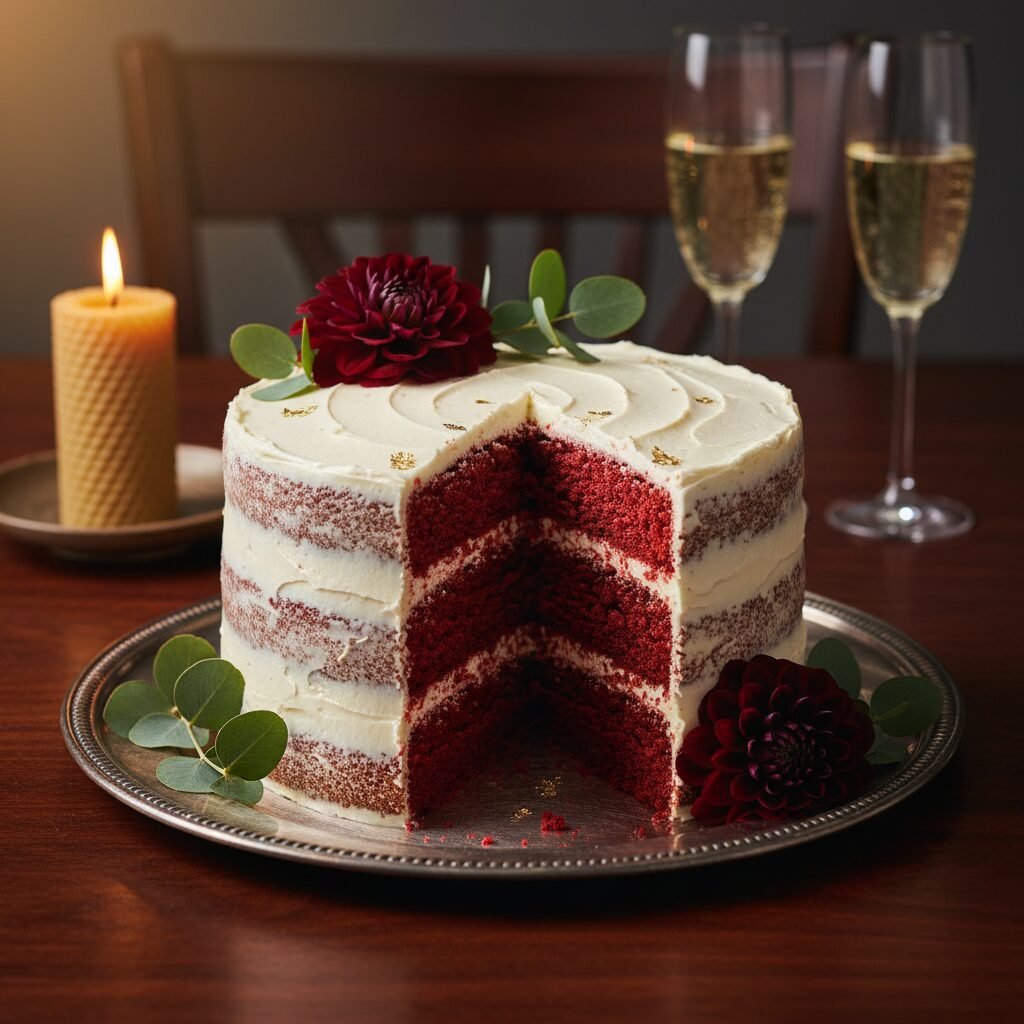
- 13. For the naked look, apply a thin layer of frosting all over the top and sides of the cake. Use a bench scraper to smooth the sides, scraping away enough frosting so the red cake layers peek through. The sides should look sheer.
- 14. Decorate the top with piped swirls, fresh berries, or edible flowers. Chill for 30 minutes before serving to set the frosting.
Expert Cooking Tips
- ✓Room Temperature Ingredients: Ensure your eggs, buttermilk, cream cheese, and butter are all at room temperature. This ensures they emulsify properly for a smooth batter and frosting.
- ✓Don’t Overmix: Once the flour is added, mix gently. Overmixing develops gluten, which makes the cake tough instead of velvety.
- ✓Gel vs. Liquid Color: Gel food coloring is more concentrated, so you need less of it compared to liquid dye. Adjust accordingly to achieve your desired shade of red.
- ✓Chill for Slicing: Because this cake is very moist, chilling it for 20-30 minutes before slicing helps you get clean, sharp cuts.
- ✓Weigh Your Flour: If possible, use a kitchen scale. Too much flour is the number one reason for dry cake.
- ✓Crumb Coat is Key: Since this is a naked cake, your crumb coat IS the final coat. Keep your bench scraper clean, wiping it after every pass to get that clean, sheer look.
- ✓Leveling: Flat layers are crucial for a tall, straight cake. Don’t skip trimming the domes off your cake layers.
Substitutions and Variations
If you cannot find cake flour, you can make a substitute by measuring 1 cup of all-purpose flour, removing 2 tablespoons, and replacing them with 2 tablespoons of cornstarch. Sift this mixture twice before using. For a natural coloring alternative, you can use beet powder or reduced beet puree, though this will slightly alter the flavor profile to be earthier and the color may be more purple-brown than bright red. If you don’t have buttermilk, make a ‘sour milk’ substitute by adding 1 tablespoon of lemon juice or white vinegar to a measuring cup and filling it to the 1-cup line with regular milk; let it sit for 5 minutes until curdled. Greek yogurt or sour cream can also be substituted for buttermilk in a 1:1 ratio, though the batter may be slightly thicker. For the frosting, mascarpone cheese can be used in place of cream cheese for a less tangy, more Italian-style creamy flavor.
Common Mistakes to Avoid
The most common mistake with red velvet is overbaking. Because the cake is dark, it’s hard to see it browning. Rely on the toothpick test and start checking 2-3 minutes before the timer goes off. Another error is frosting the cake while it is still warm. This will cause the butter and cream cheese to melt, resulting in a sliding, unstable disaster. Make sure the cakes are completely cool to the touch. Regarding the ‘naked’ style, a common mistake is removing too much frosting. You want a thin veil, not bare cake. If you scrape too hard, you might tear the crumb. Also, using cold cream cheese for the frosting will result in lumps that are impossible to beat out later; patience in letting ingredients soften is vital.
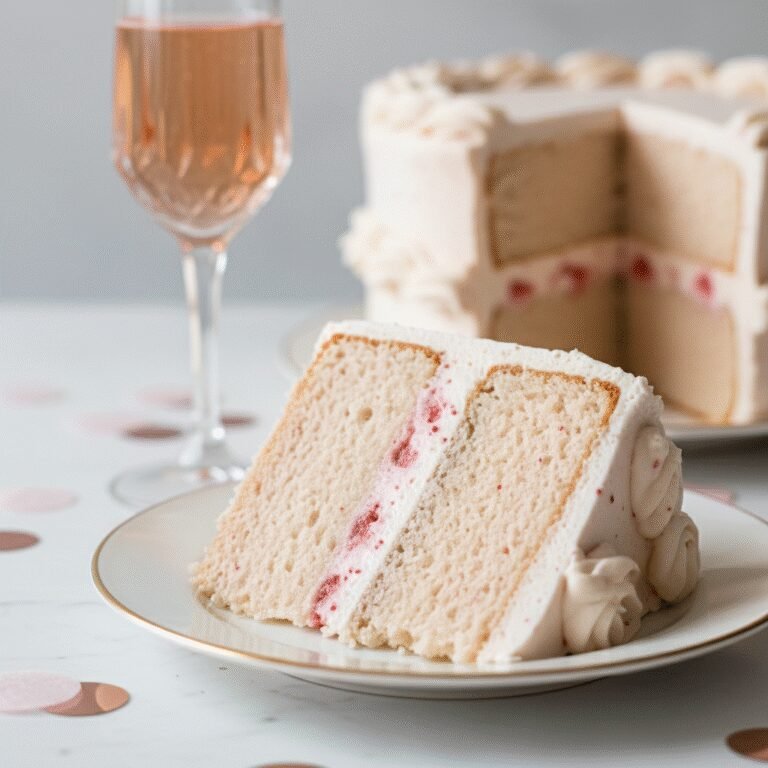
Serving Suggestions
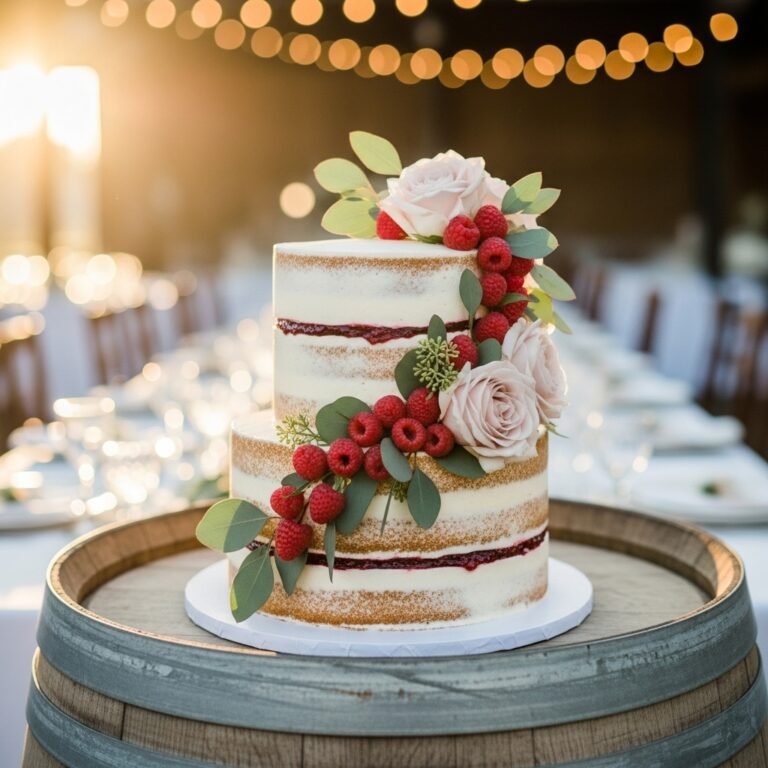
This cake is a stunner on its own, but for an anniversary, presentation is everything. Serve slices on delicate china plates. The naked style pairs beautifully with fresh floral garnishes; use organic, pesticide-free roses or eucalyptus leaves for a romantic touch (remove before eating). Fresh berries like raspberries, strawberries, or pomegranate arils add a pop of freshness that cuts through the rich frosting. A dusting of powdered sugar or a drizzle of chocolate ganache can add extra flair. Pair this dessert with a glass of champagne, a dry prosecco, or a dark roast coffee to balance the sweetness.
Storage and Reheating Tips
Because of the cream cheese frosting, this cake must be stored in the refrigerator. It can be left out at room temperature for up to 2 hours for serving, but should be chilled thereafter. Store it in an airtight cake carrier or cover the cut sections with plastic wrap to prevent them from drying out. It will keep in the fridge for up to 5 days. For long-term storage, you can freeze individual slices wrapped tightly in plastic wrap and then foil for up to 3 months. Thaw frozen slices in the refrigerator overnight before eating. If you are making the cake layers ahead of time, wrap the unfrosted, cooled layers in plastic wrap and freeze them; they are actually easier to frost when slightly frozen.
Nutrition Facts (Estimated)
| Serving Size | 1 slice |
| Calories | 580 |
| Fat | 34g |
| Saturated Fat | 12g |
| Unsaturated Fat | 20g |
| Trans Fat | 0g |
| Cholesterol | 85mg |
| Sodium | 310mg |
| Carbohydrates | 64g |
| Fiber | 1g |
| Sugar | 42g |
| Protein | 6g |
Frequently Asked Questions
Can I make this cake ahead of time?
Yes, absolutely. The cake layers can be baked, cooled, wrapped, and frozen up to a month in advance. The assembled cake can be made one day prior to the event and stored in the fridge. The flavor actually improves as the cake sits and the moisture distributes.
Why isn’t my cake red enough?
This usually happens if you use natural cocoa powder instead of Dutch-processed, or if you didn’t use enough food coloring. Also, baking at too high a temperature can brown the crust, dulling the red color. Use a high-quality gel food color for the most vibrant results.
Can I use butter instead of oil for the cake batter?
You can, but we don’t recommend it for this specific recipe. Butter adds a nice flavor, but oil provides superior moisture and keeps the cake soft for much longer. If you insist on butter, expect a slightly drier and denser crumb.
What exactly is a ‘naked’ cake?
A naked cake is a style of cake decorating where the exterior is left with little to no frosting, or a very thin layer (semi-naked), exposing the cake layers and filling. It creates a rustic, minimalist look and is less sweet than fully frosted cakes.
My frosting is too runny, how do I fix it?
Runny cream cheese frosting is usually caused by over-mixing or using warm ingredients. Try chilling the bowl in the fridge for 20 minutes and then re-whipping. If it’s still too soft, add more sifted powdered sugar, 1/4 cup at a time.
Do I have to use vinegar?
Yes, the vinegar is crucial. It reacts with the baking soda to provide lift (leavening) and also helps preserve the red color of the anthocyanins in the cocoa. You won’t taste the vinegar in the final product.
Can I bake this in 9-inch pans instead?
Yes, you can use two 9-inch pans instead of three 8-inch pans. The baking time may need to be adjusted slightly (likely increased by a few minutes). The layers will be thicker, so check for doneness carefully.
How do I transport a naked cake without ruining it?
Since naked cakes don’t have a thick layer of buttercream to protect them, they can dry out if exposed to air for too long. Transport it in a sealed cake box. Ensure the cake is well-chilled before moving it, as cold cakes are more stable.
Conclusion
This Elegant Red Velvet Anniversary Cake with Naked Frosting is more than just a dessert; it is a gesture of affection and a celebration of flavor. By stripping back the excess frosting, you reveal the beautiful, honest texture of the cake itself, much like a strong relationship is built on transparency and substance. Whether you are an experienced baker or trying your hand at a layer cake for the first time, this recipe guides you to a fail-proof, bakery-quality result. The contrast of the deep red crumb against the rustic white finish makes for an unforgettable centerpiece that tastes as incredible as it looks. So, preheat your oven, buy yourself some fresh flowers for garnish, and get ready to fall in love with this timeless classic all over again.