Decadent Low Sugar Chocolate Cake with Maple Syrup
Low Sugar Low Sugar Chocolate Cake With Maple Syrup Recipe
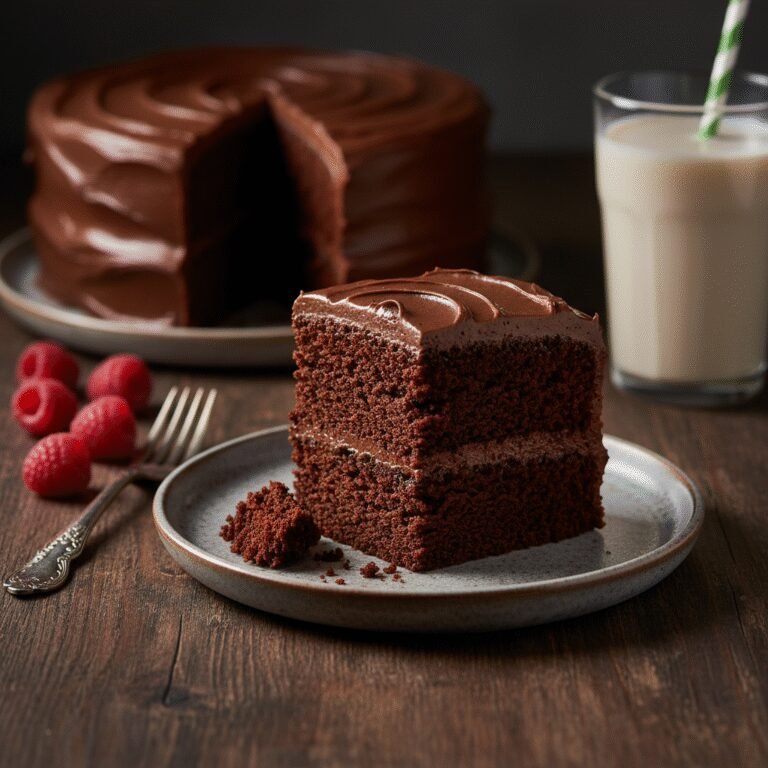
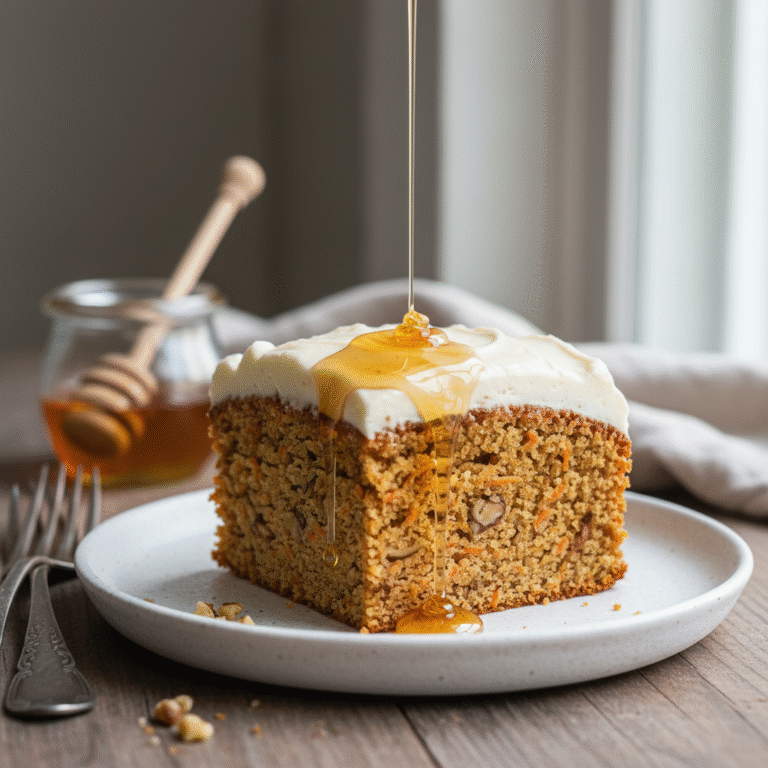
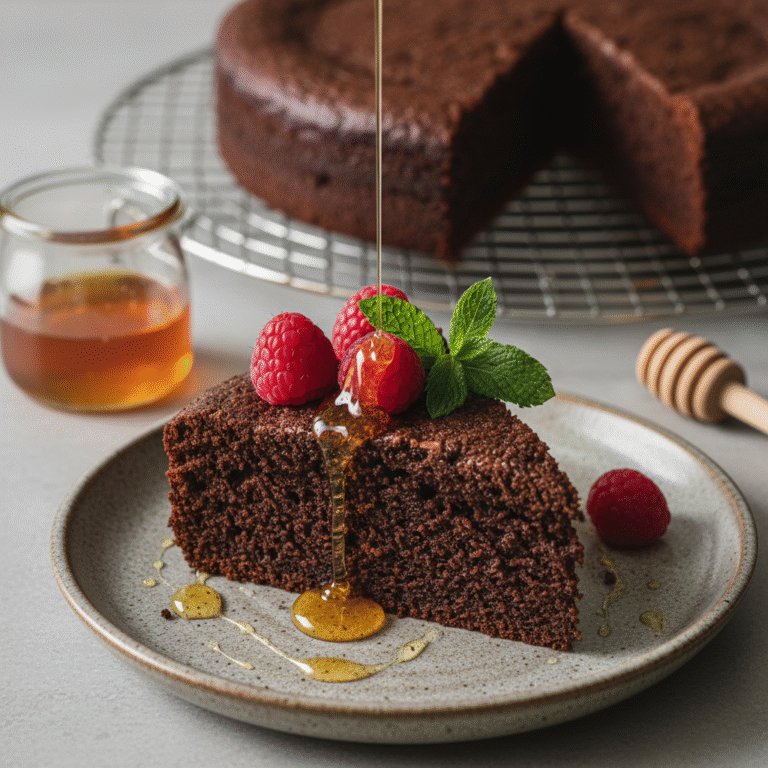
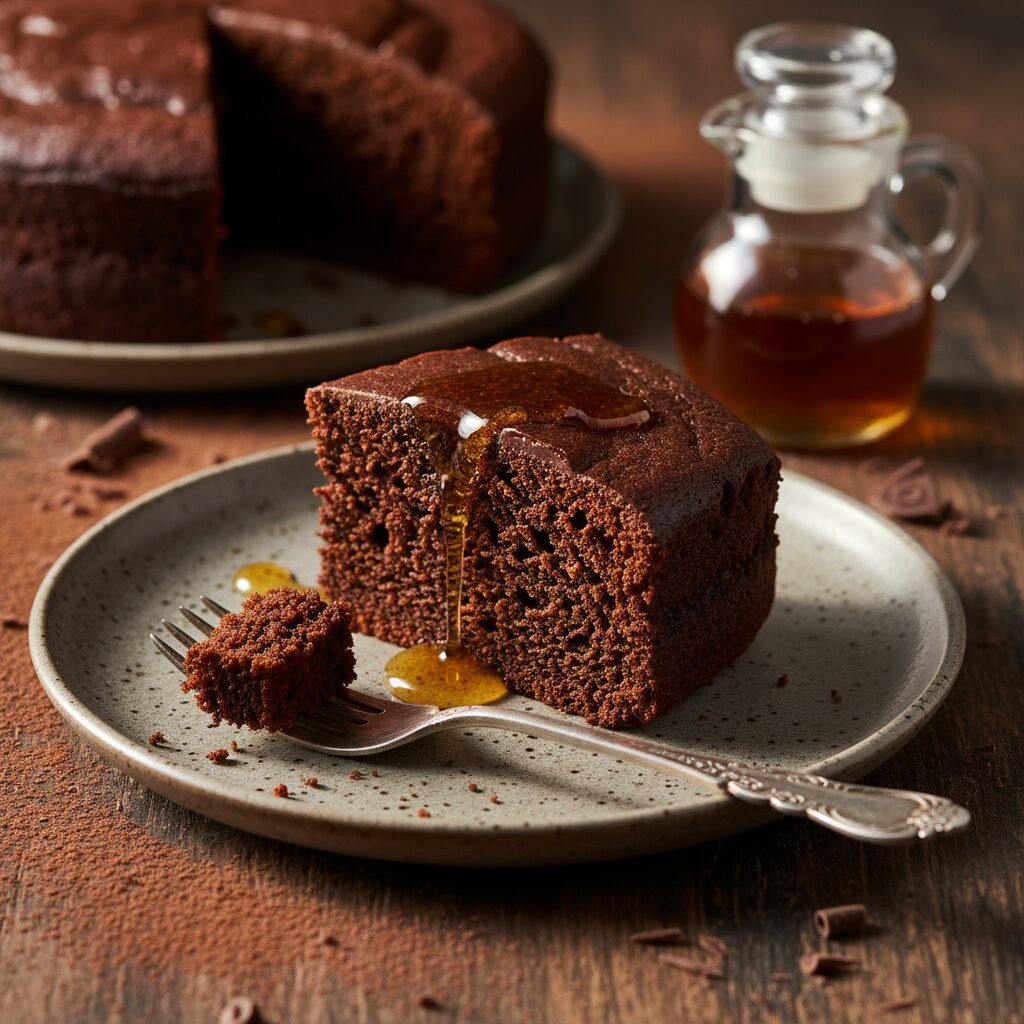
Indulge in a guilt-free dessert experience with this incredibly moist Low Sugar Chocolate Cake, naturally sweetened with pure maple syrup. It delivers a rich, deep cocoa flavor and a tender crumb without the need for refined white sugar, making it the perfect treat for health-conscious chocolate lovers.
15 minutes
30 minutes
45 minutes
1 8-inch cake (8-10 servings)
Dessert
Baking
American
Vegetarian
Welcome to the ultimate guide for baking a chocolate cake that defies the expectations of ‘healthy’ desserts. When we hear the words ‘low sugar’, we often brace ourselves for a dry texture or a lackluster flavor profile. However, this Low Sugar Chocolate Cake with Maple Syrup is here to shatter those misconceptions completely. By harnessing the natural, complex sweetness of high-quality maple syrup, we not only reduce the glycemic load but also introduce a subtle caramel undertone that elevates the cocoa to new heights. This cake is not just a substitute for the real thing; it stands on its own as a masterpiece of baking chemistry.
The secret lies in the balance of moisture and acidity. Maple syrup is hygroscopic, meaning it holds onto water, ensuring that every slice remains tender and fudgy days after baking. Unlike granular sugar, which can sometimes result in a crusty top, the liquid sweetener integrates seamlessly into the batter, creating a smooth, velvety consistency that melts in your mouth. We pair this with high-quality Dutch-processed cocoa powder for that intense, dark chocolate hit that satisfies deep cravings without the cloying sweetness of traditional frostings.
Whether you are baking for a birthday, a casual weekend treat, or simply trying to cut down on processed ingredients without sacrificing joy, this recipe is your new best friend. It is robust enough to handle a variety of toppings—from a simple dusting of cocoa powder to a mountain of fresh berries—yet delicate enough to be enjoyed with nothing more than a hot cup of coffee. Prepare to fall in love with baking all over again as we explore how simple, wholesome ingredients can come together to create pure magic.
History & Origins
The history of chocolate cake is a journey from a beverage to the fluffy confection we know today. In the 17th and 18th centuries, chocolate was primarily consumed as a drink in Europe. It wasn’t until 1828, when Coenraad van Houten invented the cocoa press, that cocoa butter could be separated from the roasted cacao beans, leaving behind a dry cake that could be ground into powder. This innovation paved the way for modern baking. However, the chocolate cakes of the 19th century were often yellow cakes with chocolate frosting or served as small tea cakes. The deep, dark ‘Devil’s Food’ style cakes didn’t gain massive popularity until the 20th century when ingredients became more affordable and accessible.
The shift towards using natural sweeteners like maple syrup in baking is a more recent phenomenon, largely driven by the health food movements of the late 20th and early 21st centuries. Historically, maple syrup was a staple sweetener for Indigenous peoples in North America long before European settlers arrived. They harvested sap from sugar maples and boiled it down to create syrup and sugar. For centuries, it was a primary source of energy and sweetness in regions like Quebec and New England.
Merging these two histories—the classic European tradition of chocolate gateaus and the North American heritage of maple production—creates a dessert that honors the past while catering to modern dietary sensibilities. As society becomes more aware of the impacts of refined sugar, reclaiming these ancient, unrefined sweeteners allows us to enjoy the nostalgic comfort of a chocolate cake while respecting our body’s needs. This recipe represents that modern culinary evolution: a fusion of comfort, history, and health.
Why This Recipe Works
This recipe succeeds where many other low-sugar adaptations fail because it respects the chemistry of baking. Sugar does more than just sweeten; it provides structure, moisture, and tenderness. When you remove refined sugar, you remove a significant amount of the cake’s bulk and its ability to hold moisture. We compensate for this by using pure maple syrup. Maple syrup is an invert sugar that is naturally liquid. This adds immediate moisture to the batter, but because it is acidic, it also reacts beautifully with baking soda. This reaction produces carbon dioxide bubbles, which helps the cake rise and creates a light, airy crumb despite the heavy cocoa content.
Furthermore, we utilize oil (like melted coconut oil or a neutral vegetable oil) instead of solid butter for the fat component. Oil remains liquid at room temperature, which coats the flour proteins more effectively than butter, preventing gluten formation. This ensures the cake remains tender rather than tough or bread-like. The addition of hot coffee or hot water at the end of the mixing process is another crucial technique included here. The heat ‘blooms’ the cocoa powder, releasing its essential oils and deepening the chocolate flavor, while the liquid ensures the batter is thin enough to rise without resistance. The result is a cake that is deeply flavorful, structurally sound, and impossibly moist, proving that you don’t need a cup of white sugar to make a delicious dessert.
Why You’ll Love This Recipe
- ✓Refined sugar-free, sweetened entirely with pure maple syrup.
- ✓Incredibly moist texture thanks to the liquid sweetener and oil base.
- ✓Deep, rich chocolate flavor enhanced by blooming cocoa with hot liquid.
- ✓Simple one-bowl method that requires minimal cleanup.
- ✓Versatile base that pairs well with fruit, nuts, or whipped cream.
Equipment You’ll Need
- ✓8-inch round cake pan
- ✓Large mixing bowl
- ✓Whisk
- ✓Measuring cups and spoons
- ✓Parchment paper
- ✓Wire cooling rack
Ingredients
- ✓1 and 1/2 cups All-Purpose Flour (or Gluten-Free 1:1 Baking Flour)
- ✓1/2 cup Unsweetened Cocoa Powder (Dutch-processed preferred)
- ✓1 tsp Baking Soda
- ✓1/2 tsp Salt
- ✓3/4 cup Pure Maple Syrup (Grade A Dark Color is best for flavor)
- ✓1/2 cup Coconut Oil, melted (or neutral oil like avocado/canola)
- ✓2 large Eggs, room temperature
- ✓1 tsp Pure Vanilla Extract
- ✓1/2 cup Hot Coffee (or Hot Water)
- ✓1/2 tsp Apple Cider Vinegar (optional, helps with rise)
Instructions
- Preheat your oven to 350°F (175°C). Grease an 8-inch round cake pan with a little oil and line the bottom with parchment paper to ensure easy removal.
- In a large mixing bowl, sift together the flour, cocoa powder, baking soda, and salt. Whisk them briefly to ensure the leavening agents are evenly distributed.
- In a separate medium bowl (or directly into the dry mix if you want to save dishes), whisk together the maple syrup, melted coconut oil, eggs, vanilla extract, and apple cider vinegar until the mixture is emulsified and smooth.
- Pour the wet ingredients into the bowl with the dry ingredients. Begin to whisk gently.
- While mixing, slowly pour in the hot coffee (or hot water). The batter will become quite thin and liquid; this is normal and necessary for a moist cake. Whisk just until no large lumps of flour remain. Do not overmix.
- Pour the batter into the prepared cake pan. Tap the pan gently on the counter once or twice to release any large air bubbles.
- Bake in the center of the preheated oven for 28-32 minutes. Test for doneness by inserting a toothpick into the center of the cake; it should come out clean or with just a few moist crumbs attached.
- Remove the cake from the oven and let it cool in the pan for about 10-15 minutes. This allows the structure to set.
- Run a knife around the edges to loosen the cake, then carefully invert it onto a wire rack to cool completely before slicing or frosting.
Expert Cooking Tips
- ✓Use room temperature eggs to ensure they emulsify properly with the oil and syrup.
- ✓Do not skip the hot liquid step; blooming the cocoa powder makes a huge difference in flavor intensity.
- ✓If using coconut oil, ensure your other liquid ingredients aren’t ice cold, or the oil may solidify into chunks.
- ✓Sifting the cocoa powder is crucial as it tends to be clumpy, which can lead to bitter pockets in the cake.
- ✓Check the cake at the 28-minute mark to prevent overbaking; maple syrup cakes can brown faster than sugar cakes.
Substitutions and Variations
This recipe is quite flexible to accommodate various dietary needs. For a **Gluten-Free** version, simply swap the all-purpose flour for a high-quality 1:1 gluten-free baking flour blend that contains xanthan gum. If you are **Vegan**, you can replace the eggs with flax eggs (2 tbsp ground flaxseed meal mixed with 6 tbsp water, let sit for 5 minutes) or a commercial egg replacer, though the cake may be slightly denser. regarding the oil, **Melted Butter** can be used for a richer flavor, but **Avocado Oil** or **Grapeseed Oil** work perfectly if you dislike the slight flavor of coconut oil. For the sweetener, **Honey** or **Agave Nectar** can be substituted in equal measure to the maple syrup, though honey will result in a denser cake with a distinct floral taste and faster browning. Finally, if you want to avoid caffeine, **Hot Water** or **Decaf Coffee** works just as well as regular coffee for the blooming step.
Common Mistakes to Avoid
The most common mistake with this cake is **overmixing the batter**. Once the wet and dry ingredients meet, gluten begins to develop. If you whisk too vigorously, especially after adding the hot liquid, the cake can become rubbery or tough. Mix only until the flour streaks disappear. Another pitfall is **using cold ingredients**. If you pour melted coconut oil into cold maple syrup or eggs, the oil will seize up and create little waxy beads, resulting in an uneven texture. Always bring your eggs and syrup to room temperature. Additionally, **opening the oven door too early** can cause the cake to collapse. The leavening reaction with baking soda and acidic maple syrup is delicate; let the structure set for at least 25 minutes before peeking. Lastly, **measuring flour incorrectly** by scooping the cup into the bag packs the flour down, leading to a dry cake. Use the ‘spoon and level’ method or a kitchen scale for accuracy.
Serving Suggestions
This cake is elegant enough to be served simply with a dusting of cocoa powder or powdered sugar (if you are okay with a tiny bit of refined sugar). For a truly decadent experience, serve warm slices with a dollop of unsweetened Greek yogurt or coconut whipped cream to cut through the richness. Fresh berries, particularly raspberries or strawberries, add a bright acidity that complements the deep chocolate notes perfectly. If you want to frost it, a ganache made from dark chocolate and coconut milk keeps the theme dairy-free and low sugar. It also pairs exceptionally well with a hot espresso or a cold glass of almond milk.
Storage and Reheating Tips
Because this cake is very moist, it stores well. Keep it in an airtight container at room temperature for up to 2 days. If you live in a hot or humid climate, it is better to store it in the refrigerator, where it will keep for up to 5-6 days. Note that the coconut oil in the cake will firm up in the fridge, making the cake feel denser; simply let it sit on the counter for 20 minutes before eating to return it to its soft texture. For long-term storage, wrap individual slices tightly in plastic wrap and then foil, and freeze for up to 3 months. Thaw overnight in the fridge or microwave gently for 15-20 seconds for an instant treat.
Nutrition Facts (Estimated)
| Serving Size | 1 slice |
| Calories | 240 |
| Fat | 14g |
| Saturated Fat | 8g |
| Unsaturated Fat | 5g |
| Trans Fat | 0g |
| Cholesterol | 45mg |
| Sodium | 180mg |
| Carbohydrates | 26g |
| Fiber | 3g |
| Sugar | 14g |
| Protein | 4g |
Frequently Asked Questions
Can I use almond flour instead of all-purpose flour?
Almond flour behaves very differently from wheat flour because it lacks gluten and is high in fat. You cannot swap it 1:1 in this specific recipe without altering the other ingredients significantly. It is better to use a specific almond flour chocolate cake recipe or a gluten-free all-purpose blend.
Does the cake taste like maple syrup?
Not really. While maple syrup is the primary sweetener, the cocoa powder is the dominant flavor. The maple adds a subtle complexity and caramel note but does not make the cake taste like pancakes.
Why is my batter so runny?
The batter is supposed to be thin! The addition of hot liquid creates a very fluid batter. This ensures the cocoa blooms and the cake stays moist. Do not add more flour to thicken it, or your cake will be dry.
Can I use baking powder instead of baking soda?
No. Baking soda is required to react with the acidity of the maple syrup and cocoa powder to create the rise. Baking powder is not strong enough on its own for this specific chemical balance.
Is Dutch-processed cocoa necessary?
Dutch-processed cocoa has been alkalized, which neutralizes its acidity and gives it a darker color and smoother flavor. While you can use natural cocoa powder, the flavor will be more acidic and the color lighter. The texture might also vary slightly.
Can I bake this in a square pan?
Yes, an 8×8 inch square pan works perfectly. The baking time should be roughly the same, but start checking at 25 minutes just to be safe.
How do I make this cake sweeter?
This is a low-sugar cake, so it is less sweet than a standard box mix. If you prefer it sweeter, you can add an extra tablespoon or two of maple syrup, but be careful not to add too much liquid. Alternatively, serve with a sweeter frosting or fruit.
Can I make cupcakes with this batter?
Absolutely! This recipe makes about 10-12 standard cupcakes. Bake them at the same temperature for 18-22 minutes.
Conclusion
Baking a delicious chocolate cake doesn’t have to mean overloading your system with refined sugars. This Low Sugar Chocolate Cake with Maple Syrup proves that you can have your cake and eat it too—literally. With its moist crumb, intense chocolate flavor, and wholesome ingredient list, it is a testament to the versatility of natural sweeteners. Whether you are a seasoned baker or a novice in the kitchen, this recipe is forgiving, quick, and guaranteed to impress. So, grab your whisk, bloom that cocoa, and enjoy a slice of chocolate heaven that feels as good as it tastes. Happy baking!