The Best Moist Gluten Free Vanilla Cake With Vanilla Buttercream
Moist Gluten Free Vanilla Cake With Vanilla Buttercream Recipe
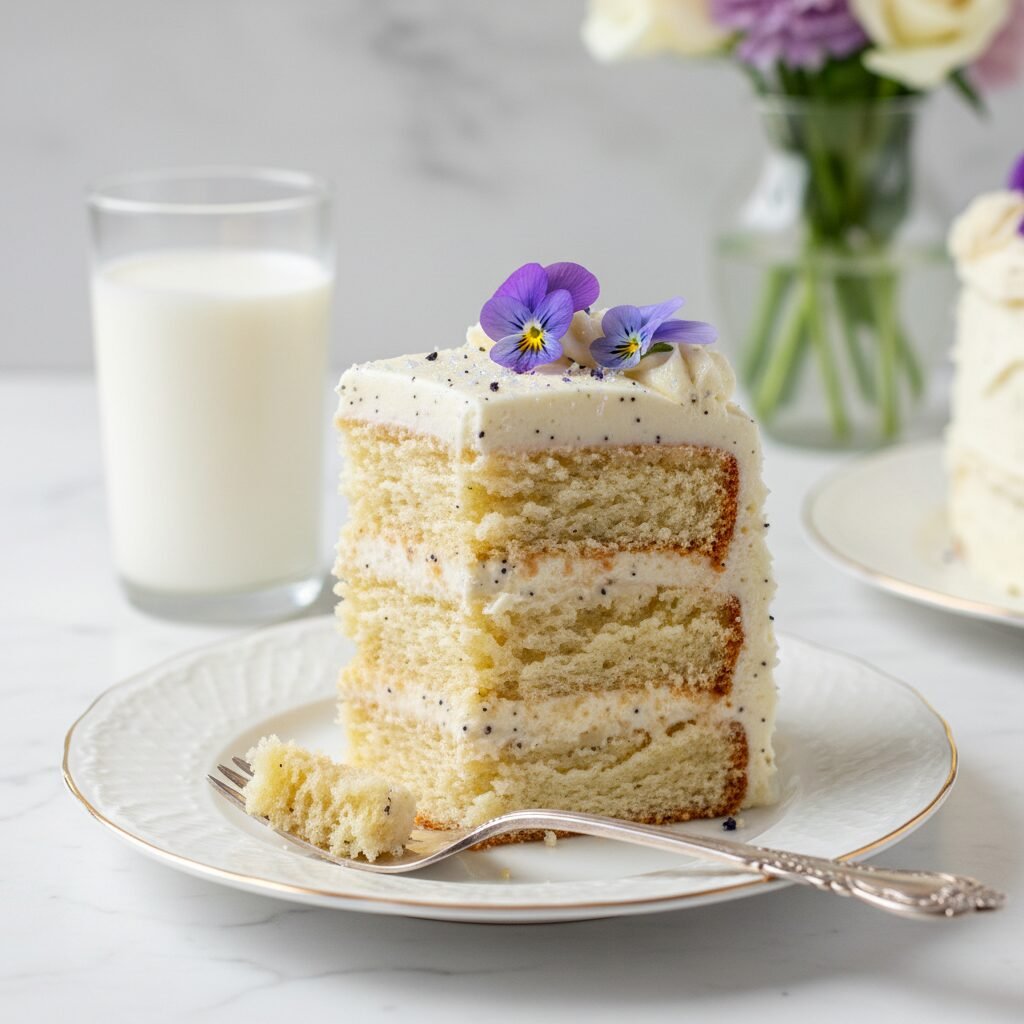
Finally, a gluten-free vanilla cake that is incredibly moist, tender, and completely indistinguishable from traditional wheat versions. Paired with a velvety smooth vanilla bean buttercream, this recipe is the ultimate showstopper for birthdays, weddings, and special celebrations.
30 minutes
35 minutes
1 hour 5 minutes
1 three-layer 8-inch cake (12-16 servings)
Dessert
Baking
American
Gluten-Free
For anyone living a gluten-free lifestyle, the quest for the perfect vanilla cake is often fraught with disappointment. We have all experienced it: a cake that looks beautiful in the oven but turns into a dry, crumbly, or strangely gummy disaster the moment it is sliced. This recipe is here to change that narrative forever. After dozens of tests and tweaks, I am thrilled to share what I truly believe is the best moist gluten-free vanilla cake recipe you will ever bake. This is not just ‘good for gluten-free’; it is simply a spectacular cake, period. The crumb is soft, plush, and velvety, with a sturdy structure that holds up perfectly to stacking and decorating. The flavor is pure, nostalgic vanilla—sweet, buttery, and aromatic. What sets this recipe apart is the inclusion of sour cream and a specific ratio of fats, which locks in moisture and ensures the cake stays fresh for days, rather than drying out within hours. Topped with a luxurious, cloud-like vanilla buttercream that melts in your mouth, this dessert is pure comfort. Whether you are celebrating a milestone birthday, baking for a gluten-intolerant friend, or simply craving a slice of classic Americana, this cake delivers on every level. It is easy enough for a novice baker to master but sophisticated enough to serve at an elegant dinner party. Get ready to fall in love with baking again, because this recipe restores all the joy of cake without any of the gluten or the grit.
History & Origins
The concept of the ‘cake’ has evolved significantly over centuries, but the vanilla cake as we know it—light, fluffy, and chemically leavened—is a relatively modern invention. In early European history, cakes were essentially enriched breads, often leavened with yeast. It wasn’t until the mid-19th century, with the invention of baking powder, that the modern butter cake began to take shape in American kitchens. This innovation allowed for a lighter, airier crumb that didn’t rely solely on the arduous task of manually whipping eggs for lift. Vanilla, derived from the orchid of the genus Vanilla, is native to Mexico and was introduced to Europe by Spanish conquistadors. For a long time, it was an expensive luxury, making vanilla cakes a treat for the wealthy. As vanilla extract became more accessible in the 20th century, the ‘yellow cake’ or ‘white cake’ became a staple of American birthday traditions. The history of gluten-free baking is even more recent. For decades, those with Celiac disease or gluten sensitivity had to rely on dense cakes made from rice flour or bean flours that lacked the structural integrity of wheat. The texture was often gritty or brick-like. The game-changer in gluten-free history was the understanding of hydrocolloids like xanthan gum and the development of sophisticated flour blends that mimic the protein structure of gluten. This recipe stands on the shoulders of that culinary science, utilizing modern gluten-free innovations to recreate a centuries-old classic with zero compromise on texture or taste.
Why This Recipe Works
The science behind this gluten-free vanilla cake focuses entirely on combating the two biggest enemies of gluten-free baking: dryness and a gritty texture. Wheat flour contains gluten, which provides elasticity and structure. When you remove it, you must replace that structure without making the cake tough. We achieve this by using a high-quality 1:1 gluten-free flour blend that includes xanthan gum, which acts as the binder. However, the real secret to the ‘moist’ factor lies in the fat content. This recipe utilizes a combination of unsalted butter and full-fat sour cream. The butter provides that classic flavor and aeration when creamed with sugar, while the sour cream introduces acidity and a high fat content. This acidity tenderizes the protein in the flour and eggs, resulting in a softer crumb, while the thickness of the sour cream adds density and moisture that prevents the cake from crumbling apart. Furthermore, we use whole milk at room temperature to create an emulsion that traps air bubbles, which expand during baking for lift. By carefully balancing the ratio of sugar (which is hygroscopic and holds water) to flour and liquid, we ensure the cake retains moisture long after it has cooled. The result is a sponge that is springy, not dense, and tender, not crumbly.
Why You’ll Love This Recipe
- ✓Incredibly moist texture that stays soft for days
- ✓No gritty aftertaste common in gluten-free baked goods
- ✓Sturdy enough for layer cakes and intricate decorating
- ✓Rich, authentic vanilla flavor using vanilla bean paste
- ✓Simple preparation method suitable for beginners
- ✓Perfectly paired with a silky, American-style buttercream
Equipment You’ll Need
- ✓Stand mixer with paddle attachment or electric hand mixer
- ✓3 x 8-inch round cake pans
- ✓Parchment paper
- ✓Digital kitchen scale
- ✓Large mixing bowl
- ✓Wire cooling rack
- ✓Offset spatula
- ✓Rubber spatula
- ✓Measuring spoons
Ingredients
- ✓3 cups (approx. 420g) High-quality Gluten-Free 1:1 Baking Flour (ensure it contains xanthan gum)
- ✓1 teaspoon Xanthan Gum (optional, only add if your blend does not have it)
- ✓1 tablespoon Baking Powder
- ✓1/2 teaspoon Salt
- ✓1 cup (226g) Unsalted Butter, softened to room temperature
- ✓2 cups (400g) Granulated White Sugar
- ✓4 Large Eggs, room temperature
- ✓1 tablespoon Pure Vanilla Extract or Vanilla Bean Paste
- ✓1 cup (240ml) Full-fat Sour Cream, room temperature
- ✓1/2 cup (120ml) Whole Milk, room temperature
- ✓FOR THE BUTTERCREAM:
- ✓1 1/2 cups (340g) Unsalted Butter, slightly softened
- ✓5-6 cups (600-720g) Powdered Sugar, sifted
- ✓3-4 tablespoons Heavy Cream or Milk
- ✓2 teaspoons Pure Vanilla Extract
- ✓Pinch of fine sea salt
Instructions
- 1. PREHEAT AND PREP: Preheat your oven to 350°F (175°C). Grease three 8-inch round cake pans generously with butter or cooking spray. Line the bottoms with parchment paper rounds to guarantee easy removal. This step is crucial for gluten-free cakes which can be more fragile when warm.
- 2. WHISK DRY INGREDIENTS: In a medium bowl, whisk together the gluten-free flour blend, baking powder, and salt (and extra xanthan gum if needed) until well combined. Set aside.
- 3. CREAM BUTTER AND SUGAR: In the bowl of a stand mixer fitted with the paddle attachment, beat the softened butter and granulated sugar on medium-high speed for about 3-5 minutes. The mixture should look pale, fluffy, and aerated. Scrape down the sides of the bowl.
- 4. ADD EGGS AND VANILLA: Reduce speed to medium. Add the eggs one at a time, mixing fully after each addition. Add the vanilla extract or paste. Scrape down the bowl again to ensure everything is incorporated.
- 5. COMBINE WET AND DRY: In a small measuring cup, whisk together the room temperature milk and sour cream. Turn the mixer to low speed. Add the flour mixture in three parts, alternating with the milk/sour cream mixture in two parts, starting and ending with the flour. Mix only until just combined and no streaks of flour remain. Do not overmix.
- 6. BAKE: Divide the batter evenly among the three prepared cake pans (use a kitchen scale for precision). Smooth the tops with a spatula. Bake for 30-35 minutes, or until a toothpick inserted into the center comes out clean or with just a few moist crumbs. The tops should spring back when lightly touched.
- 7. COOL: Allow the cakes to cool in the pans for 10-15 minutes. Then, carefully invert them onto a wire rack to cool completely before frosting. Gluten-free cakes set as they cool, so do not rush this step.
- 8. MAKE THE BUTTERCREAM: While cakes cool, clean your mixer bowl. Beat the butter for the frosting on medium-high speed for 5 minutes until it is incredibly pale and creamy. Turn speed to low and gradually add the sifted powdered sugar, one cup at a time. Once incorporated, increase speed to high and beat for another 2-3 minutes.
- 9. SEASON FROSTING: Add the vanilla, salt, and heavy cream. Beat for one final minute until the frosting is fluffy and spreadable. If it is too stiff, add more cream; if too soft, add more sugar.
- 10. ASSEMBLE: Place one cake layer on your serving plate or stand. Spread a generous layer of buttercream on top. Repeat with the second and third layers. Frost the outside of the cake with the remaining buttercream and decorate as desired.
Expert Cooking Tips
- ✓Room temperature ingredients are non-negotiable. Cold eggs or milk will cause the butter to seize and curdle, leading to an uneven bake.
- ✓Weigh your flour. Using a kitchen scale is the only way to ensure accuracy. If you must use cups, spoon the flour into the cup and level it off; never scoop directly from the bag.
- ✓Don’t skip the sour cream. It provides the necessary fat and acidity that keeps gluten-free flour from tasting dry or chalky.
- ✓Let the cake cool completely. Gluten-free baked goods are more crumbly when warm. They need time to set their structure.
- ✓Sift your powdered sugar for the frosting to avoid lumps and ensure a silky smooth finish.
- ✓If your flour blend doesn’t contain xanthan gum, you must add it, or the cake will fall apart.
Substitutions and Variations
If you need to make this cake dairy-free, you can substitute the butter with high-quality plant-based butter sticks (not tub margarine) in both the cake and frosting. Replace the sour cream with a dairy-free unsweetened yogurt (coconut or almond based works best) and use almond or soy milk instead of cow’s milk. Note that dairy-free cakes may brown slightly less. For the eggs, this recipe relies on them for structure, so replacing them is tricky. However, a commercial gluten-free egg replacer (like Bob’s Red Mill) works better than flax eggs, which can make the cake too heavy. If you don’t have sour cream, full-fat plain Greek yogurt is an excellent 1:1 substitute. You can also use buttermilk in place of the milk/sour cream combo, though the texture will be slightly lighter and less rich. For the flour, stick to a reputable 1:1 blend like King Arthur Measure for Measure or Bob’s Red Mill 1:1; avoid using single flours like just almond or coconut flour as they will not work.
Common Mistakes to Avoid
The most common mistake is measuring flour incorrectly by scooping the measuring cup into the bag, which packs the flour down and leads to a dense, dry cake. Always weigh your flour or use the spoon-and-level method. Another error is opening the oven door too early to check on the cake; this can cause the center to sink due to the sudden drop in temperature. Over-mixing the batter, even though there is no gluten, can still adversely affect the xanthan gum and leavening agents, leading to a gummy texture. Finally, attempting to frost the cake while it is even slightly warm will cause the butter-based frosting to melt and slide right off the layers. Patience is key.
Serving Suggestions
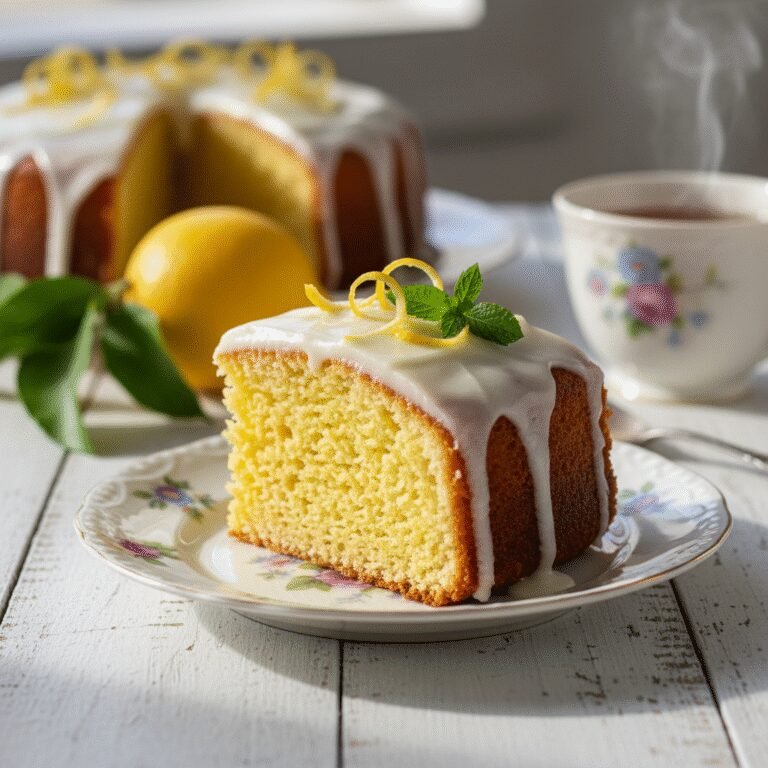
This cake is a versatile canvas. Serve it simply with the vanilla buttercream and a garnish of fresh berries—strawberries, raspberries, or blueberries add a lovely tart contrast to the sweet frosting. For a birthday celebration, coat the outside in rainbow sprinkles or use gel food coloring to tint the frosting. It pairs beautifully with a scoop of vanilla bean ice cream or a dollop of lemon curd on the side for a zesty kick. A warm cup of coffee or Earl Grey tea complements the buttery vanilla notes perfectly.
Storage and Reheating Tips
Store the frosted cake at room temperature in an airtight cake carrier for up to 3 days. The sugar and fat content act as preservatives. If you live in a very hot or humid climate, you may need to store it in the refrigerator, but be sure to let it come to room temperature before serving, as cold butter cake can feel dense. Unfrosted cake layers can be wrapped tightly in plastic wrap, then foil, and frozen for up to 3 months. Thaw frozen layers in the refrigerator overnight before frosting. Leftover slices can also be frozen in airtight containers.
Nutrition Facts (Estimated)
| Serving Size | 1 slice |
| Calories | 650 |
| Fat | 32g |
| Saturated Fat | 19g |
| Unsaturated Fat | 11g |
| Trans Fat | 0g |
| Cholesterol | 95mg |
| Sodium | 280mg |
| Carbohydrates | 88g |
| Fiber | 1g |
| Sugar | 55g |
| Protein | 4g |
Frequently Asked Questions
Why did my gluten-free cake turn out dry?
Dryness is usually caused by too much flour (measure by weight!) or over-baking. Gluten-free flours absorb more liquid than wheat flour, so it is vital to stick to the recipe ratios and not bake it longer than necessary.
Can I make this recipe into cupcakes?
Yes! This recipe makes approximately 24 standard cupcakes. Bake them at 350°F for 18-22 minutes. Check for doneness with a toothpick.
Do I really need xanthan gum?
Yes, absolutely. Without gluten, xanthan gum acts as the glue that holds the cake together. If your flour blend already has it, don’t add more. If it doesn’t, you must add it separately.
Can I use almond flour instead of a blend?
No. Almond flour behaves very differently from a 1:1 gluten-free flour blend. It lacks the starch and structure needed for this specific recipe. You need a rice-flour based blend.
Why did my cake sink in the middle?
Sinking is often caused by under-baking or opening the oven door too soon. It can also happen if your baking powder is expired or if you used too much leavening.
Can I use oil instead of butter?
You can, but the texture will change. Butter provides flavor and a specific crumb structure. If you use oil, the cake will be very moist but slightly denser and will lack the buttery taste.
Is this cake suitable for stacking?
Yes, this cake has a great structure and stacks well for tiered cakes. Just ensure the layers are completely cool and leveled before stacking.
Can I freeze the batter?
It is not recommended to freeze the batter, as the baking powder is activated once wet ingredients are mixed. It’s better to bake the layers and then freeze the baked cake.
Conclusion
There is something incredibly satisfying about pulling a perfect vanilla cake out of the oven, especially one that defies the stereotypes of gluten-free baking. This Moist Gluten Free Vanilla Cake with Vanilla Buttercream is a labor of love that yields professional-quality results right in your home kitchen. It proves that dietary restrictions don’t have to mean sacrificing flavor, texture, or the simple joy of a slice of cake. I hope this recipe becomes a staple in your home for years to come, bringing smiles to faces at birthdays, holidays, and everyday celebrations. If you make this, please leave a comment and a rating—I love hearing about your baking adventures!