The Ultimate Moist Gluten Free Chocolate Cake with Rich Fudge Frosting
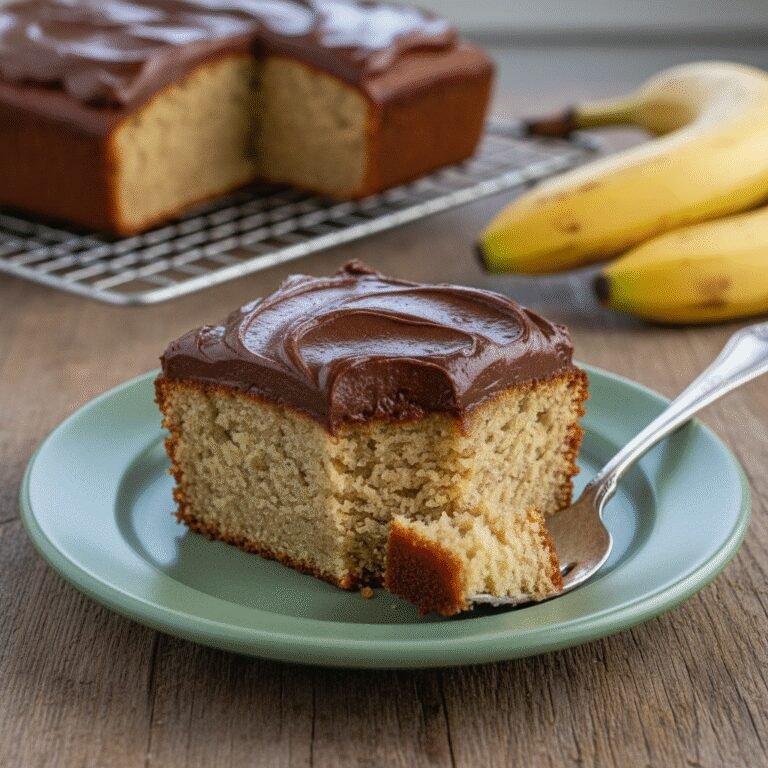
Moist Gluten Free Chocolate Cake With Chocolate Frosting Recipe
Discover the holy grail of gluten-free baking with this incredibly moist, decadent chocolate cake. Paired with a velvety homemade chocolate buttercream, this recipe defies all expectations, delivering a texture so tender and a flavor so rich that no one will ever guess it’s gluten-free.
25 minutes
35 minutes
1 hour
12-14 servings
Dessert
Baking
American
Gluten-Free
If you have been on a quest for the perfect gluten-free chocolate cake, you know the struggle is real. All too often, gluten-free bakes result in a crumbly, dry texture that feels like a compromise rather than a treat. But let me tell you, the search stops here. This Moist Gluten Free Chocolate Cake is a revelation in the world of allergy-friendly baking. We are talking about a cake that is unapologetically rich, deeply chocolatey, and possesses a crumb so tender it practically melts in your mouth. This isn’t just ‘good for a gluten-free cake’; it is simply one of the best chocolate cakes you will ever eat, period.
The secret lies in the careful balance of moisture-retaining ingredients and the blooming of the cocoa powder, which intensifies the chocolate flavor to luxurious new heights. Whether you are baking for a birthday, a holiday celebration, or just a Tuesday night craving, this cake delivers pure comfort. The accompanying chocolate frosting is whipped to perfection—sweet, creamy, and the perfect counterpoint to the dense, fudgy sponge. As you slice into it, the knife glides effortlessly, revealing a dark, gorgeous interior that promises satisfaction in every bite. This recipe is designed to be foolproof, ensuring that even novice bakers can achieve bakery-quality results right in their own kitchen. Get ready to impress your friends, family, and skeptical gluten-eaters with a dessert that truly steals the show.
History & Origins
The history of chocolate cake is a journey that mirrors the evolution of chocolate itself. While chocolate has been consumed as a beverage for thousands of years, dating back to the Aztecs and Mayans, its incorporation into flour-based confections is a relatively modern phenomenon. It wasn’t until 1764, when Dr. James Baker discovered how to make chocolate by grinding cocoa beans between massive millstones, that the ingredient became more accessible. However, the chocolate cake as we know it didn’t truly take shape until the mid-19th century. The earliest recipes were essentially yellow cakes served with a chocolate drink on the side or glazed with chocolate. It wasn’t until 1886 that cooks began adding chocolate directly into the batter, creating the ancestors of the treat we adore today.
The narrative of gluten-free baking is even more recent. For decades, those with celiac disease or gluten sensitivity were relegated to fruit salads or flourless tortes. The early attempts at gluten-free flour blends often utilized heavy bean flours or gritty rice flours that left a distinct, often unpleasant, aftertaste and texture. However, the culinary renaissance of the 21st century brought about a revolution in food science. The development of sophisticated 1:1 gluten-free flour blends—utilizing xanthan gum and a precise mix of starches—has allowed bakers to recreate classic textures without the wheat. This specific recipe stands on the shoulders of that history, combining the classic, nostalgic comfort of a 1950s-style chocolate cake with cutting-edge gluten-free adaptability.
Why This Recipe Works
This recipe succeeds where many others fail due to three critical scientific principles: hydration, blooming, and acidity. First, the inclusion of boiling water is non-negotiable. When you pour boiling water over the cocoa powder and batter, you are ‘blooming’ the cocoa. This process dissolves the cocoa solids and releases flavor compounds that are otherwise trapped, resulting in a significantly more intense chocolate profile. Furthermore, the hot liquid helps to slightly gelatinize the starches in the gluten-free flour blend immediately, which improves the structure and prevents that dreaded gritty texture often associated with rice flour.
Secondly, we utilize both oil and buttermilk (or sour milk). Unlike butter, which contains water and solidifies at room temperature, oil remains liquid. This ensures the cake stays moist for days rather than drying out as it cools. The buttermilk provides essential acidity. This acid reacts with the baking soda to create carbon dioxide bubbles, giving the cake a rigorous lift and a fluffy, airy crumb despite its richness. Finally, the ratio of sugar to flour is carefully calibrated. Sugar is hygroscopic, meaning it attracts and holds water. By maintaining a high sugar content, we lock moisture into the cake matrix, ensuring that ‘melt-in-your-mouth’ sensation that defines a truly great chocolate cake.
Why You’ll Love This Recipe
- ✓Incredibly moist texture that stays fresh for days.
- ✓Deep, intense chocolate flavor enhanced by blooming cocoa.
- ✓Completely gluten-free with no gritty aftertaste.
- ✓Simple one-bowl mixing method for the cake batter.
- ✓Versatile recipe that works for layers, sheet cakes, or cupcakes.
- ✓Includes a foolproof, creamy chocolate buttercream frosting.
Equipment You’ll Need
- ✓Two 8-inch or 9-inch round cake pans
- ✓Large mixing bowl
- ✓Electric hand mixer or stand mixer
- ✓Whisk
- ✓Measuring cups and spoons
- ✓Parchment paper
- ✓Wire cooling rack
- ✓Offset spatula
Ingredients
- ✓2 cups gluten-free all-purpose flour blend (with xanthan gum)
- ✓2 cups granulated sugar
- ✓3/4 cup unsweetened cocoa powder
- ✓2 teaspoons baking powder
- ✓1 1/2 teaspoons baking soda
- ✓1 teaspoon salt
- ✓1 cup buttermilk (room temperature)
- ✓1/2 cup vegetable oil or melted coconut oil
- ✓2 large eggs (room temperature)
- ✓2 teaspoons pure vanilla extract
- ✓1 cup boiling water
- ✓1 cup unsalted butter, softened (for frosting)
- ✓3 1/2 cups powdered sugar (for frosting)
- ✓1/2 cup cocoa powder (for frosting)
- ✓3-4 tablespoons heavy cream or milk (for frosting)
- ✓1 teaspoon vanilla extract (for frosting)
- ✓Pinch of salt (for frosting)
Instructions
- Preheat your oven to 350°F (175°C). Grease two 8-inch or 9-inch round cake pans and line the bottoms with parchment paper for easy removal.
- In a large mixing bowl, whisk together the gluten-free flour, sugar, 3/4 cup cocoa powder, baking powder, baking soda, and salt until well combined and free of lumps.
- Add the buttermilk, vegetable oil, eggs, and 2 teaspoons of vanilla extract to the dry ingredients.
- Beat on medium speed with an electric mixer or stand mixer for about 2 minutes. The batter should look smooth and creamy.
- Reduce the mixer speed to low and carefully pour in the boiling water. Beat until well combined. Note: The batter will be very thin and liquidy; this is completely normal and essential for moisture.
- Divide the batter evenly between the prepared cake pans.
- Bake for 30-35 minutes, or until a wooden toothpick inserted into the center comes out clean or with just a few moist crumbs attached.
- Remove the cakes from the oven and let them cool in the pans for about 10 minutes. Then, gently remove them from the pans and transfer to a wire rack to cool completely before frosting.
- While the cakes cool, prepare the frosting. In a large bowl, beat the softened butter until creamy and pale.
- Add the powdered sugar and 1/2 cup cocoa powder alternately with the heavy cream and vanilla extract. Beat on low initially to avoid a sugar cloud, then increase to high speed.
- Whip the frosting for 3-4 minutes until it is fluffy, glossy, and spreadable. Add a pinch of salt to cut the sweetness if desired.
- Once the cakes are fully cool, place one layer on a serving plate. Spread a thick layer of frosting over the top.
- Place the second cake layer on top and frost the top and sides of the entire cake. Garnish with chocolate shavings or sprinkles if desired.
Expert Cooking Tips
- ✓Ensure your ingredients, especially eggs and buttermilk, are at room temperature to create a better emulsion.
- ✓Do not skip the boiling water; it blooms the cocoa and ensures a fudgy texture.
- ✓Weigh your flour if possible, or use the spoon-and-level method to avoid a dense cake.
- ✓Let the cake cool completely before frosting, or the butter in the frosting will melt and slide off.
- ✓Use a high-quality cocoa powder for the best depth of flavor.
- ✓If your gluten-free flour blend doesn’t contain xanthan gum, add 1 teaspoon to the dry ingredients.
- ✓Tap the cake pans on the counter before baking to release any large air bubbles.
Substitutions and Variations
This recipe is quite adaptable to various dietary needs beyond just being gluten-free. If you need to make this dairy-free, swap the buttermilk for a mixture of almond milk or soy milk with a tablespoon of lemon juice or vinegar (let it sit for 5 minutes to curdle). For the frosting, use a high-quality vegan butter stick and plant-based milk. If you don’t have vegetable oil, melted coconut oil or canola oil works perfectly fine. For a refined sugar-free option, coconut sugar can be used in the cake, though it will slightly alter the flavor profile to be more caramel-like and the texture may be slightly denser. If you are out of eggs, a commercial gluten-free egg replacer or flax eggs (2 tbsp ground flaxseed meal + 6 tbsp water) can work, although the cake may not rise quite as high. Lastly, if you prefer a mocha flavor, you can substitute the boiling water with boiling hot strong coffee.
Common Mistakes to Avoid
The most common mistake with gluten-free baking is over-measuring the flour. Scooping directly with the measuring cup packs the flour down, leading to a dry, heavy cake. Always spoon the flour into the cup and level it off. Another mistake is over-baking. Gluten-free baked goods can dry out faster than wheat-based ones if left in the oven too long; watch the timer closely and trust the toothpick test. Additionally, attempting to frost the cake while it is even slightly warm is a recipe for disaster—patience is key. Finally, using old baking powder or soda can prevent the cake from rising properly. Since gluten-free flours lack the structure of gluten, fresh leavening agents are crucial for that fluffy lift.
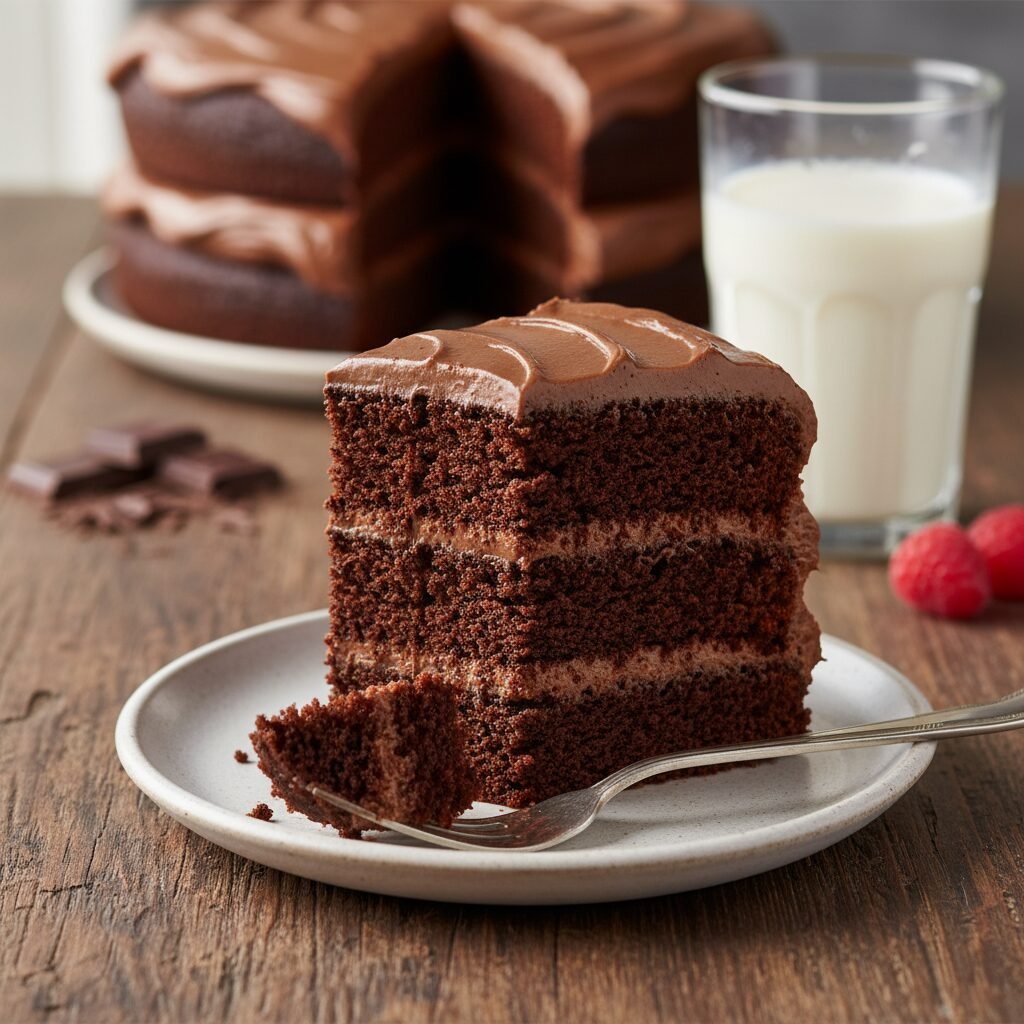
Serving Suggestions
This rich chocolate cake pairs beautifully with a scoop of vanilla bean ice cream or a dollop of lightly sweetened whipped cream to cut through the richness. Fresh berries, such as raspberries or strawberries, add a tart freshness that complements the dark chocolate perfectly. For a cozy afternoon treat, serve a slice alongside a hot cup of coffee or a tall glass of cold milk. If you are serving this for a special occasion, drizzling warm chocolate ganache or caramel sauce over the slice just before serving adds an extra touch of elegance and decadence.
Storage and Reheating Tips
To store this cake, keep it in an airtight cake carrier or cover it tightly with plastic wrap. It can be stored at room temperature for up to 3 days, which actually helps keep the crumb soft. If you live in a very hot or humid climate, you may prefer to store it in the refrigerator for up to 5 days, but be sure to let it come to room temperature before serving for the best texture and flavor. This cake also freezes beautifully. You can freeze individual slices wrapped in plastic wrap and foil for up to 3 months. Thaw tightly wrapped on the counter for a few hours before enjoying.
Nutrition Facts (Estimated)
| Serving Size | 1 slice |
| Calories | 480 |
| Fat | 24g |
| Saturated Fat | 8g |
| Unsaturated Fat | 15g |
| Trans Fat | 0g |
| Cholesterol | 45mg |
| Sodium | 320mg |
| Carbohydrates | 68g |
| Fiber | 4g |
| Sugar | 45g |
| Protein | 5g |
Frequently Asked Questions
Can I make this cake ahead of time?
Yes, absolutely. In fact, the flavors often meld and deepen the next day. You can bake the layers a day in advance, wrap them tightly in plastic wrap once cool, and store them at room temperature before frosting the next day.
Why is my batter so runny?
Do not panic! The batter for this cake is supposed to be very thin and liquidy due to the addition of boiling water and milk. This high hydration is what guarantees a moist final product after the gluten-free flours absorb the liquid during baking.
Can I use almond flour instead of a GF blend?
No, almond flour behaves very differently than an all-purpose gluten-free blend. It lacks the starches necessary for structure in this specific recipe. Stick to a 1:1 gluten-free baking flour blend for the best results.
How do I know when the cake is done?
Insert a toothpick into the center of the cake. If it comes out clean or with just a few moist crumbs, it is done. If there is wet batter on the toothpick, it needs more time.
Can I make cupcakes with this recipe?
Yes! This recipe makes approximately 24-28 standard cupcakes. Bake them at 350°F for about 18-22 minutes. Watch them closely to ensure they don’t overbake.
Is xanthan gum necessary?
Yes, xanthan gum acts as the binder that gluten usually provides. Without it, your cake may crumble and fall apart. Check your flour blend; if it doesn’t have it, you must add it separately.
Can I use Dutch-processed cocoa?
For this recipe, natural unsweetened cocoa powder is preferred because its acidity reacts with the baking soda. However, many modern GF blends are forgiving. If you only have Dutch-processed, swap the baking soda for baking powder to ensure a good rise.
Why did my cake sink in the middle?
This usually happens if the oven door was opened too early during baking, causing the temperature to drop, or if the cake was underbaked. It can also result from using too much leavening (baking soda/powder).
Conclusion
There you have it—the only gluten-free chocolate cake recipe you will ever need. It breaks all the stereotypes of gluten-free baking, offering a dessert that is lush, flavorful, and incredibly satisfying. Whether you are a seasoned gluten-free baker or just starting your journey, this cake is a guaranteed win that brings joy to the table. The combination of the tender, moist sponge and the rich, creamy frosting is timeless. So preheat that oven, boil that water, and get ready to fall in love with chocolate all over again. Happy baking!