Elegant Red Velvet Anniversary Cake With Fresh Flowers
Elegant Red Velvet Anniversary Cake With Fresh Flowers Recipe
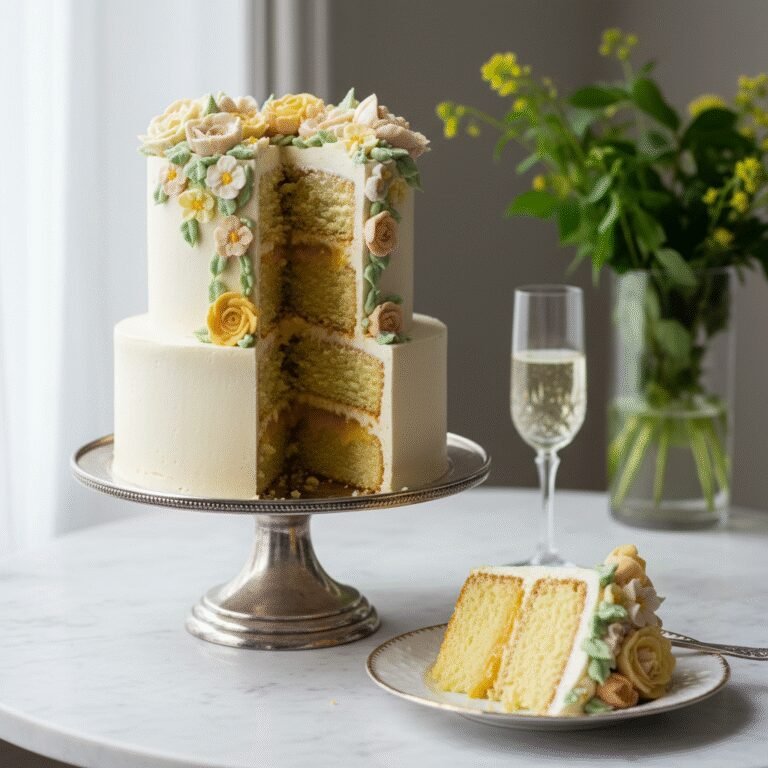
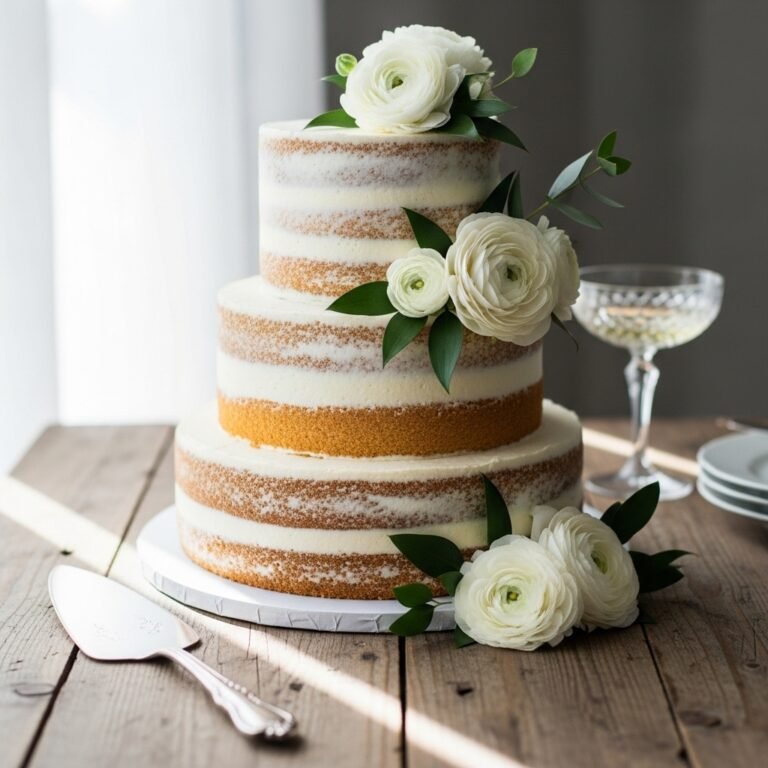
Celebrate love with this breathtaking Red Velvet Anniversary Cake, featuring moist, cocoa-infused layers and a tangy cream cheese frosting. Adorned with fresh, edible organic flowers, this centerpiece is as stunning to behold as it is delicious to eat.
45 minutes
35 minutes
2 hours
12-16 servings
Dessert
Baking
American
Vegetarian
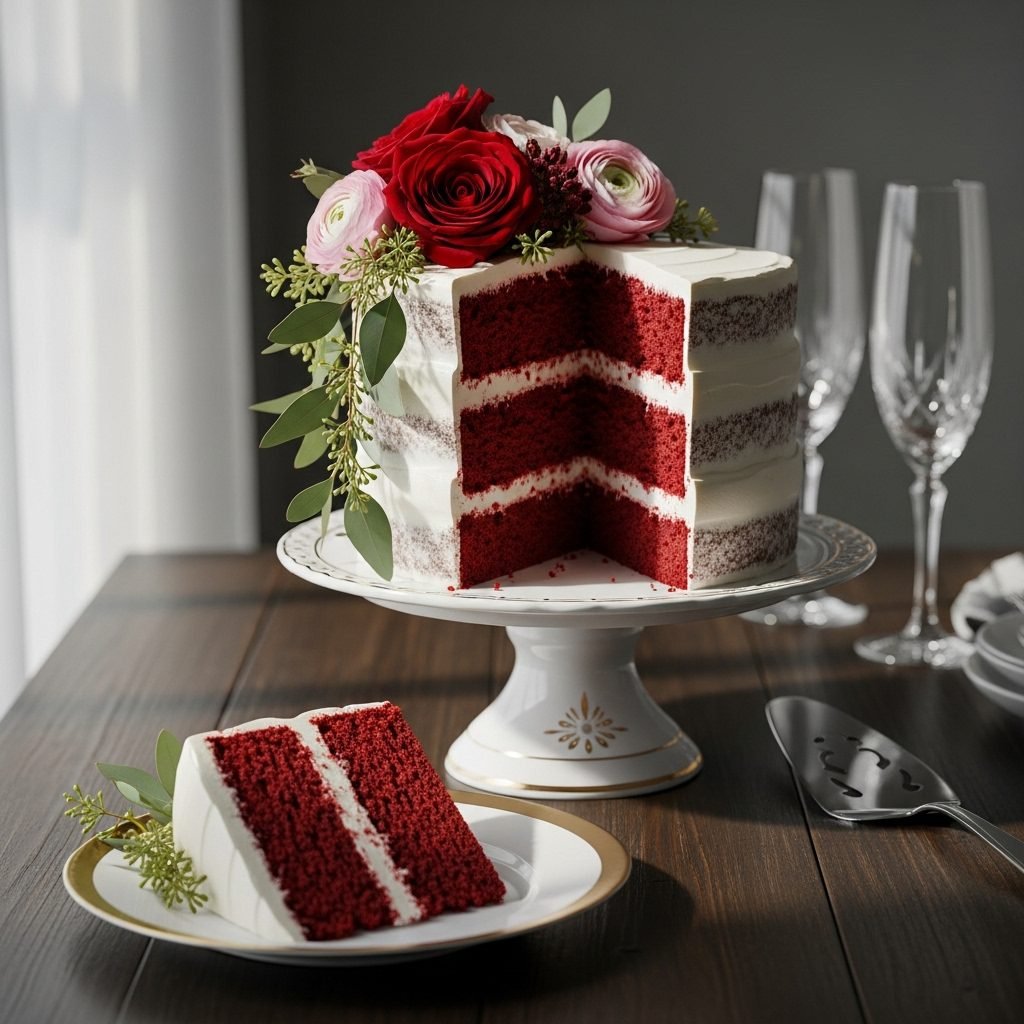
There are few desserts as iconic or as romantically charged as the Red Velvet Cake. With its striking crimson layers contrasting against snowy white cream cheese frosting, it is a visual masterpiece that demands attention. But this recipe takes the classic confection a step further, transforming it into an elegant anniversary centerpiece by crowning it with a cascading arrangement of fresh, edible flowers. Whether you are celebrating one year or fifty, this cake is designed to communicate affection through the universal language of baking.
The texture of this specific red velvet is unparalleled—it is not merely a chocolate cake dyed red, nor is it a vanilla cake in disguise. It possesses a unique, velvety crumb that is dense enough to hold its shape yet incredibly tender and moist on the tongue. The flavor profile is a sophisticated dance between the subtle bitterness of cocoa, the tang of buttermilk, and the sweetness of the frosting. It avoids being cloyingly sweet, making it the perfect end to a romantic dinner.
Using fresh flowers as a garnish elevates the presentation from home-baked to professional pâtisserie standards. In this guide, we will not only walk you through the science of the perfect crumb but also teach you how to safely select and arrange florals to create a show-stopping aesthetic. This is more than just a recipe; it is a project of passion, resulting in a dessert that tastes as beautiful as it looks.
History & Origins
The origins of Red Velvet Cake are shrouded in a mix of culinary chemistry and marketing genius, making it a fascinating subject of American food history. The term ‘velvet’ cake emerged in the Victorian era, referring to cakes with a soft, velvety crumb, achieved by using almond flour, cocoa, or cornstarch to break down the coarse protein in flour. During the early 20th century, devil’s food cakes were popular, and bakers noticed that when non-Dutch processed cocoa powder interacted with acidic ingredients like buttermilk and vinegar, the anthocyanins in the cocoa turned the batter a reddish-brown hue. This was the original, natural ‘red’ velvet.
The vibrant, artificial red we know today gained popularity during the Great Depression. As food rationing made baking supplies scarce, the Adams Extract company in Texas sought to boost sales of their food dyes and flavorings. They published a tear-off recipe card at grocery stores for a ‘Red Velvet Cake’ that utilized a significant amount of red food coloring, forever changing the cake’s identity.
Another famous legend ties the cake to the Waldorf-Astoria Hotel in New York City, which claims to be the birthplace of the recipe. While the hotel certainly popularized it as a luxury dessert in the 1950s, the Southern United States has arguably claimed the cake as its own, making it a staple at church suppers, Juneteenth celebrations, and weddings. In pop culture, the cake saw a massive resurgence after the 1989 film ‘Steel Magnolias’ featured an armadillo-shaped red velvet groom’s cake, cementing its status as a cake for celebrations and milestones.
Why This Recipe Works
This recipe succeeds where others fail due to a precise balance of fat, acid, and cocoa. Many red velvet recipes result in a dry, crumbly texture because they rely solely on butter. This recipe utilizes a blend of vegetable oil and butter (or strictly oil for maximum moisture), ensuring the cake remains soft for days. Oil coats the flour proteins better than butter, preventing gluten formation and yielding a tender crumb.
The inclusion of both buttermilk and white vinegar is critical. This double-acid component reacts vigorously with the baking soda, providing the leavening lift that makes the cake fluffy rather than dense. Furthermore, the acidity breaks down the gluten strands, contributing to that signature ‘melt-in-your-mouth’ texture.
Flavor-wise, we use a modest amount of cocoa powder. Too much cocoa makes it a chocolate cake; too little makes it a vanilla cake. This recipe hits the ‘red velvet’ sweet spot—a mild chocolate flavor that allows the tang of the cream cheese frosting to shine. Finally, the frosting recipe uses a high ratio of cream cheese to butter, ensuring it is stable enough to support the weight of fresh flowers without sliding off, while maintaining a silky, pipeable consistency.
Why You’ll Love This Recipe
- ✓Incredibly moist crumb that stays fresh for days.
- ✓Perfect balance of mild cocoa and tangy buttermilk.
- ✓Stable cream cheese frosting ideal for piping and floral decoration.
- ✓Visually stunning contrast between deep red cake and white frosting.
- ✓Customizable floral design to match wedding or anniversary colors.
- ✓Foolproof method creates flat cake layers, minimizing waste.
Equipment You’ll Need
- ✓Stand mixer or electric hand mixer
- ✓3 round cake pans (8-inch)
- ✓Parchment paper
- ✓Wire cooling rack
- ✓Offset spatula
- ✓Bench scraper (for smooth sides)
- ✓Sifter
- ✓Digital kitchen scale
Ingredients
- ✓2 1/2 cups Cake flour (sifted)
- ✓2 tbsp Unsweetened cocoa powder (natural, not Dutch-processed)
- ✓1 tsp Baking soda
- ✓1 tsp Salt
- ✓1 1/2 cups Granulated sugar
- ✓1 1/2 cups Vegetable oil
- ✓2 large Eggs (room temperature)
- ✓1 cup Buttermilk (room temperature)
- ✓1 tsp White vinegar
- ✓2 tsp Vanilla extract
- ✓1 oz Red food coloring (liquid or gel)
- ✓16 oz Full-fat cream cheese (block style, softened)
- ✓1 cup Unsalted butter (softened)
- ✓4 cups Powdered sugar (sifted)
- ✓Fresh organic flowers (roses, pansies, or ranunculus) for garnish
Instructions
- Preheat your oven to 350°F (175°C). Grease three 8-inch round cake pans and line the bottoms with parchment paper rounds. Dust the sides with a little cocoa powder or flour.
- In a medium bowl, sift together the cake flour, cocoa powder, baking soda, and salt. Whisk to combine thoroughly and set aside.
- In the bowl of a stand mixer fitted with the paddle attachment, combine the vegetable oil and granulated sugar. Beat on medium speed for 2 minutes.
- Add the eggs one at a time, beating well after each addition. Scrape down the sides of the bowl.
- Stir in the red food coloring and vanilla extract. Mix until the batter is a vibrant, uniform red color.
- Reduce the mixer speed to low. Add the flour mixture in three parts, alternating with the buttermilk, starting and ending with the flour. Do not overmix.
- In a small bowl, combine the vinegar and baking soda (it will fizz). Immediately fold this mixture into the cake batter by hand using a spatula.
- Divide the batter evenly among the three prepared pans. Tap the pans gently on the counter to release air bubbles.
- Bake for 30-35 minutes, or until a toothpick inserted into the center comes out clean or with just a few moist crumbs.
- Allow the cakes to cool in the pans for 10 minutes, then turn them out onto a wire rack to cool completely before frosting.
- To make the frosting: Beat the softened butter and cream cheese together on medium-high speed until smooth and creamy (about 3-5 minutes).
- Gradually add the powdered sugar, one cup at a time, beating on low speed until incorporated. Add vanilla and a pinch of salt. Whip on high for 2 minutes until fluffy.
- Assemble the cake: Place one layer on a cake stand. Spread a thick layer of frosting on top. Repeat with the second and third layers.
- Apply a thin ‘crumb coat’ of frosting over the entire cake and refrigerate for 20 minutes. Then, apply the final thick layer of frosting, smoothing the sides with a bench scraper.
- Prepare the flowers: Ensure flowers are pesticide-free. Wrap the stems in floral tape or dip in food-safe wax before inserting into the cake.
- Arrange the flowers in a crescent moon shape or a cascading line down the side of the cake just before serving.
Expert Cooking Tips
- ✓Ensure all dairy ingredients (eggs, buttermilk, cream cheese, butter) are at room temperature to prevent curdling.
- ✓Use ‘natural’ cocoa powder rather than Dutch-processed for the best reaction with the buttermilk and vinegar.
- ✓Do not skip the parchment paper; red velvet is moist and can stick to the pan easily.
- ✓Wrap the flower stems in plastic wrap or floral tape to prevent sap from leaching into the cake.
- ✓If the frosting feels too soft to pipe, refrigerate it for 15 minutes to firm up.
- ✓Weigh your flour using a kitchen scale (approx 120g per cup) to avoid a dense cake.
- ✓Add the vinegar/baking soda mixture at the very last second before baking for maximum lift.
Substitutions and Variations
If you do not have cake flour, you can make a substitute by measuring 1 cup of all-purpose flour, removing 2 tablespoons, and adding 2 tablespoons of cornstarch. Sift this mixture twice. If buttermilk is unavailable, create a sour milk substitute by adding 1 tablespoon of lemon juice or white vinegar to a measuring cup and filling it to the 1-cup line with whole milk; let it sit for 5 minutes. For a natural coloring alternative, you can use beet powder or reduced beet puree, though this will alter the flavor profile slightly to be earthier. You can substitute the vegetable oil with melted coconut oil or melted butter, though oil creates the moistest texture. For the frosting, mascarpone cheese can be used in place of cream cheese for a less tangy, creamier Italian-style topping.
Common Mistakes to Avoid
The most common mistake is over-baking the cake. Because the batter is dark, it is hard to see browning. Rely on the toothpick test and start checking 5 minutes before the recipe says. Another error is icing the cake while it is still slightly warm; this will cause the cream cheese frosting (which is heat-sensitive) to slide right off the layers. Mixing the batter too vigorously after adding the flour will develop gluten and result in a tough, rubbery cake rather than a velvet texture. Finally, using ‘wilted’ or supermarket flowers that have been sprayed with chemicals is a safety hazard. Always source organic, edible-grade flowers or use a barrier between the stem and the cake.
Serving Suggestions
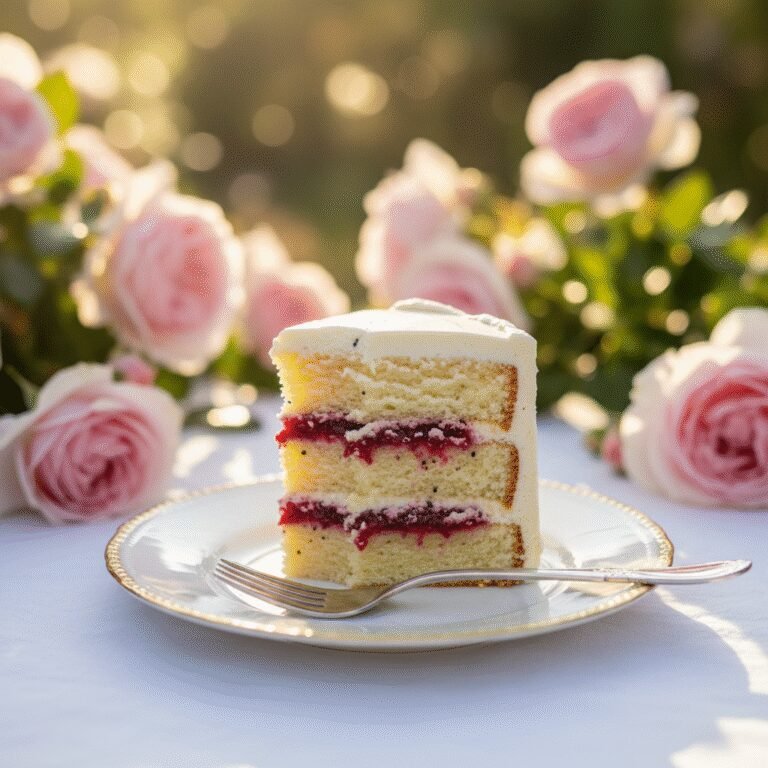
This cake is a showstopper and deserves to be served on a pedestal cake stand to elevate its height. Slice the cake using a sharp knife dipped in hot water and wiped dry between cuts for clean, professional-looking layers. Serve with a glass of chilled champagne or a dry Prosecco to cut through the richness of the cream cheese. For a non-alcoholic pairing, a dark roast coffee or an espresso is perfect, as the bitterness compliments the sweet frosting. If you want to add more garnish, a drizzle of raspberry coulis on the plate adds a tart contrast and mirrors the red color of the crumb.
Storage and Reheating Tips
Because of the cream cheese frosting, this cake must be stored in the refrigerator. It can be left out at room temperature for up to 2 hours for display, but should be chilled thereafter. Store in an airtight cake carrier or cover the cut section with plastic wrap to prevent drying out. The cake will stay fresh in the fridge for up to 5 days. For longer storage, you can freeze the unfrosted cake layers for up to 3 months. Wrap each layer tightly in plastic wrap, then foil. Thaw in the refrigerator overnight before frosting. You can also freeze individual slices of the finished cake, though the fresh flowers must be removed before freezing.
Nutrition Facts (Estimated)
| Serving Size | 1 slice |
| Calories | 650 |
| Fat | 38g |
| Saturated Fat | 18g |
| Unsaturated Fat | 18g |
| Trans Fat | 0.5g |
| Cholesterol | 95mg |
| Sodium | 340mg |
| Carbohydrates | 72g |
| Fiber | 2g |
| Sugar | 45g |
| Protein | 7g |
Frequently Asked Questions
Why is my Red Velvet Cake dry?
Dryness usually results from over-baking or measuring flour incorrectly (packing it into the cup). Use a scale for accuracy and check the oven temperature.
Can I make this cake ahead of time?
Yes! The cake layers actually taste better and are easier to handle if baked a day in advance. Wrap them in plastic and store them in the fridge or freezer until you are ready to assemble.
Do I really need the vinegar?
Yes. The vinegar reacts with the baking soda to provide lift and helps preserve the red color. You won’t taste the vinegar in the final product.
What flowers are safe to put on a cake?
Safe options include roses, pansies, violas, lavender, chamomile, hibiscus, and marigolds. Avoid toxic flowers like hydrangeas, lilies of the valley, and oleander.
Can I use gel food coloring instead of liquid?
Yes, gel is actually preferred as it is more concentrated. You will need less gel than liquid—start with 1-2 teaspoons and adjust to your desired shade.
Why did my cake sink in the middle?
This often happens if the oven door was opened too early during baking, or if there was too much leavening agent. Avoid opening the oven until at least 25 minutes have passed.
Can I make this as cupcakes?
Absolutely. This recipe will make approximately 24-30 cupcakes. Bake them at 350°F for 18-22 minutes.
Is the frosting stable enough for piping details?
Yes, provided you use full-fat block cream cheese and butter that isn’t too warm. If it feels soft, chill it for 20 minutes before piping.
Conclusion
Creating this Elegant Red Velvet Anniversary Cake is a labor of love that pays off in every bite. From the scientific magic that creates the velvety red crumb to the artistic touch of arranging fresh blooms, this cake is a testament to the effort we put into celebrating our relationships. It is rich, romantic, and undeniably delicious. Whether you are a seasoned baker or trying your hand at a layer cake for the first time, this recipe guides you to a flawless result. So, gather your ingredients, select your most beautiful flowers, and bake a memory that will last long after the last crumb is gone.