Elegant Vanilla Raspberry Wedding Cake With Buttercream Flowers: The Ultimate DIY Guide
Elegant Vanilla Raspberry Wedding Cake With Buttercream Flowers Recipe
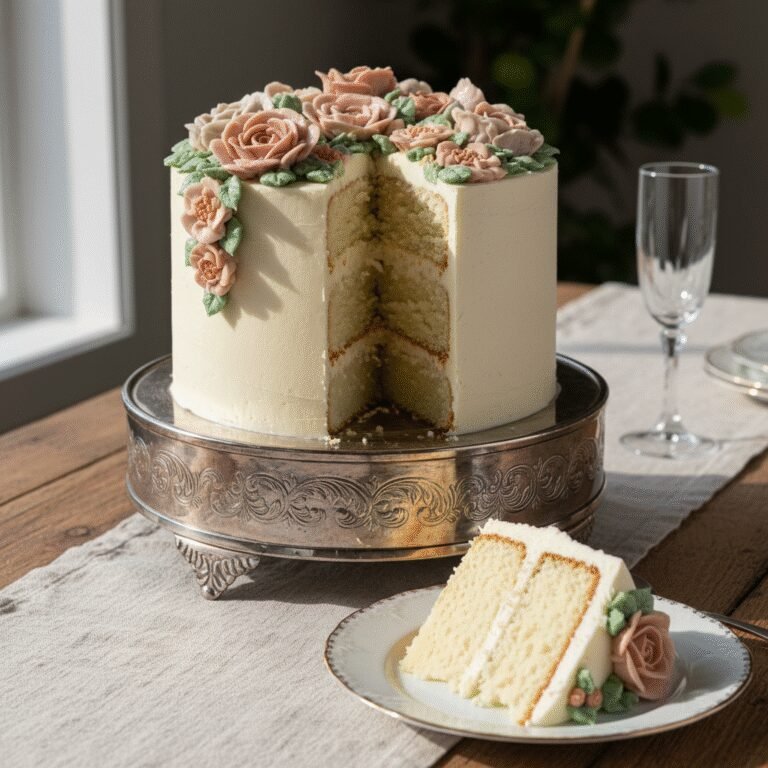
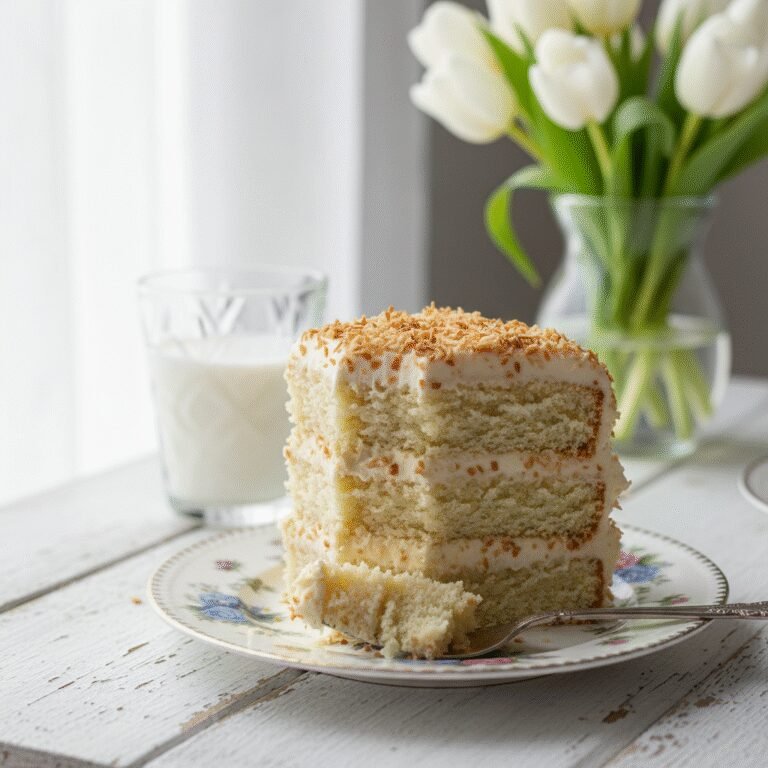
Create a show-stopping centerpiece for your special day with this elegant Vanilla Raspberry Wedding Cake. Featuring tender layers of white velvet cake, a tart raspberry coulis filling, and adorned with intricate Swiss Meringue Buttercream flowers, this recipe brings professional bakery quality to your home kitchen.
4 hours
1 hour 30 minutes
8 hours (includes cooling and decorating)
Serves 50-60 (6-inch, 8-inch, and 10-inch tiers)
Dessert
Baking
American / French
Vegetarian
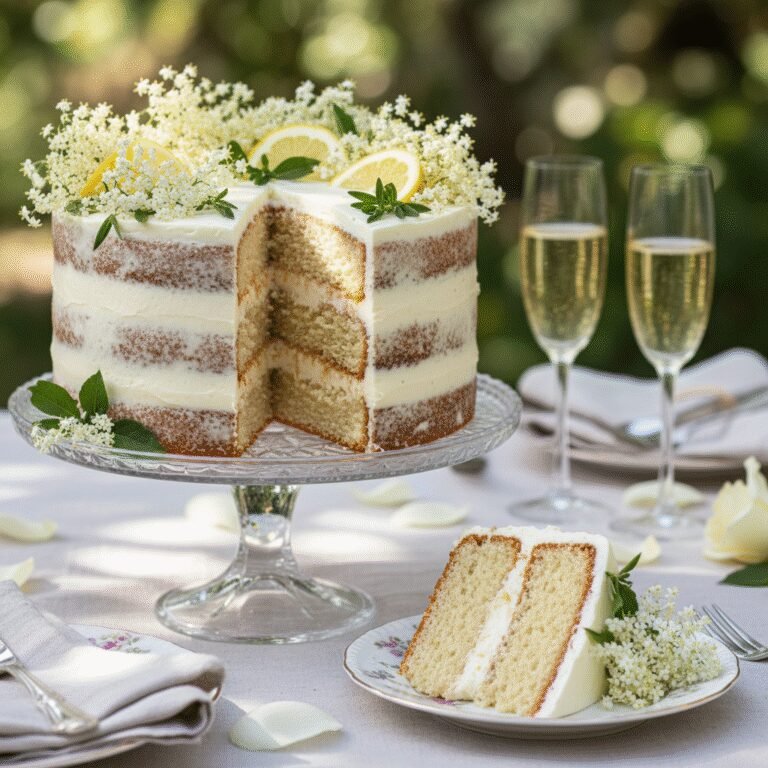
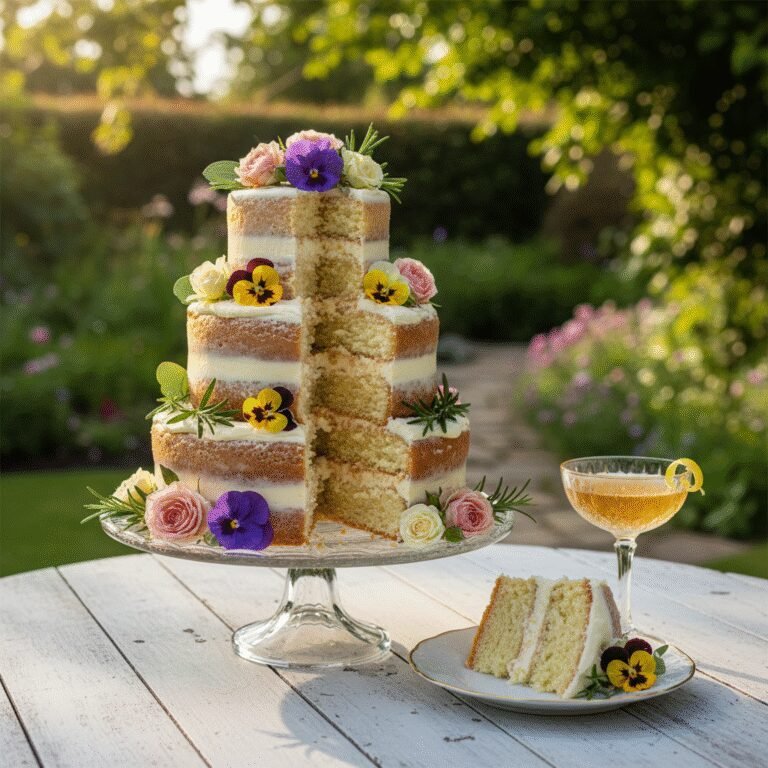
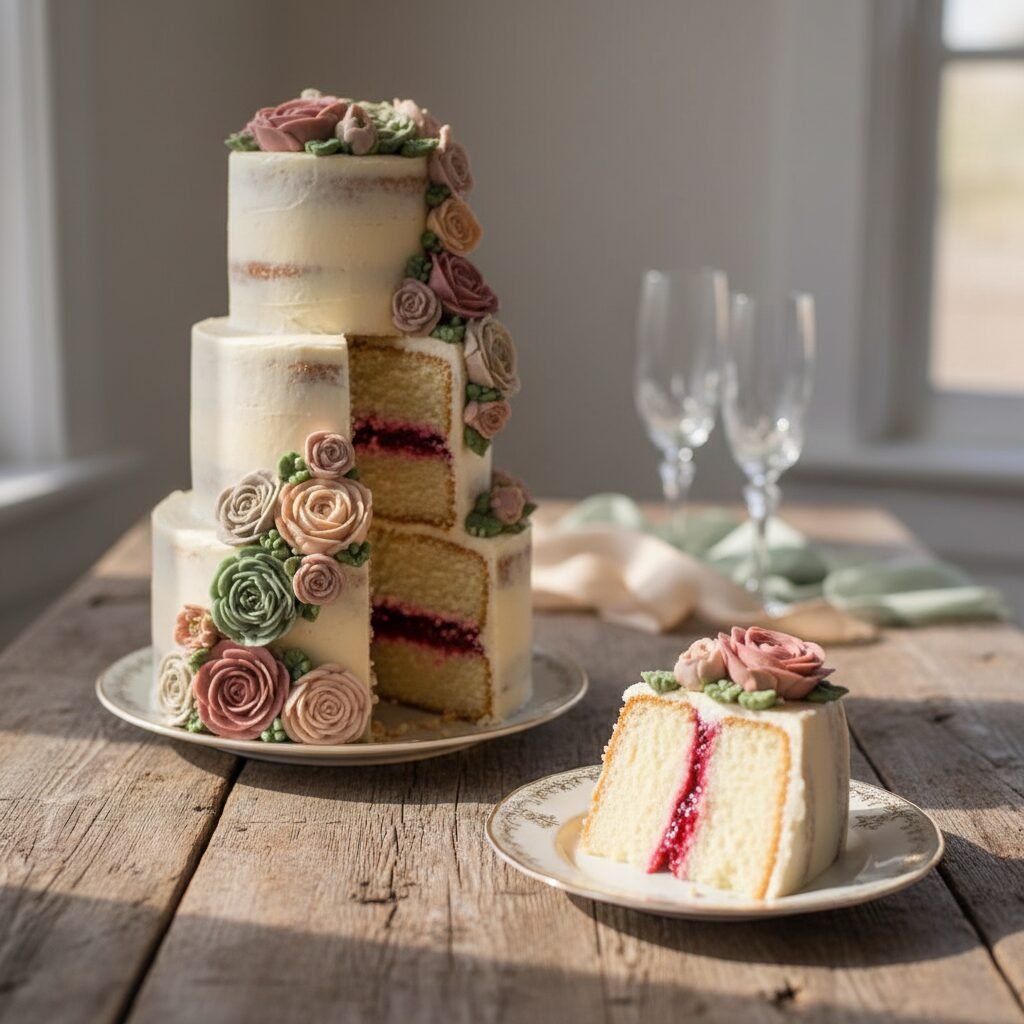
There is something profoundly personal and incredibly romantic about baking a wedding cake. Whether you are an ambitious bride or groom, a loving family member, or a dedicated friend, creating the confection that will sweeten a couple’s first moments of marriage is a labor of love unlike any other. This Elegant Vanilla Raspberry Wedding Cake is designed to bridge the gap between home baking and professional artistry. It moves away from the dense, fondant-covered bricks of the past and embraces a modern, ethereal aesthetic using Swiss Meringue Buttercream flowers and a ‘naked’ or semi-naked finish that feels organic and sophisticated.
The flavor profile is a timeless classic, elevated to gourmet standards. We start with a ‘white velvet’ cake base—a batter that utilizes the reverse creaming method to ensure a texture that is plush, soft, and sturdy enough to stack. The sweetness of the vanilla bean-flecked sponge is cut perfectly by the sharp, bright acidity of a homemade raspberry coulis filling. This isn’t just jam jarred from the store; it is a cooked-down reduction of fresh raspberries that packs a punch of flavor in every bite. Finally, the cake is enveloped in a silky Swiss Meringue Buttercream. Unlike American buttercream, which can be gritty and overly sweet, this frosting is smooth, buttery, and stable, making it the perfect medium for piping realistic ranunculus, roses, and peonies. While the project is significant, this guide breaks it down into manageable steps, ensuring that your masterpiece tastes as breathtaking as it looks.
History & Origins
The tradition of the wedding cake is steeped in centuries of folklore, symbolism, and evolving culinary tastes. The origins can be traced back to Ancient Rome, where a cake made of wheat or barley was broken over the bride’s head to bring good fortune and fertility. The guests would then scramble for the crumbs to share in the luck. By the Middle Ages in England, this evolved into a tradition where guests brought small buns and stacked them in a pile; if the bride and groom could kiss over the top of the stack without knocking it over, a lifetime of prosperity was guaranteed. This stacking tradition eventually inspired the tiered cakes we recognize today.
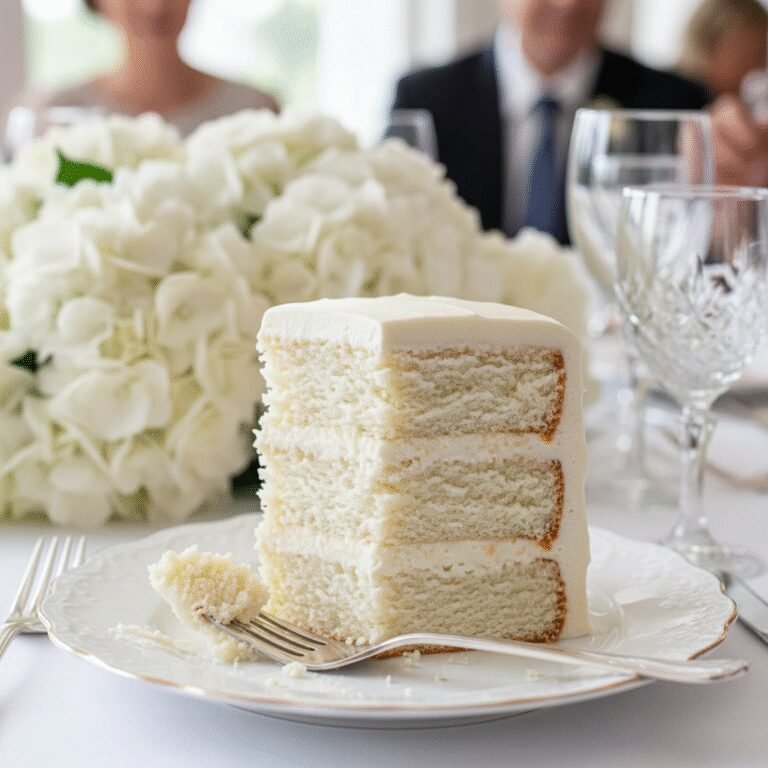
The white wedding cake as a status symbol truly began in the Victorian era. Before refined sugar was affordable, white icing was a luxury only the wealthy could obtain. Queen Victoria’s wedding cake in 1840 was covered in pure white ‘royal icing,’ solidifying the color white as a symbol of purity and affluence in wedding confections. In the United States, the preference shifted away from the heavy, alcohol-soaked fruitcakes favored in Britain toward lighter, fluffier sponge cakes, like the vanilla cake in this recipe. The recent trend of buttercream flowers, specifically the glossy, translucent style often associated with Korean cake artistry, has revolutionized wedding cake design, moving away from stiff fondant sugar paste back to delicious, edible artistry that celebrates the texture of butter and sugar.
Why This Recipe Works
This recipe succeeds where many DIY wedding cakes fail because of three critical factors: structural integrity, moisture balance, and frosting stability. First, the cake base uses the ‘reverse creaming’ method (mixing fat into dry ingredients before adding liquids). This coats the flour proteins in fat, inhibiting gluten formation. The result is a cake with a velvety, flat crumb that minimizes doming—essential for stacking tiers without gaps—while remaining dense enough to support the weight of the layers above it.
Secondly, the raspberry filling is thickened with cornstarch and reduced. A common mistake is using fresh fruit or loose jam between layers, which seeps into the cake and causes it to slide or become soggy. This thick coulis stays put, providing a concentrated burst of tartness that cuts through the richness of the butter. Finally, the choice of Swiss Meringue Buttercream (SMBC) is non-negotiable for this design. SMBC cooks egg whites and sugar to 160°F before whipping, creating a meringue structure that holds air and volume. When butter is emulsified into this meringue, it creates a frosting that hardens when chilled (locking the cake structure in place) but softens beautifully at room temperature for eating. It also pipes with sharper definition than American buttercream, allowing for the realistic flower petals required for the decoration.
Why You’ll Love This Recipe
- ✓Sturdy ‘White Velvet’ crumb perfect for multi-tier stacking.
- ✓Swiss Meringue Buttercream offers superior stability and less sweetness.
- ✓Tart raspberry reduction balances the rich vanilla flavors.
- ✓Detailed instructions for piping realistic buttercream flowers.
- ✓Cost-effective alternative to professional bakery cakes.
- ✓Can be made in stages over several days to reduce stress.
Equipment You’ll Need
- ✓Stand mixer with paddle and whisk attachments
- ✓Cake pans (two 6-inch, two 8-inch, two 10-inch)
- ✓Kitchen scale (essential for accuracy)
- ✓Candy thermometer
- ✓Piping bags and couplers
- ✓Piping tips (Wilton 104, 127, 352, and round tips)
- ✓Flower nail and parchment squares
- ✓Cake turntable
- ✓Offset spatulas (small and large)
- ✓Bench scraper
- ✓Cake boards (6, 8, 10 inch) and a heavy drum board (12 inch)
- ✓Bubble tea straws or wooden dowels for support
Ingredients
- ✓FOR THE CAKE: 1100g Cake flour (sifted)
- ✓1000g Granulated sugar
- ✓4 tsp Baking powder
- ✓2 tsp Baking soda
- ✓2 tsp Salt
- ✓680g Unsalted butter (room temperature, cubed)
- ✓12 Large egg whites (room temperature)
- ✓3 tbsp Vanilla bean paste
- ✓480ml Sour cream (full fat, room temperature)
- ✓480ml Whole milk (room temperature)
- ✓FOR THE RASPBERRY FILLING: 900g Frozen or fresh raspberries
- ✓200g Granulated sugar
- ✓2 tbsp Lemon juice
- ✓4 tbsp Cornstarch dissolved in 4 tbsp water
- ✓FOR THE BUTTERCREAM: 900g Granulated sugar
- ✓16 Large egg whites
- ✓1350g Unsalted butter (room temperature, cubed)
- ✓2 tbsp Pure vanilla extract
- ✓Pinch of salt
- ✓Gel food coloring (Dusty Rose, Sage Green, Cream)
Instructions
- 1. PREPARE THE PANS: Preheat oven to 335°F (170°C). Grease all cake pans, line the bottoms with parchment paper, and grease the paper. Dust with flour and tap out excess.
- 2. MIX DRY INGREDIENTS: In the bowl of a stand mixer fitted with the paddle attachment, mix the flour, sugar, baking powder, baking soda, and salt on low speed for 30 seconds to combine.
- 3. REVERSE CREAMING: Add the cubed, room-temperature butter to the dry ingredients. Mix on low speed until the mixture resembles coarse sand and no large chunks of butter remain.
- 4. ADD WET INGREDIENTS: In a separate pitcher, whisk together the egg whites, sour cream, milk, and vanilla bean paste. With the mixer on low, slowly pour in half of the liquid mixture. Increase speed to medium-high and beat for 2 minutes to build structure. Scrape down the bowl. Add the remaining liquid in two batches, mixing on low just until combined.
- 5. BAKE: Distribute batter into pans (fill about 2/3 full). Bake 6-inch pans for 30-35 mins, 8-inch for 40-45 mins, and 10-inch for 50-60 mins, or until a toothpick comes out clean. Cool in pans for 20 minutes, then turn out onto wire racks to cool completely.
- 6. MAKE RASPBERRY FILLING: Combine raspberries, sugar, and lemon juice in a saucepan over medium heat. Cook until berries break down (10 mins). Stir in the cornstarch slurry and boil for 1 minute until thickened. Strain through a sieve to remove seeds if desired. Cool completely in the fridge.
- 7. MAKE BUTTERCREAM: Whisk egg whites and sugar in a heatproof bowl over a pot of simmering water (double boiler). Whisk constantly until temp reaches 160°F (71°C) and sugar is dissolved. Transfer to stand mixer with whisk attachment. Whip on high until stiff peaks form and bowl is cool to the touch (approx 10-15 mins). Switch to paddle attachment. Add butter one cube at a time on medium speed. Mix until silky. Add vanilla and salt.
- 8. PIPE FLOWERS: Color portions of buttercream. Using a flower nail and parchment squares, pipe roses and ranunculus using petal tips (like 104). Transfer piped flowers on their parchment squares immediately to a baking sheet and freeze until hard (at least 30 mins).
- 9. ASSEMBLY: Level all cake layers. Place the first 10-inch layer on the drum board. Pipe a dam of buttercream around the edge. Fill the center with raspberry filling. Top with the second 10-inch layer. Crumb coat with a thin layer of buttercream. Chill for 20 mins. Repeat for 8-inch and 6-inch tiers on their respective cardboard rounds.
- 10. STACKING: Insert dowels into the bottom tier (cut flush to the cake top). Place the 8-inch cake (on its board) on top. Dowel the 8-inch cake. Place the 6-inch cake on top. Apply a final layer of buttercream to the whole cake.
- 11. DECORATE: Remove frozen buttercream flowers from parchment and press them onto the cake in a cascading design. Pipe green leaves (tip 352) to fill gaps. Keep chilled until 2 hours before serving.
Expert Cooking Tips
- ✓Weigh your ingredients: For a project this large, cups are too inaccurate. Use a digital scale for consistent results.
- ✓Room temperature is key: Ensure butter, eggs, and dairy are all at room temperature (70°F) to prevent the batter from curdling.
- ✓The ‘Dam’ is crucial: Never skip piping a ring of buttercream around the edge of the layer before adding fruit filling, otherwise, the filling will leak out the sides.
- ✓Freeze the flowers: Piping flowers directly onto a vertical cake is difficult. Piping them on parchment and freezing them makes them handleable like hard candy, allowing for perfect placement.
- ✓Don’t panic over buttercream: If your Swiss Meringue Buttercream looks curdled after adding butter, keep whipping! It will come together. If it’s soupy, chill the bowl for 15 minutes and whip again.
- ✓Use simple syrup: Brush each cake layer with a simple syrup (equal parts sugar and water, boiled) to keep the cake moist for days.
- ✓Dowel correctly: A tiered cake is heavy. Without wooden dowels or bubble tea straws inside the bottom tiers to support the weight of the tiers above, the cake will collapse.
Substitutions and Variations
This recipe is chemically balanced, so substitutions should be made with caution.
**Flour:** If you cannot find cake flour, you can make a substitute by removing 2 tablespoons of all-purpose flour from every cup and replacing it with cornstarch, sifted together multiple times. However, true cake flour yields the tenderest crumb.
**Sour Cream:** Full-fat Greek yogurt is an excellent 1:1 substitute for sour cream.
**Egg Whites:** Carton egg whites can be used for the cake batter, but for the Swiss Meringue Buttercream, fresh egg whites are recommended for better stability.
**Filling:** The raspberry filling can be swapped for strawberry, blackberry, or even a lemon curd. If using lemon curd, ensure it is thick and stable.
**Butter:** Do not substitute margarine or shortening in the buttercream; the flavor and structural stability rely entirely on real butter.
**Alcohol:** For a boozy twist, you can add a tablespoon of champagne or framboise liqueur to the raspberry filling after it has cooked.
Common Mistakes to Avoid
The most common mistake in wedding cake baking is **insufficient structural support**. Many home bakers stack cakes directly on top of each other without dowels or cake boards between tiers. This will cause the bottom cake to be crushed by the weight of the top tiers. Always use a cardboard round under every tier and insert dowels into the tier below it.
Another frequent error is **rushing the cooling process**. If you try to frost a cake that is even slightly warm, the butter in the buttercream will melt, causing the layers to slide and the decoration to droop.
Regarding the buttercream, **temperature control** is vital. If you add butter to the meringue while the meringue is still hot, you will end up with soup. If the butter is fridge-cold, you will get chunky, curdled frosting. Everything must be at a neutral room temperature.
Finally, **over-filling the layers** can lead to bulging sides. Use a moderate amount of filling and ensure your buttercream dam is sturdy.
Serving Suggestions
Serve this cake at room temperature. While it needs to be stored in the fridge due to the butter content, it should be taken out at least 2 to 3 hours before serving. Cold cake tastes dry and the buttercream will be hard like a stick of butter. At room temperature, the cake is soft and the frosting is creamy. Slice the cake using a sharp chef’s knife dipped in hot water and wiped dry between cuts for clean, professional-looking slices. Serve with a glass of chilled Champagne, Prosecco, or a floral Earl Grey tea to complement the vanilla and raspberry notes. Fresh raspberries and a sprig of mint on the plate add a lovely finishing touch.
Storage and Reheating Tips
Because this cake is covered in Swiss Meringue Buttercream, it seals the moisture inside effectively.
**Refrigeration:** The fully assembled cake can be stored in the refrigerator for up to 3 days. Ensure it is in a box to prevent it from absorbing fridge odors.
**Freezing:** You can bake the cake layers up to a month in advance. Wrap each cooled layer tightly in two layers of plastic wrap and one layer of aluminum foil before freezing. Thaw in the fridge overnight before assembling. Leftover slices can also be frozen in airtight containers for up to 3 months.
**Transport:** Transport the cake cold. The buttercream is hardest when cold, making the cake more stable against vibrations in the car. Allow it to come to room temperature at the venue.
Nutrition Facts (Estimated)
| Serving Size | 1 slice |
| Calories | 680 |
| Fat | 38g |
| Saturated Fat | 22g |
| Unsaturated Fat | 14g |
| Trans Fat | 0.5g |
| Cholesterol | 110mg |
| Sodium | 320mg |
| Carbohydrates | 78g |
| Fiber | 1g |
| Sugar | 45g |
| Protein | 6g |
Frequently Asked Questions
Can I make this cake in advance?
Yes! In fact, it’s recommended. Bake the layers 2-3 days before the wedding and wrap them tightly. Make the buttercream and filling 2 days before. Assemble and crumb coat the day before. Do the final decoration the morning of or the night before.
Why is my Swiss Meringue Buttercream soupy?
This usually happens if the meringue was too warm when the butter was added. Place the bowl in the refrigerator for 15-20 minutes to cool down, then whip it again on high speed. It should come together.
Do I really need a turntable?
For a wedding cake, yes. A turntable allows you to smooth the sides of the cake continuously without stopping and starting, which is the only way to get that professional, seamless finish.
How do I transport a 3-tier cake?
It is safest to transport the cake as separate tiers in boxes and stack them at the venue. If you must transport it stacked, ensure a central wooden dowel runs through the entire height of the cake into the bottom drum board, and drive carefully with the AC on high to keep the car cold.
Can I use American Buttercream instead?
You can, but it will be much sweeter and will crust over. American buttercream is also grittier. Swiss Meringue is preferred for weddings because it looks smoother and tastes more sophisticated.
How do I get white buttercream? Butter is yellow.
Swiss Meringue buttercream is naturally ivory. To make it whiter, add a tiny drop of violet gel food coloring to counteract the yellow, or add a some bright white gel coloring. Whipping it for a long time also lightens the color.
Is this cake stable enough for an outdoor summer wedding?
Buttercream is sensitive to heat. If it is over 80°F (27°C), the cake may melt. For hot outdoor weddings, keep the cake indoors in AC until the cake cutting ceremony, or consider using a ganache finish which is slightly more stable.
What size eggs should I use?
This recipe uses US Large eggs. If you are weighing ingredients (which you should be), a large egg white is approx 30g.
Can I cover this cake in fondant?
Yes, this cake is sturdy enough to support fondant. However, you must chill the buttercream-coated cake until it is rock hard before draping the fondant over it.
Conclusion
Creating your own Elegant Vanilla Raspberry Wedding Cake is a journey that requires patience, precision, and passion, but the reward is incomparable. When you slice into those towering tiers to reveal the vibrant raspberry layers against the white velvet crumb, and taste the cloud-like perfection of the buttercream, you’ll know every hour of prep was worth it. This cake is more than just dessert; it’s a centerpiece, a conversation starter, and a delicious memory in the making. So, clear your schedule, trust the process, and get ready to bake the most important cake of your life with confidence. Happy baking!