The Ultimate Fudgy Gluten-Free Brownie Mug Cake in 2 Minutes
Quick Microwave Brownie Mug Cake Gluten Free Version Recipe
Satisfy your late-night chocolate cravings instantly with this rich, gooey, and completely gluten-free brownie mug cake. It takes less than five minutes from pantry to spoon and delivers a molten, fudge-like center without the hassle of baking a full batch.
3 minutes
1 minute
4 minutes
1 large mug cake
Dessert
Microwave
American
Gluten-Free
We have all been there: it is 9:00 PM on a Tuesday, the house is quiet, and suddenly, a craving for chocolate strikes with the force of a freight train. You do not want to preheat the oven, dirty a dozen bowls, or wait forty-five minutes for a pan of brownies to bake. You want chocolate, and you want it now. Enter the Quick Microwave Brownie Mug Cake—specifically, this perfected Gluten-Free version that defies the laws of traditional baking. Unlike many mug cakes that turn out rubbery, dry, or sponge-like, this recipe is engineered to be dense, fudgy, and decadent, mimicking the texture of a center-cut brownie straight from the baking dish.
For those living a gluten-free lifestyle, finding a quick dessert fix can often be a gamble. Store-bought options are frequently dry or crumbly, and modifying standard recipes can lead to disastrous, gummy results. This recipe changes the narrative completely. By utilizing the unique way microwaves cook food—steaming from the inside out—we create a dessert that remains moist and tender. The combination of rich cocoa powder, a specific blend of gluten-free flour, and just the right amount of fat ensures a luxurious mouthfeel that rivals any bakery treat. Whether you are a college student in a dorm, a busy parent needing a moment of solace, or simply a chocolate lover with zero patience, this mug cake is your new best friend. It is warm, comforting, and portion-controlled, though you might find it hard not to make a second one immediately.
History & Origins
The history of the mug cake is a fascinating convergence of culinary evolution and technological advancement. To understand the mug cake, we must first look at the brownie itself. The brownie is a distinctly American invention, with legends tracing its origins to the Palmer House Hotel in Chicago during the late 19th century. Bertha Palmer famously requested a dessert for the World’s Columbian Exposition that was smaller than a cake but more substantial than a cookie, easily eaten from a boxed lunch. The result was a dense, fudgy square that set the standard for chocolate lovers everywhere.
Parallel to this culinary development was the invention of the microwave oven. Percy Spencer, an engineer at Raytheon, accidentally discovered the cooking power of microwaves in 1945 when a candy bar melted in his pocket while he was working on active radar sets. By the late 1960s and 70s, domestic microwaves began appearing in American kitchens, changing the way families cooked forever. However, for decades, the microwave was relegated to reheating leftovers or popping corn.
The concept of the ‘mug cake’ is a much more recent phenomenon, exploding in popularity with the rise of food blogging and social media platforms like Pinterest in the early 2010s. As the internet culture of ‘life hacks’ and instant gratification grew, so did the desire for single-serving desserts that required minimal effort. Early iterations were often lackluster—rubbery sponges that tasted more like sweet omelets due to the inclusion of whole eggs in such a small volume. Over time, recipe developers began to refine the chemistry, removing eggs and adjusting fat ratios to suit the rapid, intense heat of the microwave. Simultaneously, the gluten-free movement gained momentum, moving from a niche medical necessity to a mainstream dietary choice. This recipe represents the culmination of these histories: the classic American flavor of the brownie, the convenience of mid-century technology, and the modern sophistication of gluten-free baking science.
Why This Recipe Works
This recipe succeeds where many other mug cakes fail because it specifically addresses the physics of microwave cooking and the chemistry of gluten-free flours. Microwaves cook by agitating water molecules, creating heat through friction. This process happens incredibly fast, which can easily toughen the proteins in flour and eggs, leading to that dreaded rubbery texture. To combat this, this recipe eliminates the egg entirely. In a standard brownie recipe, eggs provide structure and lift, but in a small mug cake, they are overkill. By removing the egg, we ensure the texture remains fudge-like and dense rather than airy and chewy.
Furthermore, gluten-free flours often struggle with hydration. They can either absorb too much liquid, becoming gritty, or not enough, becoming slimy. This recipe uses a higher ratio of fat (oil or melted butter) to flour than a standard cake. Fat interferes with starch gelatinization and coats the flour particles, preventing the development of a tough crumb—even without gluten, ‘toughness’ is possible if the starches gelatinize too firmly. The addition of liquid (milk or water) is carefully balanced to provide enough steam to cook the flour through without drying it out. Finally, the inclusion of chocolate chips isn’t just for flavor; as they melt, they add gooey pockets of cocoa butter that enhance the sensation of moisture, tricking the palate into perceiving a perfectly baked, slow-cooked texture in just 60 seconds.
Why You’ll Love This Recipe
- ✓Ready in under 5 minutes from start to finish.
- ✓Completely egg-free, preventing a rubbery texture.
- ✓Rich, deep chocolate flavor using cocoa and chips.
- ✓Uses standard pantry staples you likely already have.
- ✓Perfectly portioned for a single serving dessert.
Equipment You’ll Need
- ✓Microwave-safe mug (10-12 oz capacity)
- ✓Tablespoon
- ✓Teaspoon
- ✓Microwave
Ingredients
- ✓3 tablespoons Gluten-Free 1-to-1 Baking Flour
- ✓3 tablespoons Granulated Sugar (or brown sugar for more moisture)
- ✓2 tablespoons Unsweetened Cocoa Powder
- ✓1/8 teaspoon Salt
- ✓1/8 teaspoon Baking Powder
- ✓2 tablespoons Vegetable Oil or Melted Butter
- ✓3 tablespoons Milk (dairy or non-dairy like almond or oat)
- ✓1/4 teaspoon Vanilla Extract
- ✓1-2 tablespoons Chocolate Chips (ensure gluten-free)
Instructions
- Select a microwave-safe mug with a capacity of at least 10-12 ounces to prevent overflow.
- Add the dry ingredients (gluten-free flour, sugar, cocoa powder, salt, and baking powder) directly into the mug.
- Use a spoon to mix the dry ingredients thoroughly, ensuring there are no clumps of cocoa powder or flour at the bottom.
- Pour in the wet ingredients: vegetable oil (or melted butter), milk, and vanilla extract.
- Stir the mixture vigorously until a smooth, dark batter forms. Scrape the bottom edges of the mug to incorporate all dry bits.
- Sprinkle the chocolate chips on top of the batter. You can gently push a few down into the center if desired.
- Place the mug in the center of the microwave.
- Cook on high power for 60 to 90 seconds. Start with 60 seconds; the top should look set but slightly shiny. If it is still liquid, add 10-second intervals.
- Carefully remove the mug from the microwave (it will be hot!) and let it sit for 1-2 minutes to cool and set further.
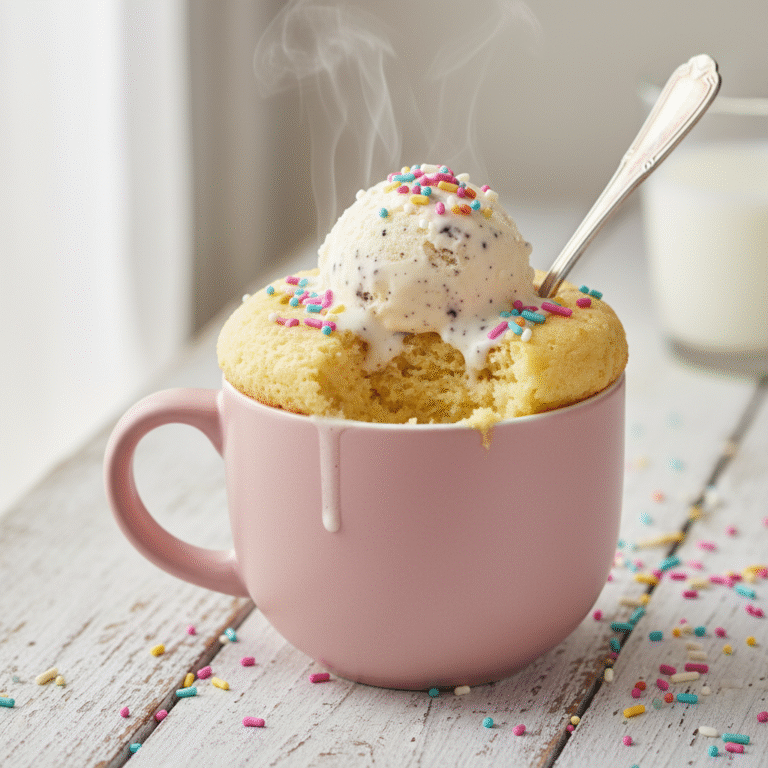
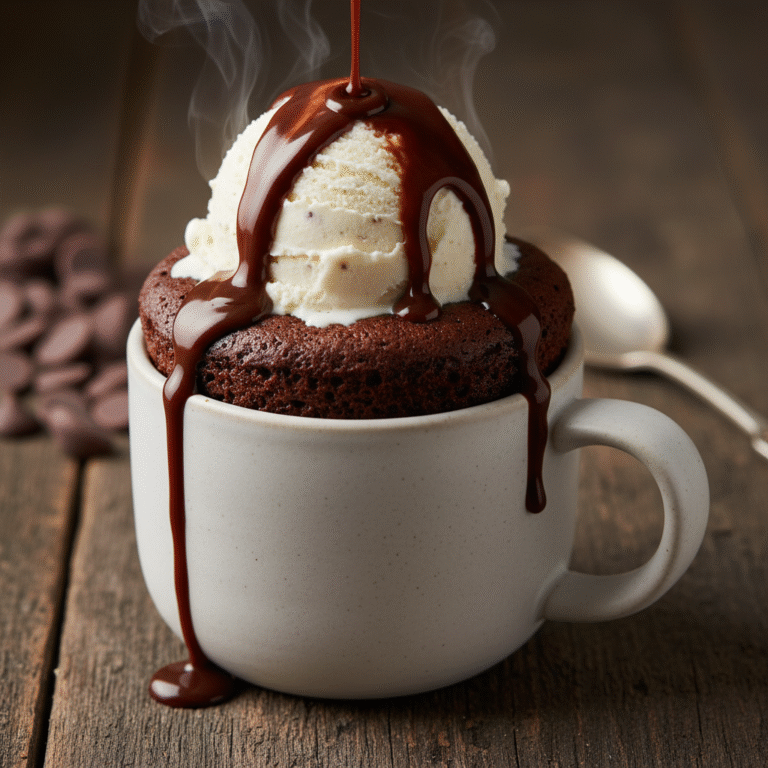
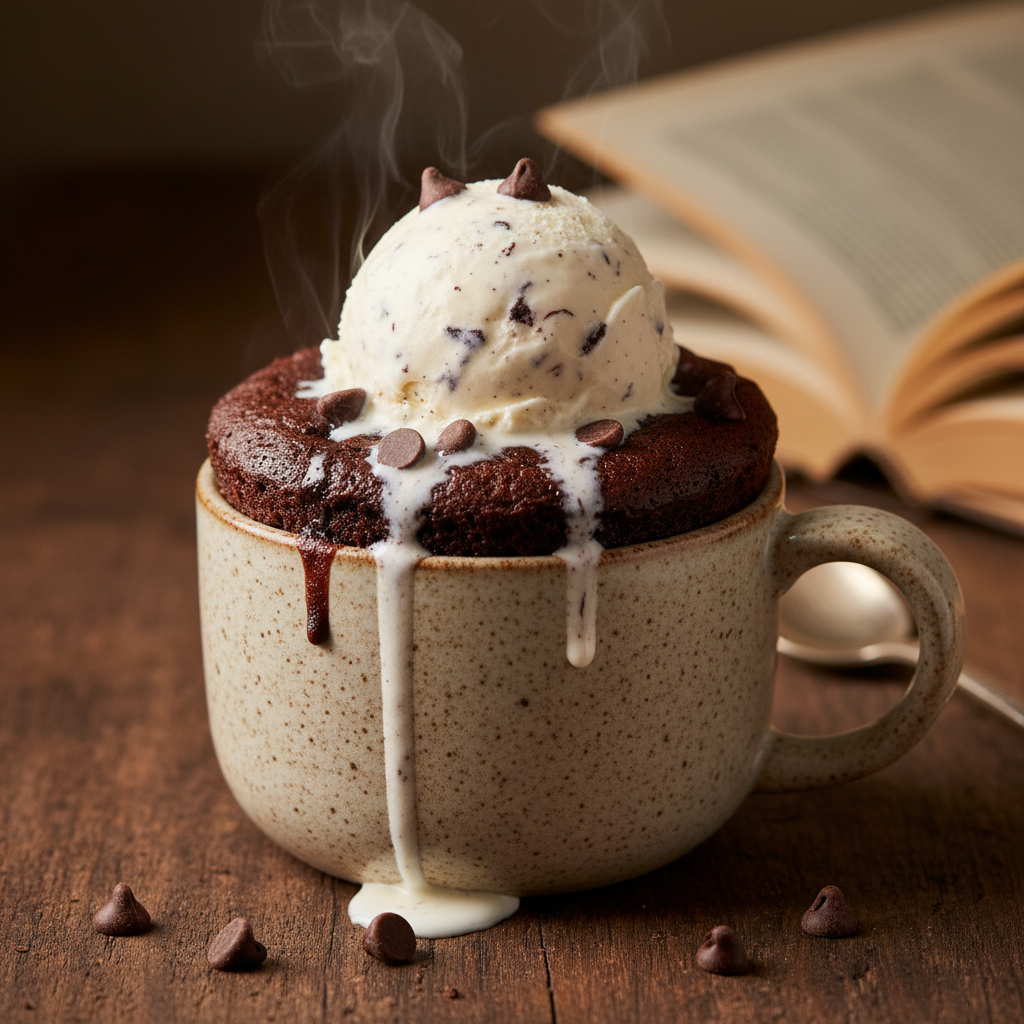
- Enjoy warm, ideally topped with a scoop of vanilla ice cream or whipped cream.
Expert Cooking Tips
- ✓Do not overcook: Microwaves vary in power (wattage). A 1000-watt microwave usually takes 60-70 seconds. Overcooking is the number one cause of a dry, hard mug cake.
- ✓Mix thoroughly: Gluten-free flour can sometimes settle. Make sure you dig the spoon into the bottom corner of the mug so you don’t end up with a pocket of dry flour.
- ✓Use a wide mug: A wider mug allows for more even cooking compared to a tall, narrow cylinder.
- ✓Let it rest: The cake continues to cook for a minute after you take it out. Eating it immediately might burn your tongue and the texture won’t be fully set.
- ✓Cocoa quality matters: Since this is a simple recipe, using a high-quality Dutch-process cocoa powder will give a much fudgier, Oreo-like flavor.
Substitutions and Variations
This recipe is highly adaptable to various dietary needs and pantry limitations. For the flour, any reputable ‘measure-for-measure’ or ‘1-to-1’ gluten-free blend works best; avoid using single-grain flours like coconut flour or almond flour alone as they absorb liquid very differently. If you are not gluten-free, standard all-purpose flour works with the exact same measurements. For the fat, melted butter provides a rich flavor, but vegetable oil, canola oil, or melted coconut oil keeps the cake moister and makes it dairy-free (if using plant milk). Speaking of milk, any variety works: cow’s milk, almond, soy, or oat milk are all excellent choices. For the sweetener, brown sugar can be substituted for white sugar to create a deeper, caramel-like flavor and a moister texture. If you want to reduce sugar, you can use a granular erythritol or monk fruit blend, though the texture may be slightly drier. Finally, you can swap chocolate chips for peanut butter chips, chopped nuts, or even a swirl of Nutella or peanut butter in the center.
Common Mistakes to Avoid
The most frequent mistake is overcooking the mug cake. Because microwave power varies wildly, following the time exactly can be tricky. It is always better to undercook slightly than to overcook; an undercooked mug cake is a molten lava cake, while an overcooked one is a hockey puck. Another common error is measuring the flour incorrectly. Packing the flour into the tablespoon creates a dry cake; try to spoon the flour into the measuring spoon and level it off. Additionally, forgetting to mix the bottom edge of the mug often results in a mouthful of dry, bitter cocoa powder at the end of your dessert. Lastly, using a mug that is too small will result in the batter bubbling over and creating a sticky mess on your microwave turntable. Always use a mug with some headspace.
Serving Suggestions
While this brownie mug cake is delicious on its own, the right toppings elevate it to a gourmet experience. The classic pairing is a scoop of vanilla bean ice cream, which melts into the warm cake, creating a creamy sauce. Fresh berries, such as raspberries or strawberries, add a tart contrast to the rich chocolate. A dollop of whipped cream or coconut whip is a lighter option. For extreme decadence, drizzle caramel sauce, hot fudge, or peanut butter over the top. Dusting the top with a little powdered sugar or extra cocoa powder can also make it look more finished and professional.
Storage and Reheating Tips
Mug cakes are best enjoyed immediately after cooking. The texture degrades fairly quickly as the starches retrograde, and they can become hard once fully cooled. However, if you cannot finish it, you can cover the mug with plastic wrap and store it in the refrigerator for up to 24 hours. To eat, you must reheat it in the microwave for 15-20 seconds to soften the texture and melt the chocolate chips again. Do not attempt to freeze the cooked mug cake, as the texture upon thawing will be unpleasant. If you want to prep ahead, you can mix the dry ingredients in a small jar or ziplock bag, then just dump them in a mug and add wet ingredients when the craving strikes.
Nutrition Facts (Estimated)
| Serving Size | 1 mug cake |
| Calories | 380 |
| Fat | 18g |
| Saturated Fat | 6g |
| Unsaturated Fat | 11g |
| Trans Fat | 0g |
| Cholesterol | 10mg |
| Sodium | 150mg |
| Carbohydrates | 52g |
| Fiber | 4g |
| Sugar | 28g |
| Protein | 4g |
Frequently Asked Questions
Can I make this recipe without oil or butter?
Technically yes, you can substitute applesauce or mashed banana for the fat to make it lower in calories, but be warned that the texture will change significantly. It will become more rubbery and cake-like rather than fudgy and rich.
Why is my mug cake hard?
Hardness is almost always a result of overcooking. Microwaves are powerful. Next time, reduce the cooking time by 10-15 seconds. It could also be due to measuring too much flour.
Can I use almond flour instead of a GF blend?
Not as a direct 1-to-1 substitute. Almond flour has no starch to bind the cake and is high in fat. If you use only almond flour, the result may be crumbly and oily. You would need a recipe specifically designed for almond flour.
Can I double the recipe?
If you want to make two, it is best to make them in separate mugs and cook them one at a time. Cooking two mugs at once in the microwave usually results in uneven cooking, where one is overdone and the other is raw.
Is baking powder necessary?
Yes, the baking powder provides the lift. Without it, you will have a very dense, heavy paste rather than a cake. However, don’t use too much, or it might overflow.
Can I use water instead of milk?
Yes, water will work to hydrate the batter, but the result will be less rich and flavorful. Milk adds protein and sugar that help with browning and flavor development.
Why did my mug cake explode?
This happens if the mug is too small or the microwave power is too high. Use a larger mug and keep an eye on it while it cooks. If it starts rising too high, stop the microwave for a few seconds to let it settle, then continue.
Is this recipe vegan?
It is easily made vegan! Just use a neutral oil (or melted vegan butter), plant-based milk, and ensure your chocolate chips are dairy-free. The base recipe contains no eggs.
Conclusion
This Quick Microwave Brownie Mug Cake is more than just a recipe; it is a survival tool for the modern chocolate lover. It proves that you do not need a lot of time, a lot of ingredients, or even a working oven to create a high-quality, homemade dessert. By mastering this simple gluten-free formulation, you ensure that a warm, comforting treat is never more than five minutes away. Whether you are celebrating a small victory, comforting a bad day, or simply treating yourself because you deserve it, this mug cake delivers satisfaction in every spoonful. Keep these pantry staples stocked, and you will never be caught unprepared by a chocolate craving again.